rake60
Well-Known Member
- Joined
- Jul 8, 2007
- Messages
- 4,756
- Reaction score
- 125
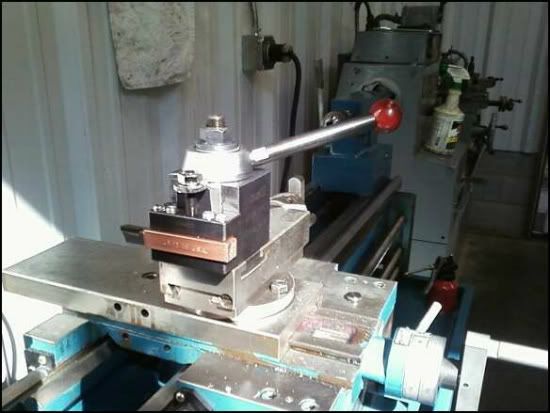
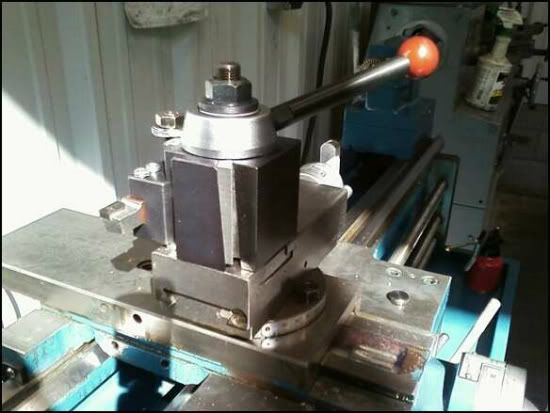
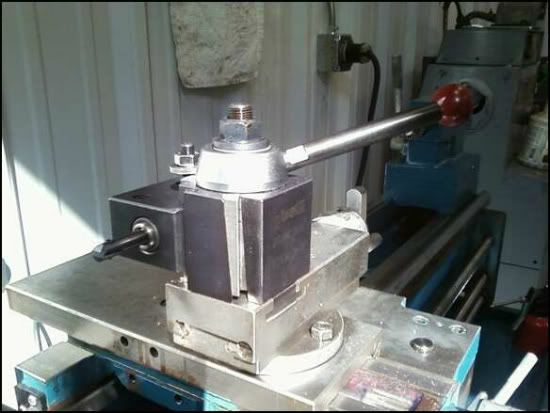
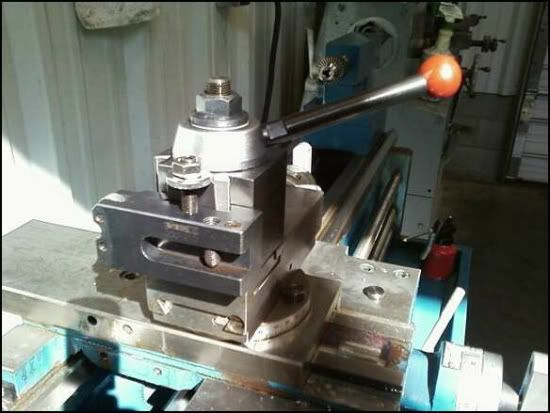
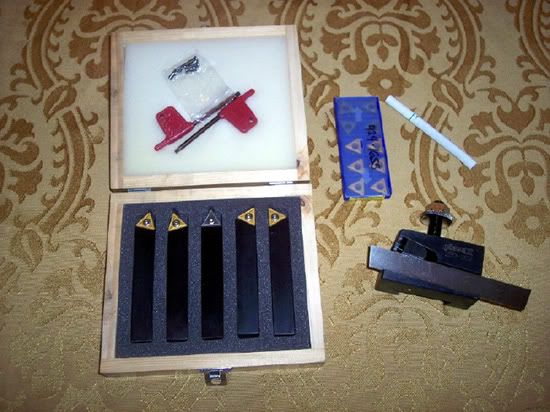
We received the Phase II Model 251-222 QCTP from Enco today.
It look just like this ad photo.
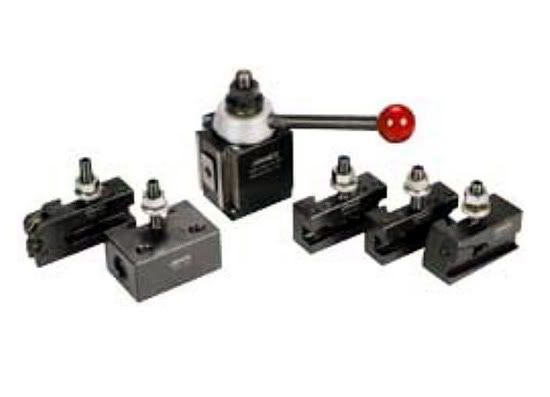
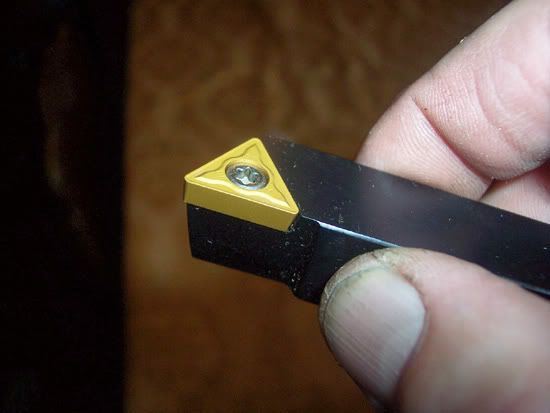
I doubt I'll ever need a knurling tool at work but it's kind of cool that one was included in the set.
It states on Enco's web page: "Tool Post T-Nut May Require Machining"
Since this tool post is for a 10 to 15 inch lathe, I expected the T-Nut to be a bit heavy.
It Was!
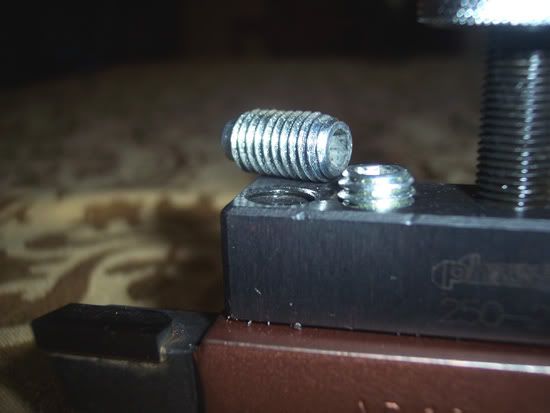
The Phase II T-Nut next to the original 4 way tool post T-Nut.
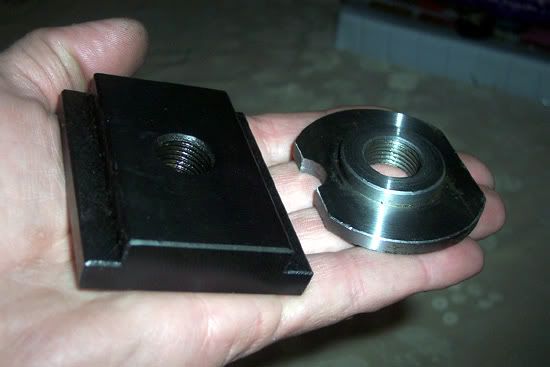
It is .272" too wide and .125" too thick on the bottom.
The top width is .365" too wide.
The most capable mill I have access to is my little X2.
I'm thinking this may take awhile.
Actually it didn't take long at all.
An end mill made quick work of bringing the side to width.
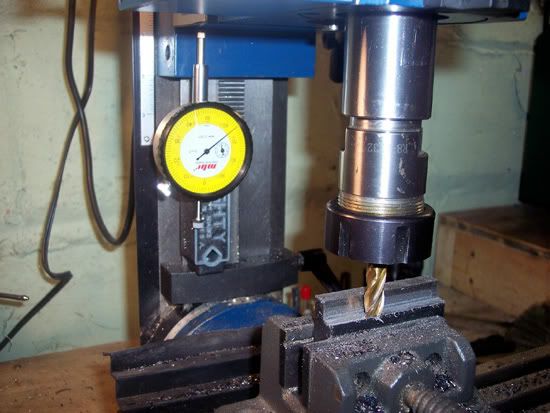
Then three cuts stepped across the bottom with a small face mill brought that thickness
to size.
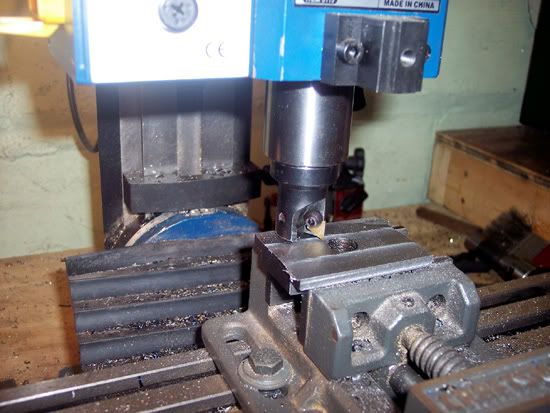
I don't get to use that little face mill too often but it's a great little tool even on an X2!
.050" depth of cut at 1700 RPM and you can crank it across the workpiece as fast as you
want to. (Or until the burns from the hot chips hitting your cranking arm become unbearable.)
In less than 20 minutes I ended up with this.
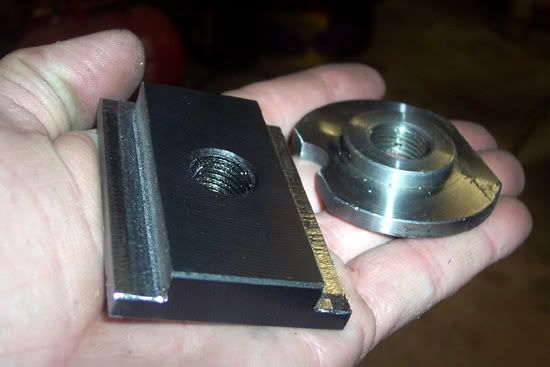
I didn't take anything off the top face. It is a little thicker than the original T-Nut but will still
be about .030" below the top surface of the compound. I wanted to leave it as thick as I could.
It needs to be cleaned up and deburred a little better but it will fit the machine now.
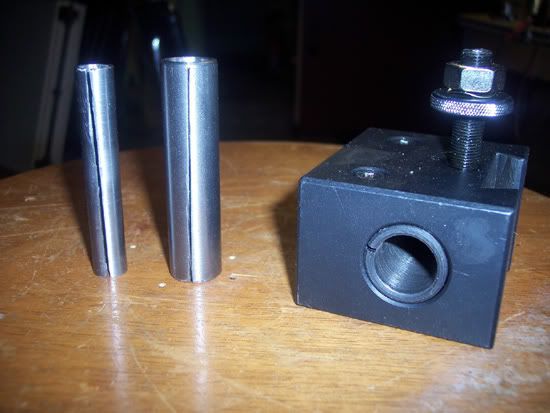
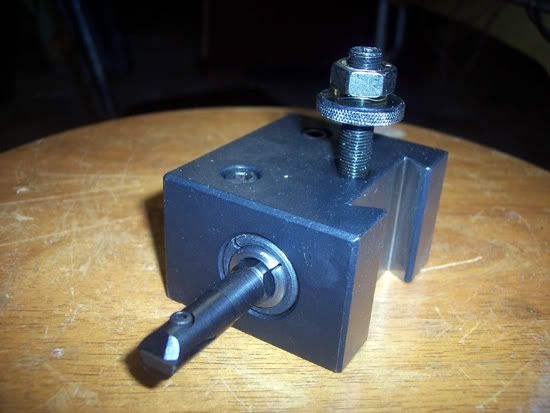
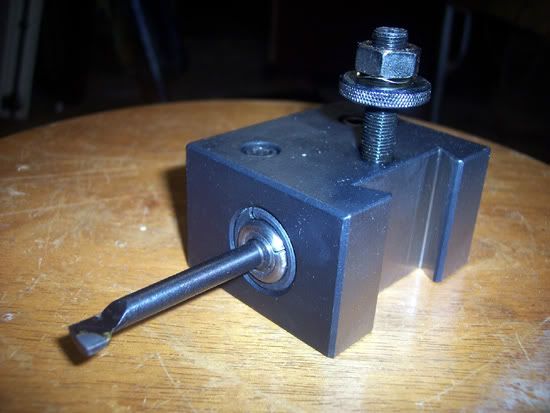
Tomorrow I'll be making split bushing to adapt my 1/2" and 3/8" boring bars to the 3/4" boring
bar holder that came with the QCTP set.
Rick
It look just like this ad photo.

I doubt I'll ever need a knurling tool at work but it's kind of cool that one was included in the set.
It states on Enco's web page: "Tool Post T-Nut May Require Machining"
Since this tool post is for a 10 to 15 inch lathe, I expected the T-Nut to be a bit heavy.
It Was!
The Phase II T-Nut next to the original 4 way tool post T-Nut.

It is .272" too wide and .125" too thick on the bottom.
The top width is .365" too wide.
The most capable mill I have access to is my little X2.
I'm thinking this may take awhile.
Actually it didn't take long at all.
An end mill made quick work of bringing the side to width.

Then three cuts stepped across the bottom with a small face mill brought that thickness
to size.

I don't get to use that little face mill too often but it's a great little tool even on an X2!
.050" depth of cut at 1700 RPM and you can crank it across the workpiece as fast as you
want to. (Or until the burns from the hot chips hitting your cranking arm become unbearable.)
In less than 20 minutes I ended up with this.

I didn't take anything off the top face. It is a little thicker than the original T-Nut but will still
be about .030" below the top surface of the compound. I wanted to leave it as thick as I could.
It needs to be cleaned up and deburred a little better but it will fit the machine now.
Tomorrow I'll be making split bushing to adapt my 1/2" and 3/8" boring bars to the 3/4" boring
bar holder that came with the QCTP set.
Rick


