zeeprogrammer
Well-Known Member
- Joined
- Mar 14, 2009
- Messages
- 3,362
- Reaction score
- 13
So I ordered the Elderberry Launch Engine Kit from LittleMachineShop. I hope this will become my second engine. A mini-lathe and mini-mill is needed.
As you all know...I am very new to this hobby. No engine experience (bore and stroke?) and no machining experience (wobbler?) save for the last four months.
That's the main reason why I chose this kit. It comes with the materials (right...I know nothing about metal either...half hard brass?), the plans, and what looks like a decent intro into machining.
My first engine was from a casting kit. Some people suggest an engine from raw stock would have been a better choice. I can't say for sure yet but I currently lean towards agreeing. Mainly from the frustration I had with the flywheel. I had bought several of the same kit and found the two halves of the flywheel to be a little off. I couldn't figure out how to hold and/or cut the part so that I had a square rim and concentric hub. On the other hand, it was the simplest kit I could find and it ran despite my sloppy job. I got a lot of satisfaction out of it. A big portion of that satisfaction must be attributed to this forum from which I received a great deal of excellent help as well as recognition.
In thinking about what I just said...a raw stock kit is better. I was bound to make mistakes...hence I had to buy additional kits. (I found out later I could probably have bought replacement castings for the parts I mutilated.) I expect to make still more mistakes...but buying more raw stock is much easier especially when the kit tells me what type and size I need. This kit looks more complicated but it comes with more information on how to do it.
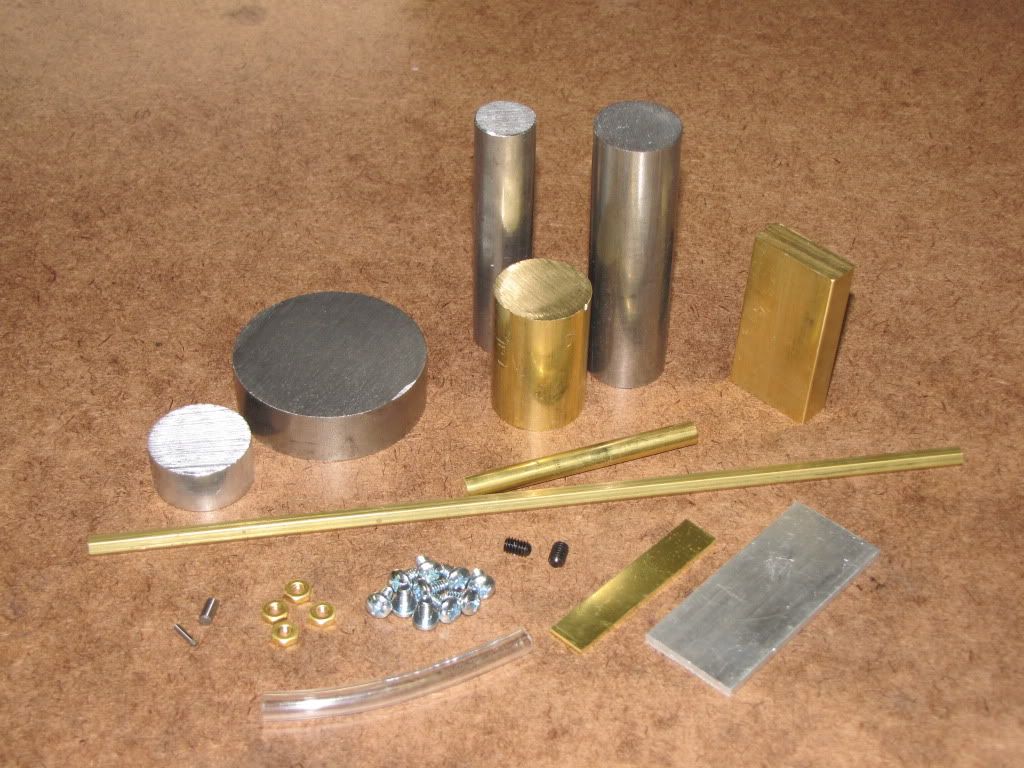
This is a picture of the raw bits that came with the kit...

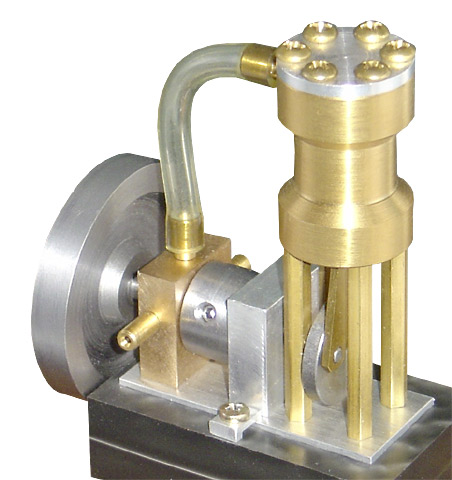
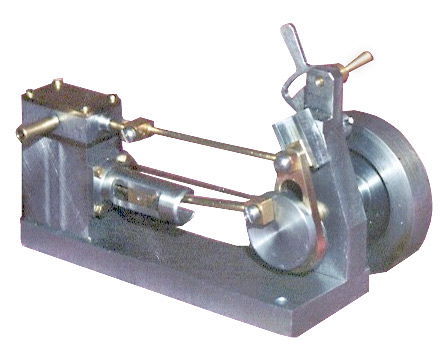
The manuals are copyrighted so I don't think I can show you a picture of it. But the following link shows an engine that is nearly identical (thank you Harold Lee). The major difference is that the metal tube is plastic in the kit I got.
http://www.homemodelenginemachinist.com/index.php?topic=1863.msg14696#msg14696
The kit comes with two documents. One is the Drawing Set. I understand most of it (I had taken a drafting class back in high school...back when you used pencils and pens and liquid ink. And, I've had the pleasure of working with some fine mechanical engineers.) Still there are some symbols I don't know and will have to get some help on.
The 2nd document is the Construction Manual. It professes to be for the person who's interested but knows next to nothing. (It was written for me!) It's pretty good but they suffer from 'they don't remember what they didn't know'. (And I've found a couple of minor mistakes in scanning the notes.) Again, I know this forum will prove invaluable.
I must admit...I hope I can serve as an example to those others who, like me, lack experience and knowledge but have the desire to build.
As a side note...I'm also learning how to post to the forum. I think I got the picture right. Now I have to figure out how to size it. After all it's just bits of metal. The next picture will show smaller bits of metal...and the picture of that...even smaller bits. If I can make the picture smaller...the smaller bits might at least look bigger.
Let the story begin...and the (positive) criticisms and learnings...
As you all know...I am very new to this hobby. No engine experience (bore and stroke?) and no machining experience (wobbler?) save for the last four months.
That's the main reason why I chose this kit. It comes with the materials (right...I know nothing about metal either...half hard brass?), the plans, and what looks like a decent intro into machining.
My first engine was from a casting kit. Some people suggest an engine from raw stock would have been a better choice. I can't say for sure yet but I currently lean towards agreeing. Mainly from the frustration I had with the flywheel. I had bought several of the same kit and found the two halves of the flywheel to be a little off. I couldn't figure out how to hold and/or cut the part so that I had a square rim and concentric hub. On the other hand, it was the simplest kit I could find and it ran despite my sloppy job. I got a lot of satisfaction out of it. A big portion of that satisfaction must be attributed to this forum from which I received a great deal of excellent help as well as recognition.
In thinking about what I just said...a raw stock kit is better. I was bound to make mistakes...hence I had to buy additional kits. (I found out later I could probably have bought replacement castings for the parts I mutilated.) I expect to make still more mistakes...but buying more raw stock is much easier especially when the kit tells me what type and size I need. This kit looks more complicated but it comes with more information on how to do it.
This is a picture of the raw bits that came with the kit...

The manuals are copyrighted so I don't think I can show you a picture of it. But the following link shows an engine that is nearly identical (thank you Harold Lee). The major difference is that the metal tube is plastic in the kit I got.
http://www.homemodelenginemachinist.com/index.php?topic=1863.msg14696#msg14696
The kit comes with two documents. One is the Drawing Set. I understand most of it (I had taken a drafting class back in high school...back when you used pencils and pens and liquid ink. And, I've had the pleasure of working with some fine mechanical engineers.) Still there are some symbols I don't know and will have to get some help on.
The 2nd document is the Construction Manual. It professes to be for the person who's interested but knows next to nothing. (It was written for me!) It's pretty good but they suffer from 'they don't remember what they didn't know'. (And I've found a couple of minor mistakes in scanning the notes.) Again, I know this forum will prove invaluable.
I must admit...I hope I can serve as an example to those others who, like me, lack experience and knowledge but have the desire to build.
As a side note...I'm also learning how to post to the forum. I think I got the picture right. Now I have to figure out how to size it. After all it's just bits of metal. The next picture will show smaller bits of metal...and the picture of that...even smaller bits. If I can make the picture smaller...the smaller bits might at least look bigger.
Let the story begin...and the (positive) criticisms and learnings...


