Lathe ER16 Collet Chuck

Home Model Engine Machinist Forum

Help Support Home Model Engine Machinist Forum:

This site may earn a commission from merchant affiliate links, including eBay, Amazon, and others.

Maryak

Well-Known Member
Joined
Sep 12, 2008
Messages
4,990
Reaction score
77
Hi Guys,

As threatened in my H&M thread here is the start of my ER16 Collet Chuck for my lathe which has a 4mt Spindle housing.

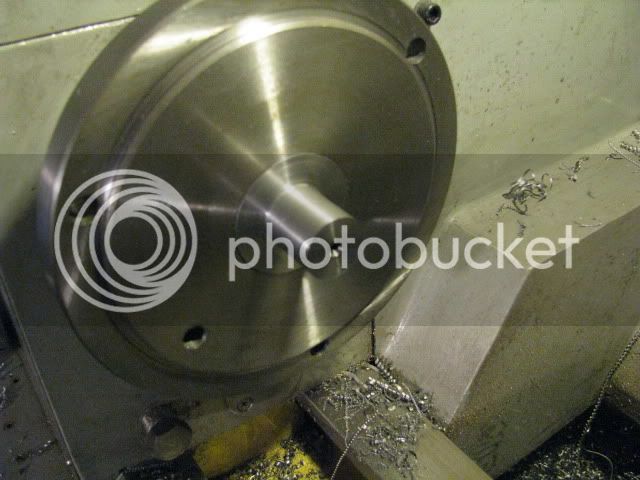
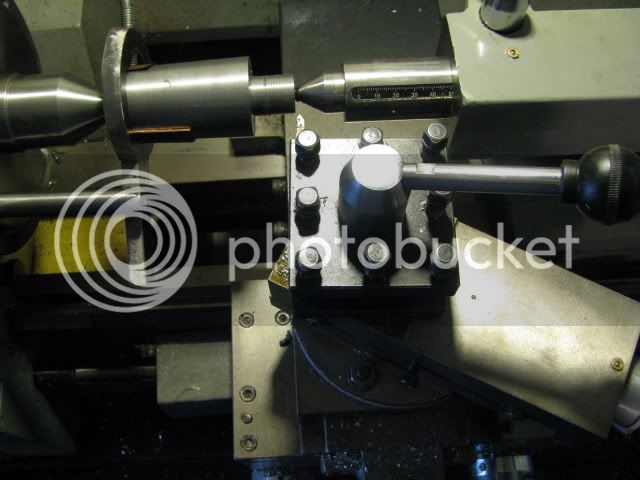
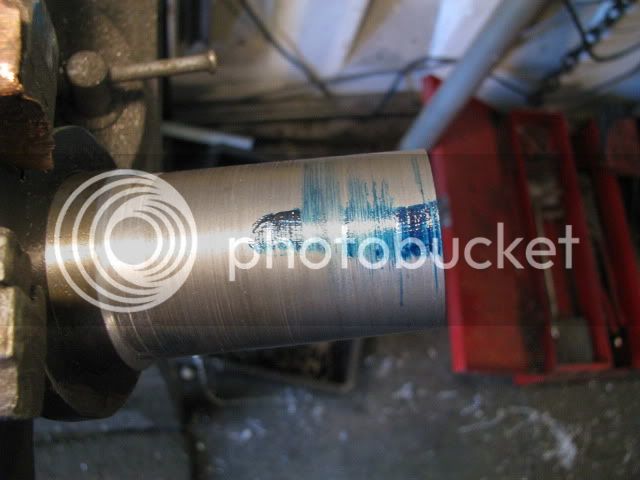
Turning the taper between centres using the tailstock offset method.
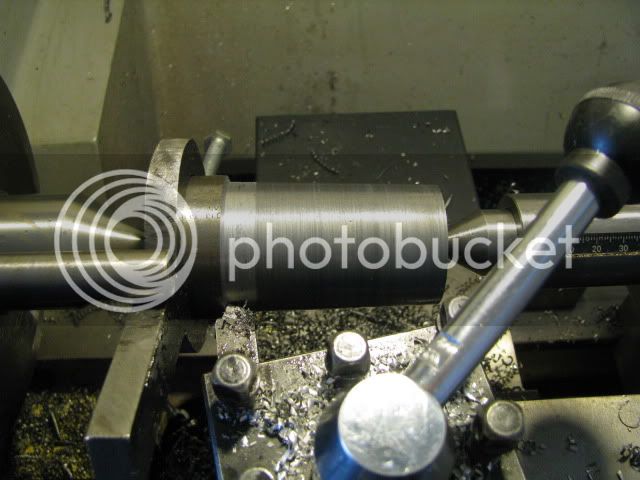
IMG_1302.jpg


1st blue of the taper which resulted in a SWAG of a further 0.004" tailstock offset.
IMG_1303.jpg


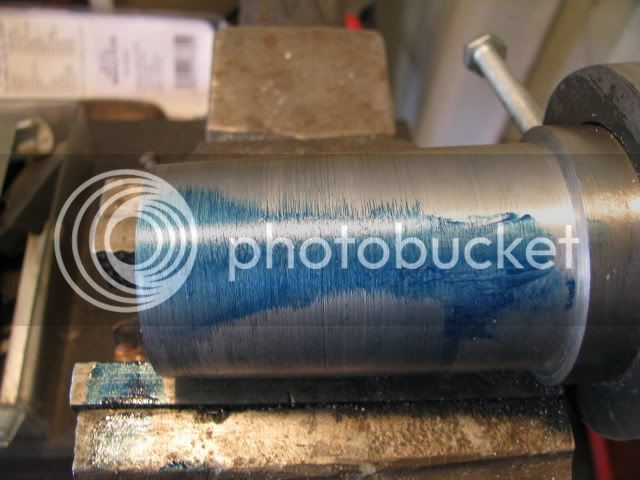
2nd blue after altering the offset as above.
IMG_1304.jpg


Not much to show but that's because paying work interrupted my playtime. :mad:

More next week.

Best Regards
Bob
 
Nice goin',Bob.But I'm a little curious.Why did you go for er16?Wouldn't er32 be a lot more useful?Or is there another specific reason for the 16?
I'll watch closely,cuz I want to make an er32 chuck for the lathe,so I can use the collets I already have for the mill.The mill chuck lives in the spindle permanently.
 
bentprop said:
Why did you go for er16?Wouldn't er32 be a lot more useful?Or is there another specific reason for the 16?

I'm wondering the same thing....or did you already have the ER16 collets?? ???

I am going to have to make a collet chuck for my new-to-me 20x48 lathe..not sure yet what collet system to use, but I'll be watching this thread for ideas!! :bow:

Andrew
 
bentprop and Andrew,

Two reasons:

1. PRICE ;D

2. My lathe is middle size for a hobby machine - 320 mm dia swing over the bed, I needed something to hold small diameter parts accurately but over 7/16" I figure I can cope with my 4 jaw and a clock gauge.

Best Regards
Bob
 
Bob - I'll be watching as well, I want to make one for my lathe too. Have you changed lathes, my AL320G had a 5MT headstock.
Rgds - Gavin
 
Gavin,

No change of lathe, just another "senior moment" ::)

I took the sizing from the headstock dead centre so at least I got that part right. Probably accounts for the adjustment I had to make turning the taper.

Thanks for straightening me out. :bow:

Best Regards
Bob
 
Good start Bob Thm:

I can PROMISE you, it's worth the effort making a collet chuck ;) - even if paying work interrupts!

Kind regards, Arnold
 
I second Arnold on that one! Man, what a handy thing mine is. For turning small stuff,
it's hard to imagine what could be better. And, on the money every time!

Have fun with this Bob. I'll be reading along with the rest of the guys.

Dean
 
bentprop said:
.....
I'll watch closely,cuz I want to make an er32 chuck for the lathe,so I can use the collets I already have for the mill.The mill chuck lives in the spindle permanently.
This something I made a while ago for my 14x40, a 5MT/ER32 adapter with draw tube. The draw tube enables the ER32s to be used as through collets with long stock. Like yourself, I figured that I've already got a good set of collets for the mill, why not use them in the lathe as well.

http://www.homemodelenginemachinist.com/index.php?topic=6739.0
 
Keep it going Bob!....been threating to make a taper adapter for my lathe for some time......2 degree outside by 3 MT inside....you just "might" push me over the edge...

Don't let too much of that paying work ^@%$%# get in the way either! ;D

Dave
 
Arnold, Dean, Bob & Dave,

Thanks for the encouraging words guys. :bow: :bow: :bow: :bow:

Best Regards
Bob
 
Hi Guys,

Yesterday, I actually managed some quality, (i.e. without interruption), time in the shop and finished the lathe collet chuck. :eek: :eek: ;D

After bedding the taper it was time to machine the nose for the nut and collets.

IMG_1316_resize.jpg


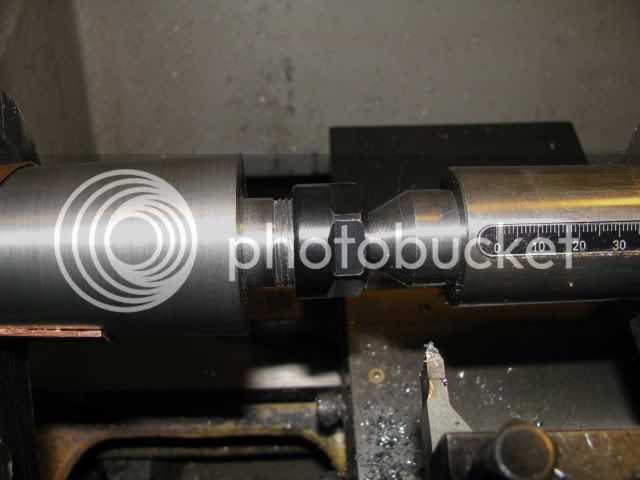
Because the nose is close to the end of the leadscrew, I elected to go back between centres to cut the thread, (22mm OD x 1.5mm pitch).

IMG_1317_resize.jpg


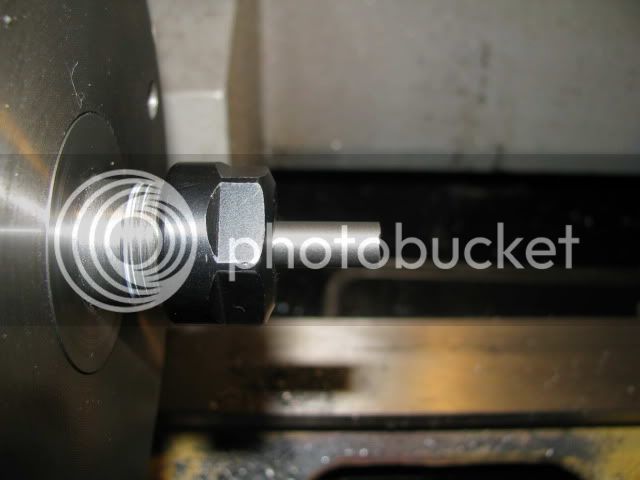
The completed thread with the nut fitted.

IMG_1318_resize.jpg


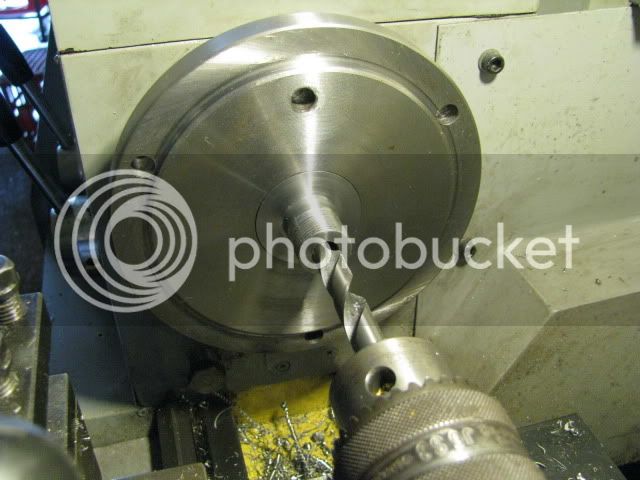
Back in the head and drilling the through hole.

IMG_1319_resize.jpg


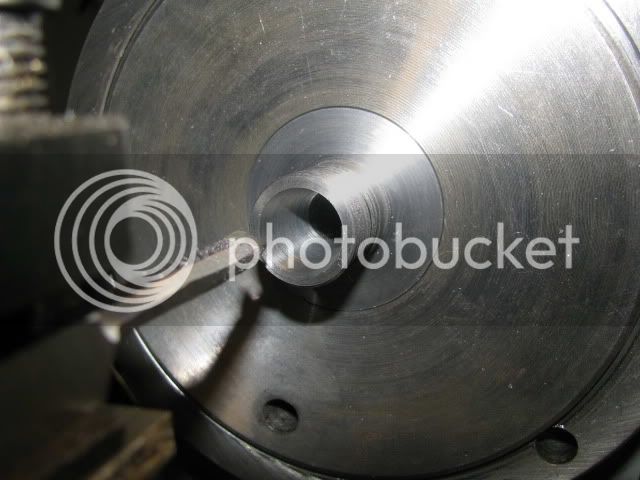
Boring the collet taper. This was sized using bearing blue for the angle and then light cuts for the depth until a squeezed collet locking gate was level with the end of the boss.

IMG_1321_resize.jpg


Here is the finished effort with one of the H&M valve guides chucked in. At 600 rpm the needle on my clock gauge barely moved so I think the project is complete.

IMG_1322_resize.jpg


Best Regards
Bob
 
Bob

Glad you finished the collet chuck. A couple of questions if I may, are you using a drawbar through the spindle to secure the taper or will the taper be enough? Secondly, in your threading picture the compound is set to 30 degrees from the longitudinal axis of the work whereas I've seen other pictures where the compound is set to 30 degrees to the cross-slide axis (which is how I've been setting mine). Is there any right way or will either do the job?

BTW - she who must be obeyed laughed at the latest email you sent, very witty.

Rgds - Gavin
 
gjn said:
Bob

are you using a drawbar through the spindle to secure the taper or will the taper be enough?

Secondly, in your threading picture the compound is set to 30 degrees from the longitudinal axis of the work whereas I've seen other pictures where the compound is set to 30 degrees to the cross-slide axis (which is how I've been setting mine). Is there any right way or will either do the job?

I am relying on the taper. For me a draw bar defeats the purpose of being able to insert longer lengths of small dia material.

I was taught to cut threads with the compound parallel and use the X slide for the infeed and the compound for making the cut on one side of the thread. This was my 1st attempt at setting the compound to half the angle and I am sure I set it wrong. Rather than mess about I reverted to my old way and winged it until I got a good fit of the threads. :eek: :eek:

I will not cut another thread using this method, I simply don't like it and it's all backwards to me. Force of habit had me putting on the cut with the x slide and then wondering where I was etc. I guess it's a matter of what you know and the logic of the compound at half angle sounds good. Why I picked this must be a goody thread to experiment I will never know. A little fiddling got me out of my self dug hole.

Many excellent machinists swear by the compound half angle method. I swore at it. Then again I would not rate myself as excellent.

Best Regards
Bob
 
Gavin & Bob,

If your method of threading works for you, then use it.

There are no bosses here looking over your shoulder (or there shouldn't be).

For what we do, it is the result that matters, not how you get there.


Bogs
 
This was my 1st attempt at setting the compound to half the angle and I am sure I set it wrong.

your half angle doesn't sound at all right to me. Try setting the compound to about 1/2-1° less than the thread angle i.e. 59.5° (the actual reading on your compound scale may vary according to the make (e.g. 29.5° etc.) , so just imagine the V of the thread extending outwards and set the compound to 1/2° inside OUTSIDE (sorry) this V). The tool should still be set 'square' to the work with a thread gauge.

The idea of feeding with the compound is that tool only cuts on the leading edge so the swarf has room to scroll clear.

Watch an expert at work:
[ame]http://www.youtube.com/watch?v=Umf4dDzK7fI[/ame]


See how he uses the cross-slide just to retract the the tool at the end of the thread (which he then resets to zero while waiting the the threading dial) and feed from zero to the correct depth with the compound.

 
Maryak said:
I am relying on the taper. For me a draw bar defeats the purpose of being able to insert longer lengths of small dia material.
As long as you always have the tailstock on the work I'm sure you will be fine without a draw tube, other than that personally I would be getting nervous. After re-reading the thread I'm not sure if you made a 5MT or 4MT taper, but I know that with a 5MT and ER32 collets the draw tube will accommodate 20mm stock. Even with a 4MT taper I imagine a draw tube will be able to take the ER16s 11mm.


Maryak said:
I was taught to cut threads with the compound parallel and use the X slide for the infeed and the compound for making the cut on one side of the thread. This was my 1st attempt at setting the compound to half the angle and I am sure I set it wrong. Rather than mess about I reverted to my old way and winged it until I got a good fit of the threads. :eek: :eek:
You've done exactly what I did the first time I tried the 29.5° offset method ;D. WTF, why am I getting these funny looking threads ???? Nowadays I use both offset and plunge methods as the mood takes me, offset for larger threads, plunge for smaller threads.

 
Maryak said:
Then again I would not rate myself as excellent.

I beg to differ with that statement Bob, your diesel project and the H&M so far show the proof. Thanks for the response to the questions, it all helps to explain the alternatives.

Rgds - Gavin
 
gjn said:
I beg to differ with that statement Bob, your diesel project and the H&M so far show the proof. Thanks for the response to the questions, it all helps to explain the alternatives.

Rgds - Gavin

Gavin,

Your too kind. :bow: and I'm not being facetious. :D

Best Regards
Bob
 

Latest posts

Back
Top