Jan Ridders Simple LTD Stirling Engine Build

Home Model Engine Machinist Forum

Help Support Home Model Engine Machinist Forum:

This site may earn a commission from merchant affiliate links, including eBay, Amazon, and others.

raynerd

Active Member
Joined
Aug 13, 2009
Messages
34
Reaction score
1
Location
Manchester - UK
Hi

I don`t post very often on here, I`ve done a few small wobbler engines and this is my second attempt at an LTD stirling, sadly it is complete but not running!

I`ve made quite a few posts on my weblog and so I`ll put them all on here in order of which they were made, hoping that someone can help me out and hopefully make this a runner!

I appreciate any advice, help or comments!

Chris
 
I made an attempt at an LTD Stirling Engine several months ago and failed quite miserably. I know these things are temperamental but after my first attempt I did have quite a few ideas for improvements...nothing new, things that people have already been doing but stuff that I ignored! So over the last few months despite having 101 other projects on the go I started collecting materials. I decided on a glass cylinder with a graphite piston for the power piston and also point bearings as shown in Jan Ridders latest LTD simple stirling plans.

Here is the lump of graphite I`ve managed to get hold of... it is a fair old lump!
ltd12.jpg


And it seems to cut OK. I hacked a long block off the top and turned it down holding the vac under the tool to pull all the graphite dust away. This was just a test but I used the same process to make the displacer piston bushings.

ltd14.jpg


The power piston will have a glass cylinder. I needed to know that I can cut test tubes before I got into this and this setup worked a treat. Turning the glass slowly in the lathe I eased the dremel cutter slowly into the tube. I believe you can cut it half way and snap it the rest of the way but I actually held a cloth under it and cut right through.

ltd13.jpg


Here is a collection of most of the materials. The only thing missing is the 2.5mm silver steel which I forgot to include in the picture.

ltd11.jpg


The container was purchased at Asda for £1 and is about 101mm OD. I rang a plastic company and for a 100mm OD clear acrylic piece of 20mm length they wanted £12 plus £10 postage!!!! I think this will do the trick nicely and it cut far more easily than the tapered Tesco spaghetti tube I used last time - the 20mm cut off length can also be seen above! You can also see the glass cylinder.

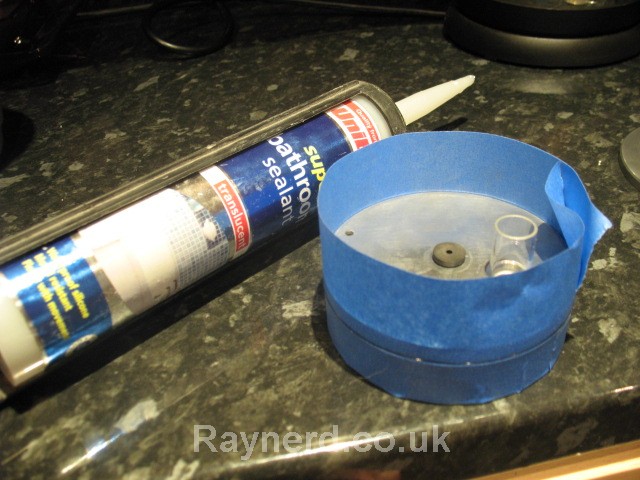
So I`ve now made some progress with the displacer cylinder, top and bottom have been cut and the top displacer rod hole bushed with graphite. The displacer cylinder will be permanently sealed once completed unlike some designs (and my last attempt) which used screws to clamp the cylinder in place. I think I had a problem with air leakage last time so this time I`ll stick to Jans idea of a permanent seal. I`m actually going to use sealant to permanently bond the bottom section of the aluminum to the plastic displacer cylinder. I`ve cut the top aluminum so that there is a rim of the same ID of the cylinder. This allows me to lock the cylinder onto the rim and I`ll use a small bead of silicon just on the outside join to seal the two as it is held tight without any bonding. If anything does go wrong it`ll be easier to cut this small seal if I need to disassemble the displacer again.

ltd15.jpg


ltd16.jpg


Still pushing on with this, I have now cut a new cylinder to size and with a better finish from a 16mm OD test-tube with 14mm ID. This is the graphite piston to a perfect polished fit. This is the first time working with graphite and I`m very impressed with the fit!

ltd21.jpg


Wasn`t quite finished in this picture but you can see the mirror finish starting.

ltd22.jpg


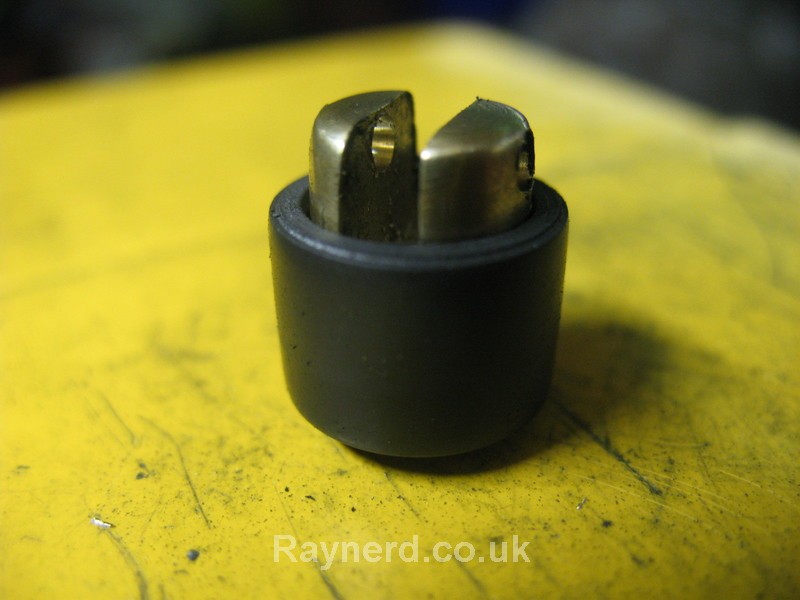
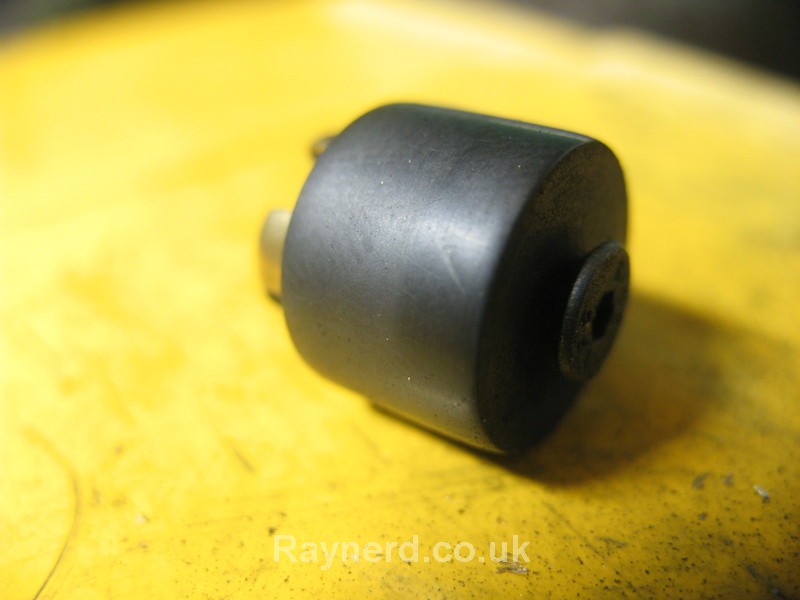
This is the graphite bush for the displacer rod.
ltd23.jpg


ltd24.jpg


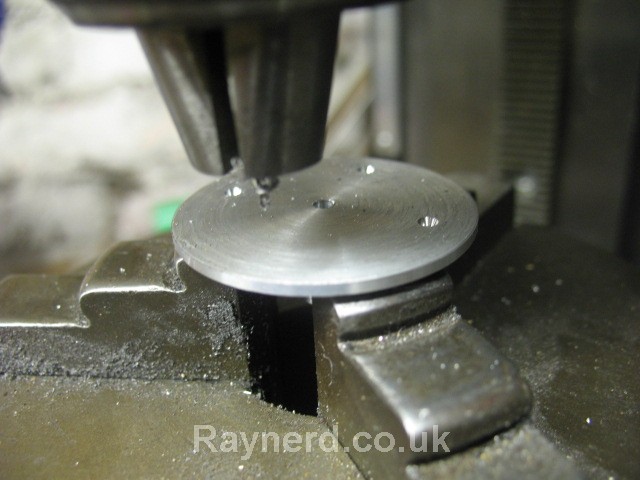
Since I don`t have a boring head for the mill and didn`t want to offset the plate in the mill, I luckly had this step drill that gave me just the 16mm by 3mm shoulder I needed just to sit the glass piston cylinder inside.
ltd25.jpg


ltd26.jpg


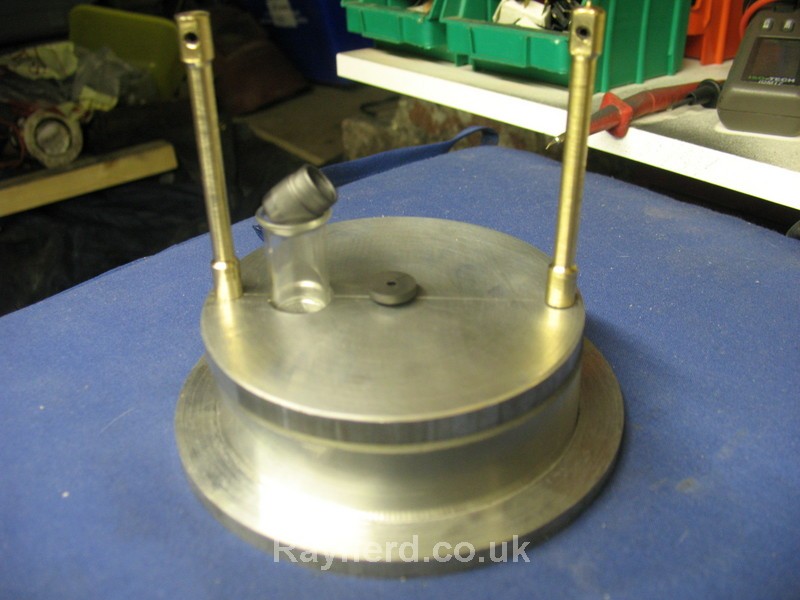
I then turned up two supports...

ltd27.jpg


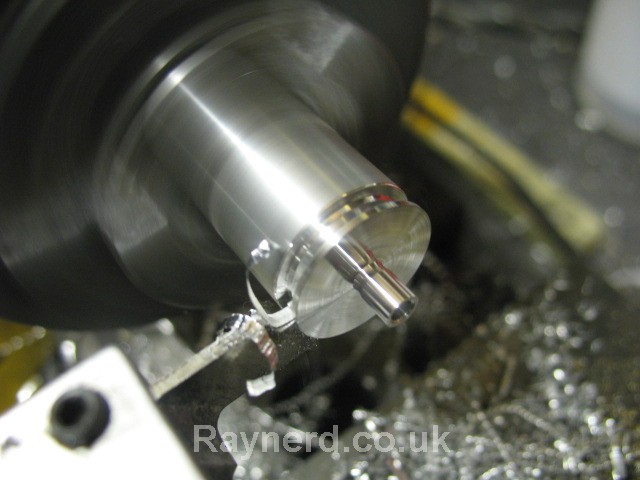
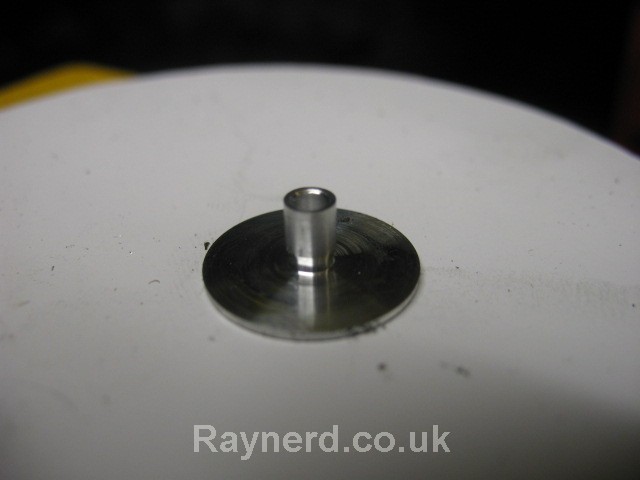
And here is the insert for the graphite power piston.
ltd28.jpg


ltd29.jpg


And what I have so far....
ltd30.jpg


A little update here as I feel I am coming to the final straight!

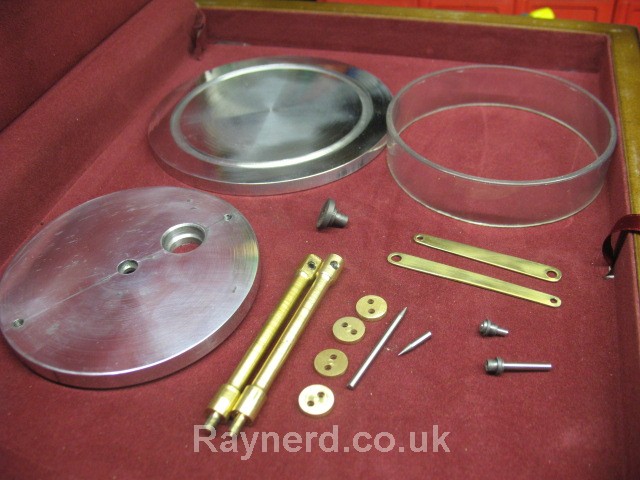
Here is a picture of the parts so far but not including the glass cylinder and graphite piston - they are safe away from potential smashes! I`ve now cut the main parts for the crank shaft assembly - the displacer and piston rods, various size parts to the crank axis and of course the four webs.
ltdn1.jpg


I`ve also turned the tiny graphite bushes that sit between the webs and allow smooth movement of the rods.
ltdn2.jpg


I have now made a small error as at the same time I`ve not soldered the other axis to give the 90deg shift. I DID thread them onto the axis to keep them aligned whilest silver soldering these bits and my intention was to solder the axis for the 90 deg shift in my next "shop time". Of course when I solder the next bits, it`ll loosen the current soldered parts!! I am strongly considering gluing the other parts that make up the crank assembly. Especially with it being a stirling engine, there are few excessive forces or temperatures to worry about.

ltdn3.jpg

 
I`m off work for 6 weeks at present and so I`m getting more done than I ever have! - I`m having a great time between the workshop and looking after my little one.

I was lying in bed last night thinking about gluing the rest of the crank shaft and then I thought again, should I really not be following the plans! I`d also ignorantly cut the crank shaft into all the right sized little bits to soft solder into position. It was only when I chose to read the text that comes with the plans does it explain to insert that as one long piece, soft solder and cut the small sections out. Of course, despite having to remake the crank axis, this method allows perfect alignment and the only thing I had to do was set the cranks 90deg apart. I thought about a fancy jig and then decided that I could do this using a couple of pin vices.

My soft soldering leaves a lot to be desired. My flame seems too fierce and I end up with a huge blob of solder around the part. However, some time, effort and a lot of sanding got rid of the most of it.

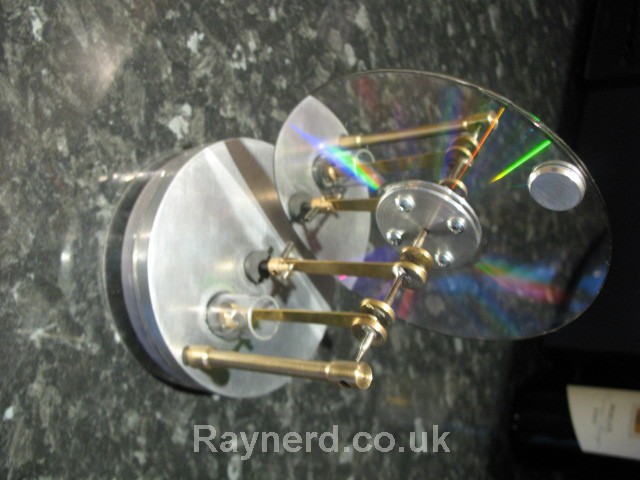
Here is everything assembled so far. Perhaps I`ll have some time for the displacer tonight!

img_0552.jpg


After going on about the displacer and how pleased I was with the graphite, I`m now not sure! It seems to move freely and when I blow it, the pressure builds up and the piston shoots out. However, the fall through test doesn`t work very well, it still falls through with a finger sealing the top... humm would you go with this piston or try and change it? The piston will be something that could be changed once all is assembled. I`m tempted to run with it....
 
Hi guys, thanks for your replies. Yes, Kvom, I did know they could run on a cold source but only because I`ve seen them doing so on youtube and it makes sense but I wouldn`t have considered it. I guess any temperature difference between the plates will cause it to run.

OK, here are some pictures for you. I`m pretty sure that this is all the parts are now complete and I`ll spend tonight polishing them up and then finally sealing the displacer if I have time.

Here is the displacer being cut from foam board. It actually cut very nicely on the lathe with a sharp tool, much better and more accurate than using a craft knife.
ltd61.jpg


This is the holder for the displacer being formed
ltd62.jpg


ltd62b.jpg


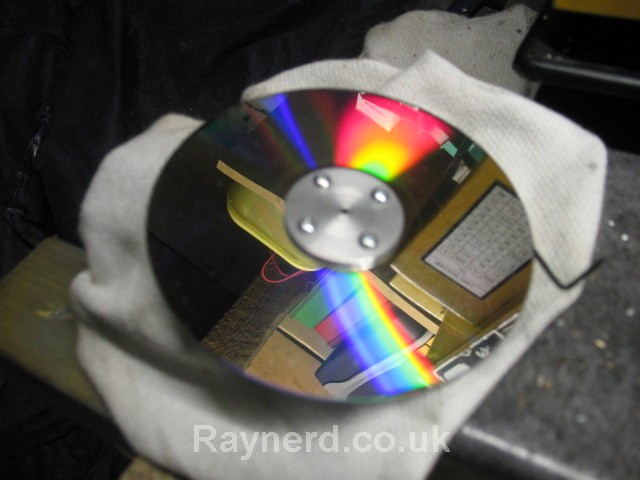
I next needed to make a similar holder for the flywheel. The plans for the flywheel to be glued to the holder but I wanted to be able to change it from something more aesthetically pleasing, I`m not keen on two CDs stuck together..but again I want to stick to the plans until it runs!
ltd63.jpg


To make the flywheel changeable, I wanted to drill 4 holes so that I could attach it with small screws. So onto the milling machine and mounting my new Boxford spindle nose attachment so I can use the Boxford chuck. Only ever cutting gears, believe it or not, I`ve never using it this way around so have only just run into this potential disaster!! It doesn`t fit!!!!! I need a solution for future!
ltd64.jpg


Luckily with about 2mm clearance I could just centre spot the hole locations but it certainly wasn`t ideal.
ltd65.jpg


ltd66.jpg


Two CDs were glued together and attached to the holder
ltd67.jpg


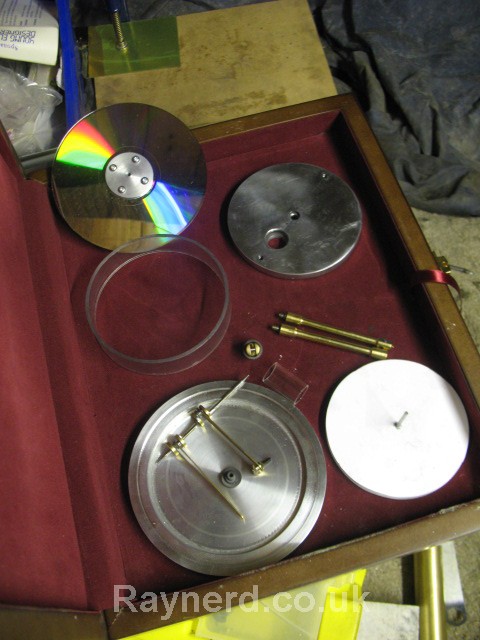
And now all the pieces in the box ready for polishing and assembly!
ltd68.jpg


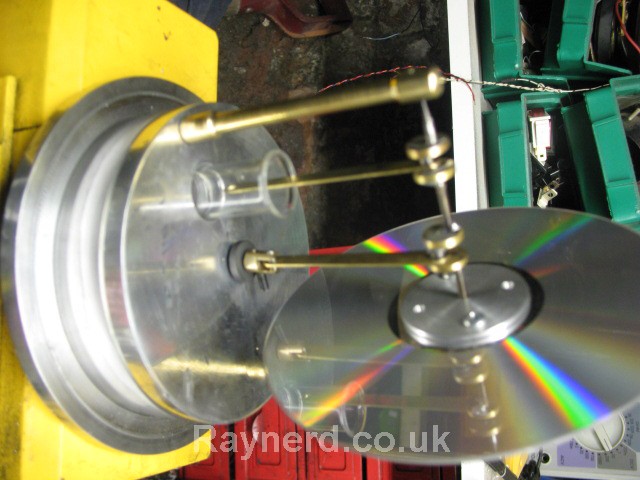
OK, I couldn`t resist a quick mock up..notice this was a temporary single disk on the flywheel, it seems to run very very smooth but then the power piston wasn`t in. It did give me an idea of what it would look like.
ltd69.jpg


Hopefully further updates shortly! I will need to leave it at least 18 hours for the sealant to dry and of course that is if I get onto it tonight.
 
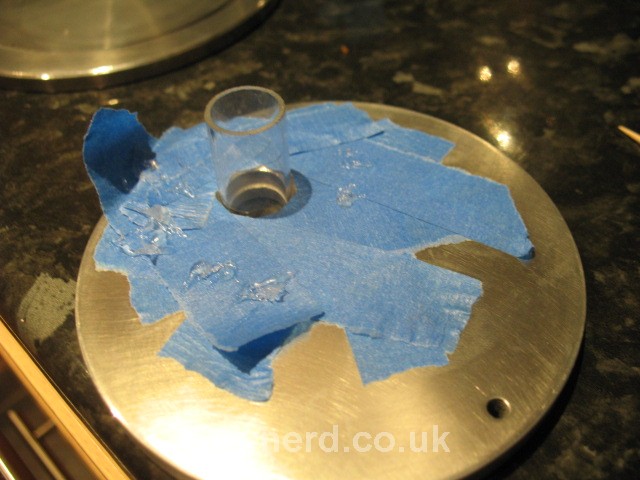
A quick update… last night I sealed the cylinder to the top plate:
ltd99.jpg


and then I sealed the side of the displacer onto the top plate:
ltd98.jpg


This evening I managed to cut the counter weight but I have to admit I struggled with this. At one point the flywheel was clearly falling to the bottom weighted position. The instructions, as I read them, was to keep trimming material from the weight until the flywheel landed at random positions. After quite a bit of material coming off the weight, I did get to a position where it became a little more random but it still favoured one side – I am concerned the power piston brass centre is too heavy as it is this falling to the lowest position which is causing the flywheel to end up at one side. That said, it isn`t as bad as it was so I`m hoping it is balanced correctly. If it doesn`t work it`ll definitely be my first “check”.
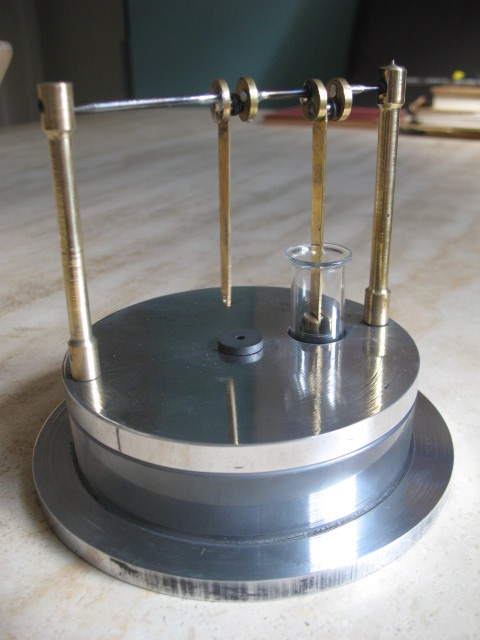
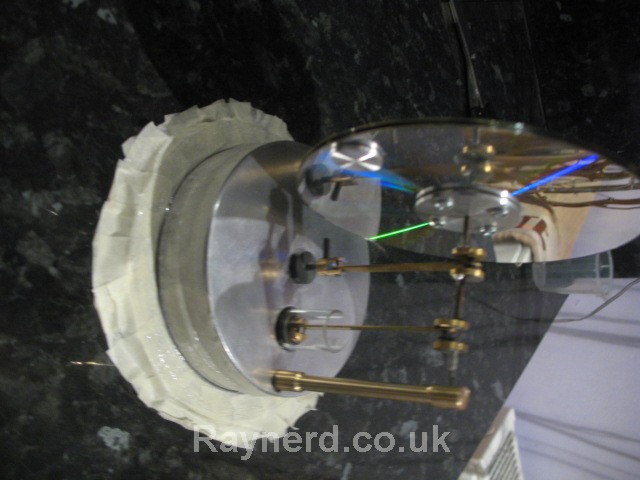
All the bits together and a picture of my trying to balance the system without the bottom plate.
ltd97.jpg


And now the bottom plate sealed in position:
ltd96.jpg


I guess the proof will be in the pudding when I try it out tomorrow when the sealant has gone off!
 
Removed the bottom cover and re-balanced the system. I think I did this correctly yesterday dispite my concerns and so things haven`t changed at all.

[ame]http://www.youtube.com/watch?v=rmojALAmhDo[/ame]

Now, call it impatience, I call it experimenting but I sealed the bottom plate on again and with the sealant still tacky, I put it on a hot plate. The sealant started to buldge out as the gas expanded inside the engine....does this tell me that the system is well sealed and also, more importantly that I have a good seal on the power piston and displacer bushing?!?

What could be wrong ... :smart:
[ame]http://www.youtube.com/watch?v=lFCxKG14oGI[/ame]

Is it just me or does it look like it is having a bit of a push behind it? Look at the first spin, the last two revolutions seem to get a "kick" ??

I`ve sadly ammended the first concern I had, that being the yoke to the power piston was too heavy and I`ve sealed it properly. Sadly, still no joy :(


----------

And here we are at present day....

Any advice appreciated!
 
I haven't built one of these, but I want to. It occurs to me that getting the highest possible temperature differential (ice on the cold surface or even dry ice) is in order to try to get an initial run. If it runs at high differential it may "break in" and run on lower differentials or at least lead to an ability to find the problems.

Just my $.02 (cdn)


Good luck,

Ken
 
I am a bit late to reply to your thread, but my new post may help with your build. You are on the right track and I can see your engine is not far away from running. By the way, Stirling’s will only run in one direction, and I can see from your vid, that it wanted to run. Is it running now?

Here is my thread http://www.homemodelenginemachinist.com/index.php?topic=16408.0

Regards,

Smuttley
 

Latest posts

Back
Top