Ignore this topic

Home Model Engine Machinist Forum

Help Support Home Model Engine Machinist Forum:

This site may earn a commission from merchant affiliate links, including eBay, Amazon, and others.
Status
Not open for further replies.
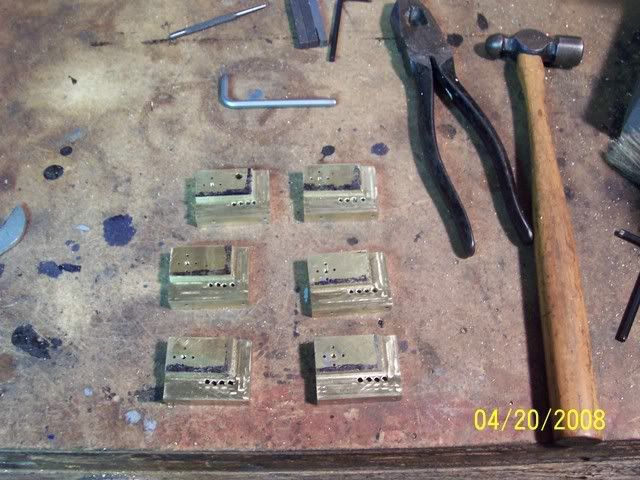
finished drilling the holes in the face for steam ports this morning. Still have to drill and tap the holes in the top and rear, cut out & mill the clearance for the flywheel, drill the oiler, polish the things.... practically done!

Joe
 
Just to let you all know, work is progressing on the flywheels. I've played around with various things (a backplate so I could use a collet chuck, learning the ins and outs of collets, and a simple DRO for my compound slide) when I could've just banged them out quick, but they are nearly complete:

P1010489.JPG


I've been experimenting with various ways and tooling to optimize the "manufacturing process". There is one more thing I want to try on the final flywheels and then I'll put together a thread that shows with pics what my best practices were.

FWIW, I will polish the rim but not the sides. I like the contrast, similar to the way a lot of castings machine the rim but leave the spokes as cast or sometimes one sand blasts for a matte finish.

After the flywheels are taken care of, I will move on to the con rods. I need to make a button head/v-block fixture for it, but shouldn't need much other exotic tooling.

I will post on the compound DRO elsewhere.

Cheers,

BW
 
gilessim said:
I wanted to ask, what about the little slot on one end of the base, do we need that?, or is a countersunk hole ok ,since I'm putting a little 1/4 bead around them, the slot would spoil the lines!


Giles

Giles:

I don't know about everybody else, but I like the hole in lieu of the slot.

Joe
 
Today I worked on my pillars, among other things. I made a collet stop last weekend. It had to be small enough to reach in the small hole of the collet. It worked pretty good. I have 25 faced to length and they are all within .0015 of each other. I have been checking every one with a mic. Every once in a while, One comes out about .002 long? If I reinsert it and take a cut, It comes out to the right length. My south Bend needs the spindle tightened up. I have about .003" up and down movement in the bushings and a couple in and out. I'm sure this is where the discrepancy is.

I should be working my form tool on Friday:eek:)

Wes
 
Progress report.....

Just finished tapping all six, in all the spots required, WITHOUT BREAKING A TAP! Huzzah! Next up, milling to final dimension in respect to thickness.

Joe
 
Wes, I've been having similar 0.001" (and every once in a while, 2 or 3 thou) too long results with my collet facing operations on the flywheels. That's why I built the compound DRO. It helped, but did not eliminate the problem. I'll figure out what it's doing eventually, but it is annoying!

Cheers,

BW
 
You will find that an integral collet stop on 5c collets is dependent on the pressure applied when tightening the collet. Too slack and you will cut short, too tight and it will cut long. I always use a marker to mark the position of the chuck key, and this gives fairly repeatable results. This is all dependent on the pieces having exactly the same O.D.

The only positive way of getting a totally repeatable collet backstop is to make a spindle backstop and extend it thru the collet chuck and collet. But of course this will only work if the spindle is free of endfloat, unlike Wes, who has a bit of work to do to get his sorted.

The easiest way of doing the small quantities that you are doing, is face each end, measure to find amount to remove, with the saddle locked and by using the compound, touch on with the facing tool, and wack it off. A lot more accurate and easier than playing about with stops.

John
 
Just to say, that the hole , instead of the slot, means that the engine will have to be mounted to the wooden base before the cylinder assembly is mounted, otherwise one would have to use a cranked screwdriver of some kind, that seems to be the only reason for the slot. But with the pillars now having internal threads, that shouldn't be a problem!

Giles
 
Sounds like you are doing quite well. I'm just glad we are using brass and not 1018 steel or something like that. I get nervice with those little taps!

There are a lot more holes in that bearing than I realized. When you take all the holes plus tapping multiplied by 6 it is quite a job!
 
If you can saw most of the surplus stock straight off that's a real time saver!

Is the Carbide tipped blade just one of those small ones used for small desktop tablesaws? It looks very fearsome! I'd be worried about something catching and pulling into the blade prior to parts being launched into orbit? And just gripped in the tiny standard Taig Vice too?

No problems to report yet?

 
Well guys guess I better jump in her with my $.02.
I have been quiet, but watching the board like a hawk er I mean Falcon. As you know I am doing the reversing valve etc. I have brass on hand . I used the project as an excuse to pick up a pot chuck to hold the parts so I can get a nice finish on both sides. I have end mills on order should be here tomorrow. I will be ordering the thumb nuts and springs. I plan on getting some 1/16 stainless for the levers . So your fearless leader has not actually made any chips yet. Seems like every time I do a project it is two or three at once and having to order stuff from 3-4 different places.
I did some math and a sketch. I plan on an interesting setup on the lathe for the milling so will keep you posted with picks of the setup.
A minor set back is a twisted ankle about a week and a half ago. So by the time I am done work I just want to rest the foot. You know the deal life always seems to get in the way of the hobbies.

Team members please PM or email your shipping address so I can start getting the logistics for parts distribution organized.

Tin
 
Alan

Shred got it in one. I've got the Canadian Tire house brand blade, I've been using them for years in my wood working table saw with perfectly acceptable results, and this one has functioned well so far in the mill. The nice thing about the rubber-band drive belt on the Taig is that it lets the cutter stall if you dig in too deep or catch something. This was a very handy thing when I was experimenting with feed-rates. I have to admit, having all those teeth zipping around in the horizontal plane right in front of yourself can be intimidating. Next time I trip over a little left-over lexan I'll be building a see-through shield that I'll attach on some of those handy t-slots on the front of the spindle. And yes, still using the standard taig vise for most things. I'll upgrade someday.....

Joe
 
A pot chuck is in my future, but not yet you lucky sod!

Careful of that ankle. I fell off a bus in Mexico one time, nearly broke an ankle, sprained both of them, and broke 8 of 10 toes.

Did I mention I can sometimes be clumsy?

Never would've guess one could be hurt that badly having fallen from so low a height.

Cheers,

BW

PS I'm getting a lot of inspiration from you guys. Sitting here tonight after a long work day. Got up 6am, left 7am, got home 7:30pm. Not that atypical, but hard to drum up the energy to go to the shop on these kind of days. Nice to curl up and read of other's progress at times like this!
 
Finally finished!!! I hope...
I drilled the piping holes in the cylinders, the wrist pin holes in the pistons, and made the wrist pins today. No real in process pics , everything was just straight foward drilling. The wrist pins seem simple but they were a major PITA. They are 1/16" diameter and about .365" long. I just ground them to length on the bench grinder so it was "do a handfull to get a couple".
The only other problem was drilling the hole in the cylinders. I turned the OD and bored the ID of the Cylinders in the same operation. So when I drilled through it pushed a burr into the cylinder. Cedge recommended boring the center after drilling as to remove the burr while boring. The only problem with this method was the CNC lathe I used. It has a hydralic chuck on it that would crush these parts. Even turned all the way down it would have
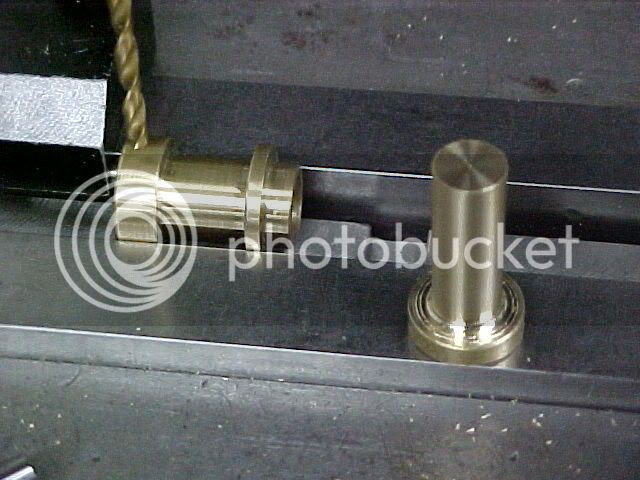
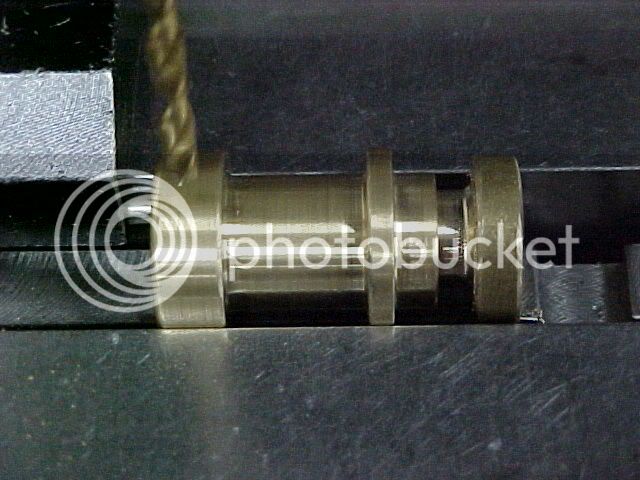
deformed the bore. So what I did was make a plug that was tight to the bore, then insert it in during the drilling op. This would alow no burr from the drill breaking through the cylinder wall.
Here is the plug beside a cylinder.
MVC-008F-1.jpg

Here is the plug in the cylinder waiting to be drilled.
MVC-009F-2.jpg

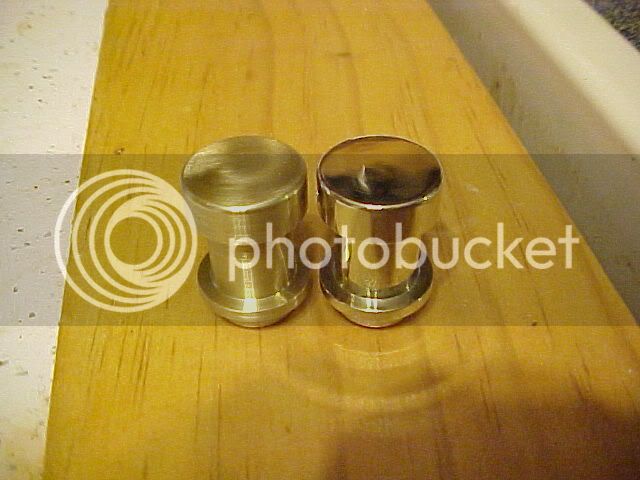
Here is an unpolished next to a polished cylinder.
MVC-010F-2.jpg

Tim
 
I have my pistons, cylinders, and wrist pins complete (-) polishing.
Eric I will be sending you the extra cylinders and some 1/16" drill rod shortly, all I need to do is polish.
Tim
 
zeusrekning said:
I have my pistons, cylinders, and wrist pins complete (-) polishing.
Eric I will be sending you the extra cylinders and some 1/16" drill rod shortly, all I need to do is polish.
Tim

Coolio I will be waiting ;D
 
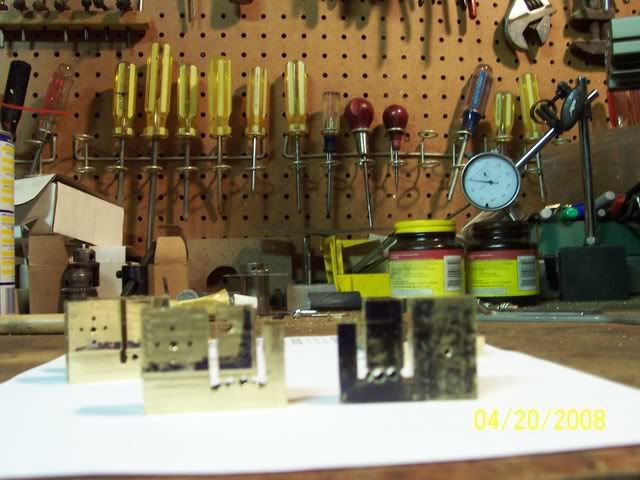
A productive evening in the shop tonight:

Finished milling the face down to size
100_0815.jpg


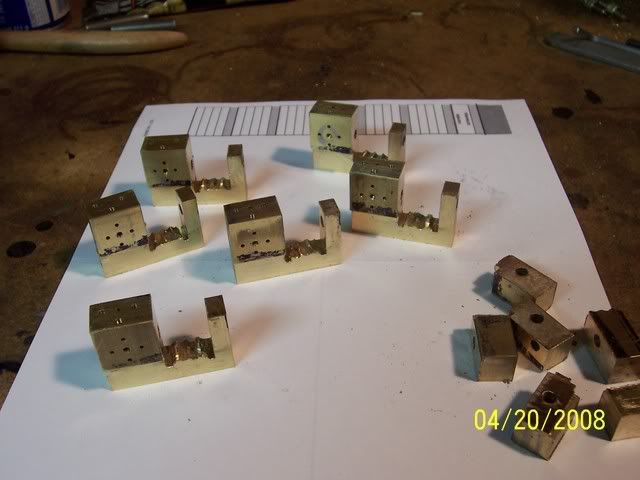
Did some sawing with the carbide blade in the mill
100_0816.jpg


and then knocked out the excess bits
100_0817.jpg


Not too much left now, a little finish milling in the flywheel opening, drill the oil hole, and polish, polish, polish....

Joe
 
Not much comment, eh?

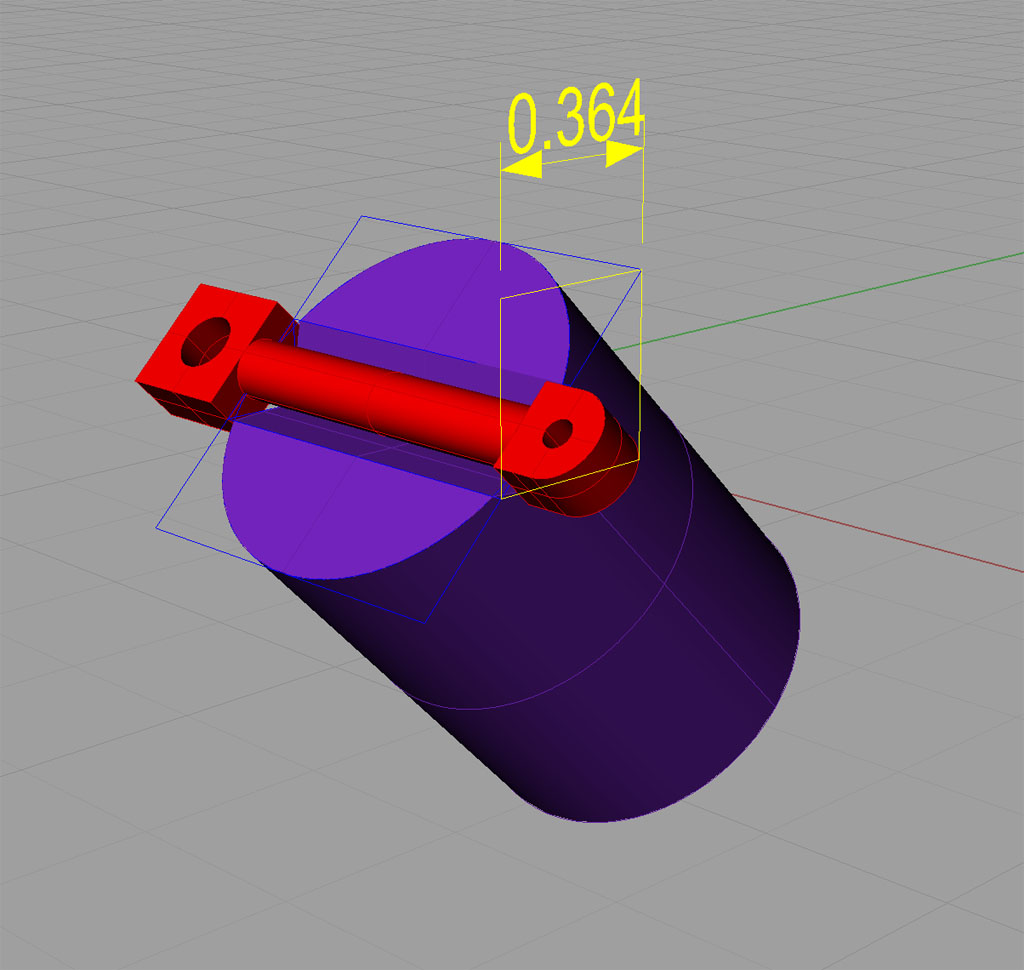
It's just as well. I decided to go the route of making a Button V-Block. Here's my drawing for the con rod sitting on the block. It's at a 45 degree angle because I needed to calculate the X and Z motions to line up my end mill to cut the v-slot.

ButtonVeeBlockRhino.jpg


In practice, I can place the con rod blank into the groove, clamp from above (clamp not shown, but similar to a v-block), insert the assembly into a collet, and make the flats at either end with facing operation on the lathe. From there I can carry the works over to a collet block set up on the mill and ream the 2 holes.

Hopefully I'll get done with it today or tomorrow and can actually try it on a sample con rod. That'll depend on how much undisturbed shop time I can steal!

Once I get the little fixture made I'll describe how it was made in a separate thread.

Best,

BW
 
Status
Not open for further replies.

Latest posts

Back
Top