I hate my Z! (Axis... X2) Ideas?

Home Model Engine Machinist Forum

Help Support Home Model Engine Machinist Forum:

This site may earn a commission from merchant affiliate links, including eBay, Amazon, and others.
Mark....
Maybe because I own it and simple wanted to tinker with it. It did all I ever asked of it, but I could and did make it do more than the original design. The challenge was half the fun. You can polish your whatever but the rest of us have mills to play with. I didn't think we needed your permission.

Steve
 
You can tighten up that Z-axis rack by shimming it out.
Good to do when you install the LMS rack extension.
 
Whats all this "why bother" nonsense isn't this an engineering forum? Making a piece of metal into something it wasn't yesterday.

Apart from those of you who do it for a living, none of what the rest of us do would stack up as a good business case. But we enjoy doing it anyway.

Pete
 
I put a counterweight on mine 1st thing. Machines from a 2 1/2" jig mill to an 8" G&L boring mill have them. Why not mine? BIG improvement!
 
Mine came with the air spring - so it only moves if told to - but the increments are huge.
I added a vernier as an el-cheapo DRO and that helps out a lot.

I made a dead stop that clamps onto the column - you can use this to "micrometer" into a job particularly where the cutter might snatch.

Beween the two I come out OK.

Ken
 
I recently installed the LMS gas spring conversion, and that helped quite a bit. Adjusting the gibs helped more, and shimming out the rack (longer one that comes in the kit) really took out most of the backlash.

Shimming the rack will help engagement and really make things feel more positive. It doesn't take much to make a difference you can actually feel. I think I used about .003" on one end and .002" on the other, splitting the difference in the middle. Takes a bit of trial and error to get it right without binding, but it well worth it.
 
Never been close to one of these machines so I have no idea what they are built like.

I like the saying polish a turd but it is a pointless exercise because you will just have a shiny turd but as my grandad told me once you are better to roll it in glitter it will be more pretty :big: :big:

As for the z axis with alot of machining and adapting you could bung a ball screw in it with some bevel gears to get the drive out the side but the handle won't move up and down with the head. There are lots of things you can do which will all cost money. Draw a line in the sand and decide how much you want to spend and how much are you willing to work with. Like yourself I like to do things to see if I can and because it is fun, who cares what other people think. Opinions are like belly buttons, everyone has one and their all different.

I have a bridgeport clone and it has more than it's fair share of quirks but it is a 1980 model.

Brock
 
Wow. This thread is a year and a half olde.
There is a lot of mods for fixing the slop in the Z axis of the X2.

a) counter weight or gas springs. (already discussed here)
b) shim the rack. (also discussed here)
c) replace the u-jointed rod with a solid rod that comes from the fine feed dial.
d) place a ball bearing to preload the worm gear where fine feed meets coarse feed.
e) peen over the castle nuts at the fine feed engagement for a tighter fit.
f) always keep up pressure on the downfeed handle when adjusting your cut. Lock gib and go.

These are not my ideas. They have been gleaned from several different sites. Most of which cost little or nothing and will reduce the lash of the X2's Z axis to an acceptable amount. I don't have a DRO and don't use a DTI. I make the first cut, take a measurement, do some subtraction, and cut away using the fine feed dial. It's all about the operator knowing his machine

When I was looking for a mill, I needed one I could carry into the basement. The G704 was top on my list until they became unavailable. Next was the X3 & IH clones. Then I came across a coupon for the X2 selling for $299. It does exactly what I need it to do and I spent the rest on tooling. (and it saved the newly straitened quill on my drill press)

Alan
 
I have the HI-Torq Mill from the Little Machine Shop and I love it but I also hate the Z.
I have to hold the head up when feeding down to keep it from dropping. Other than that it is fine and quite accurate.
Is the gas cylinder upgrade worth it?

PS, I always say, " You can paint a turd gold, but it still stinks".
Jim
 
Wrist Pin said:
Is the gas cylinder upgrade worth it?

Yes! If for nothing else than the longer rack (about 1.5 times the length of stock) which gives you more travel. You probably can't make the parts and buy the gas spring for what they charge.

Do NOT drill the hole in the back of the column down 12.0" as the instructions say. This limits lower travel (the whole point of a longer rack) by about 2-3 inches. I drilled a second hole - I already made the first one - down 14.5" from the top. This means you can get the spindle nearly touching the top of a small vise, roughly 3.0" from the top of the bed.

The gas spring supports the head much better, improving the drop problem. I would strongly recommend that you take the time to shim out the rack (feeler gauges work well) to tighen up the fit between it and the gear. this makes it feel smoother, with less play. Don't make it too tight, or it will bind, probably causing more wear.
 
The airlift also makes a good place to stick your welding magnet which holds on to your spindle wrench and doo-hicky. :D

DSC05194.jpg
 
OK, now I have a problem.
Troutsqueezer's picture, ( I just love that handle. Do you really squeeze trout when you catch them??), shows the gas cylinder rod extending about a foot above the head if I am looking at the picture right. I have no room above the head of my Hi-Torq for that .
Perhaps I would be better off with a counterweight.
I will also look into the rack situation and see if I can improve it.
 
Wrist Pin

Most, if not all of the problem of head drop can be resolved by careful and regular gib adjustment. In my shop the first day of every month is "GIB DAY"! All gibs, mill and lathe, are cleaned, lubed, and adjusted. On the mill, the top gib screw is the most important. Put an indicator between the table and the front end of the head and watch the dial as you tighten the head lock. If it moves, the top gib screw is too loose. I keep mine tight enough so that there is no drop and no droop and of course, I lock the head before every cutting op. If the bottom gib screw is too loose, down pressure on a drilling op can cause the outer end of the head to rise and take the quill axis out of line with the column slightly. It takes regular maintenance to keep it working right.

Hope this helps.

Jerry
 
Rake60 said, Bridgeport has a rack and pinion, yes but on the quill, the knee is a acme screw with bevel gears, and its the knee which is used for milling, the quill for drilling boring.

If the goal is to be accurate in downfeed, a worm gear driving the rack pinion, and a force pushing up the head (air,weight) would seem the best way to do it. A BP knee has a pitch of .200 for the screw but 2:1 gearing so each turn of the crank is .100, its great excersise to crank a 800# knee 16". I always think about adding an air assist, but then decide to make parts instead.
 
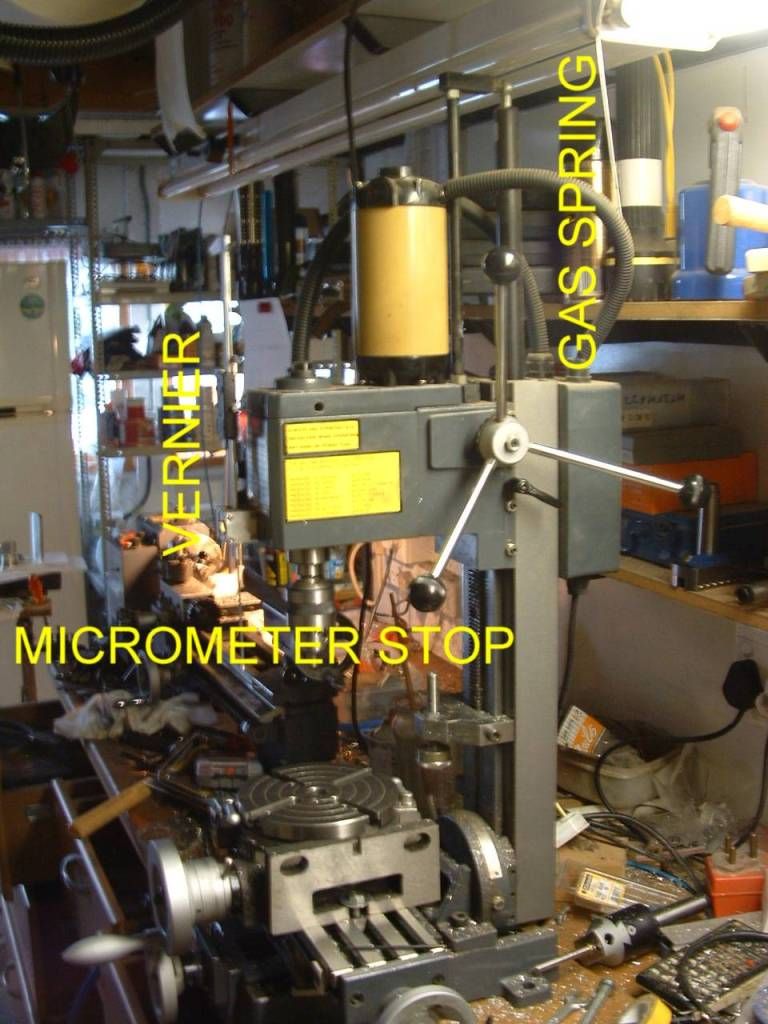
This is my mill - not terribly clear in the photo but the gas spring stops just short of my flourescents (I have the upper stop set about 5mm lower than maximum to stop it crashing into the tubes) one day, needing a bit more hight & forgetting why I set it there I imploded a tube - big fright.

millgsp.jpg


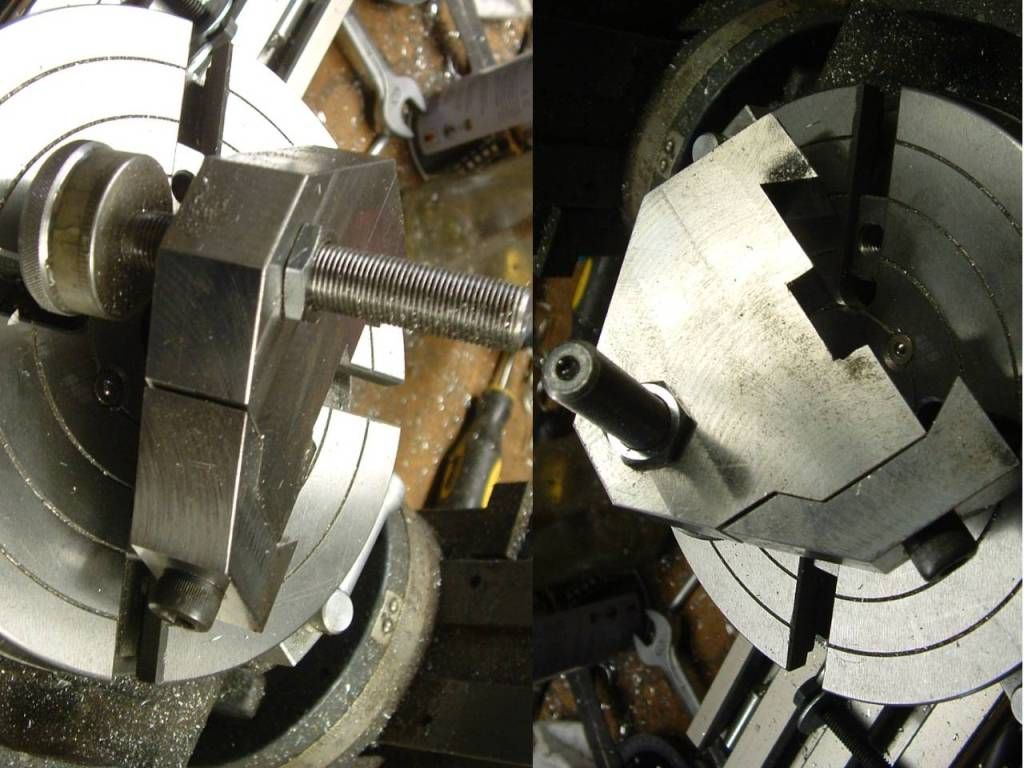
The el-cheapo DRO is a vernier bolted to the front of the head (again not terribly visible) and the mechanical stop which clamps to the column.

millstop.jpg


It has a printed paper dial which has to be replaced from time to time (I must get round to engraving the damn thing).

Uses a M12x1.0 thread so the divisions are easy.

Ken
 
So okay, now we've got the drop problem solved. Now what we need is a Z axis feed. Any ideas? ???
 
purpleknif said:
So okay, now we've got the drop problem solved. Now what we need is a Z axis feed. Any ideas? ???

I wouldn't want a Z axis feed.

That would take away the feel of a small drill bit or end mill snapping off in an almost finished part.


Rick
 
A BP has power feed on the quill .0015, .003, .006 rarely used with drill, but very often used when boring. The feed rates are ok for boring, slow for drilling, also when drilling you need to keep disengaging the feed to clear deep holes, the quill lever is quicker overall. IMO
 
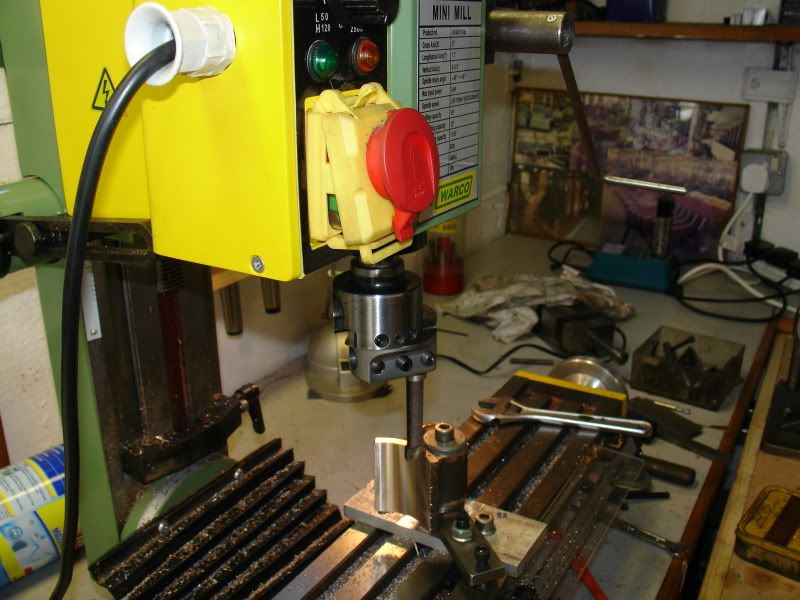
This is my power feed for the Z axis
setup1.jpg

The big handle makes life eaiser when feeding down, I remove it for normal use.
Don
 

Latest posts

Back
Top