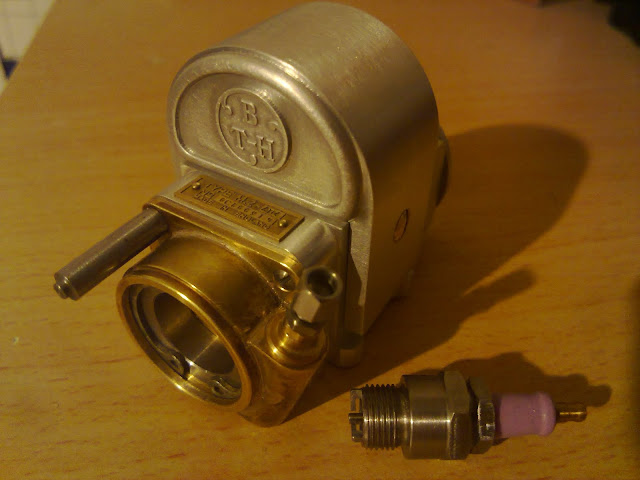
Hello all, I thought I better do a small update because between finishing university for the year and starting a new job 100+ miles from the workshop I only have 3 days to play, this being the second

So, the last major item I was doing was the brake drum cover plates so decided to continue with them. I only had 1 made at that stage so the first thing was to try and remember how I made the first one! Since Easter I have managed to loose my note book with ALL my sketches and drawings in (I hope I left it at university) So I had to re-measure the component and check it against the 1st plate. I actually had to go back to my build website to see what set-ups I used also, which was very handy. The second plate took about 5 hours to complete and was almost exactly 1/5 the weight of the blank it came from! What a waste of material!
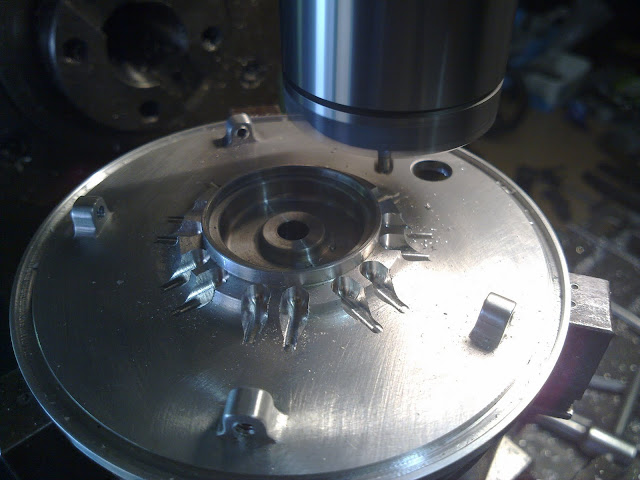
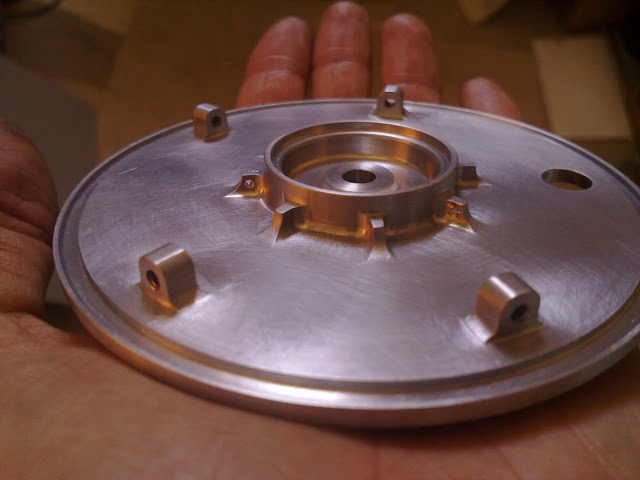
Next, if you look at the last photographs of the full size and half scale plates, you can see 8 webs around the centre boss of the plate which arent machined yet. This was the next item on the list. The plate was set up vertically in the dividing head and located centrally about the quill. I added to the list of 'specials' slot drills by taking a 3/16" and hand grinding a 1/6" radius on its corners giving me a tool that will still mill the 'face' of the job. The table was then moved over the radius of the tool plus half the thickness of the web I wanted to remain. By setting a table stop I was able to bring the side of the tool close to the raised centre boss and just scratching it for a nice blend. I then cut a slot upto the boss in many passes working my way down until I scratched the face of the plate. Rotated the chuck 45degrees and repeated as photo 1:
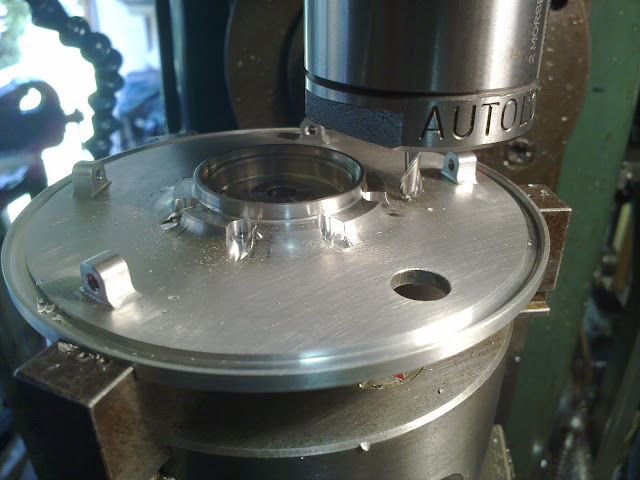
I then moved the table back to the zero position and then the radius of the tool plus half the thickness of the web in the minus direction and the whole process repeated thus creating the 'web'.
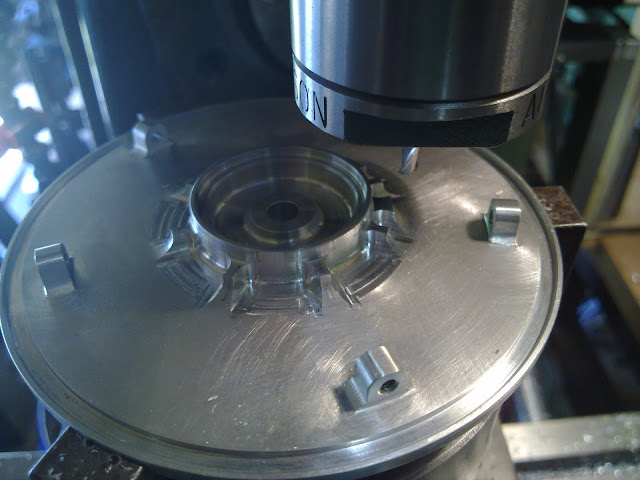
The same tool was used to remove the infill between the webs by rotating the dividing head back and forth:
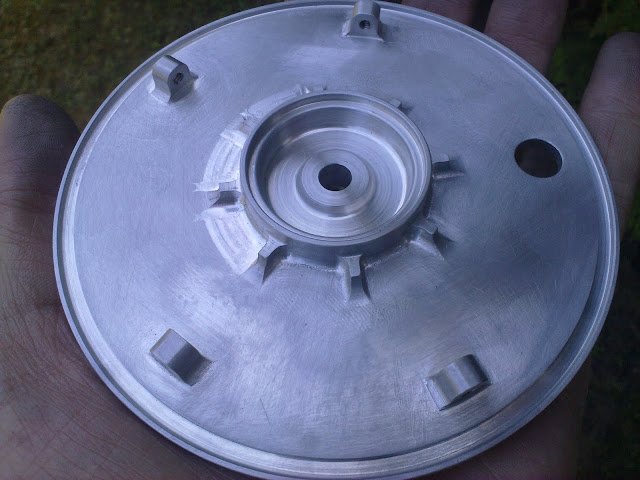
The next stage was to file and blend the newly machined areas so it looked like a casting, here you can see a before and after shot:
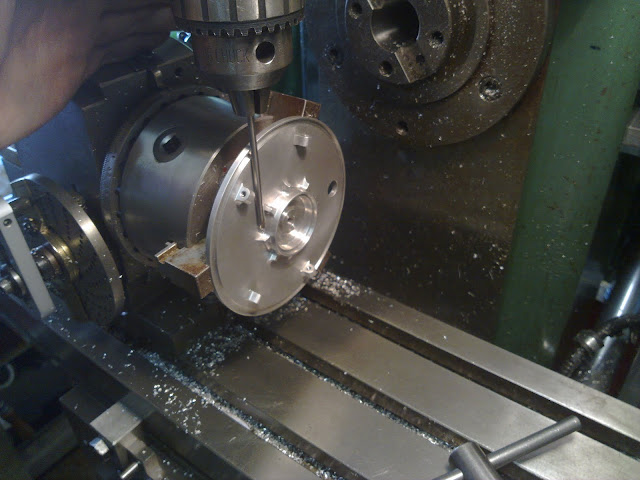
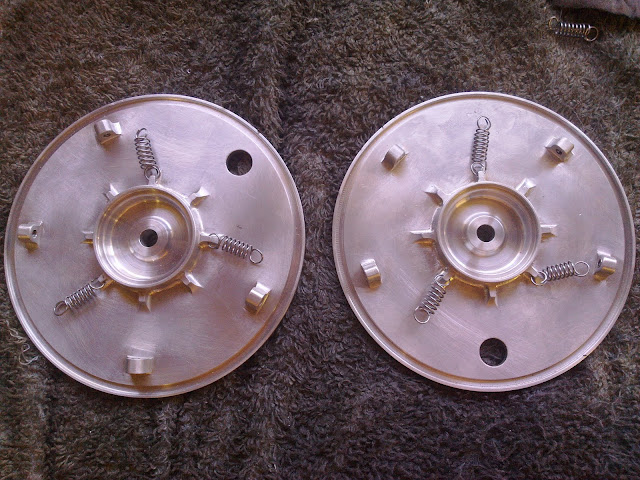
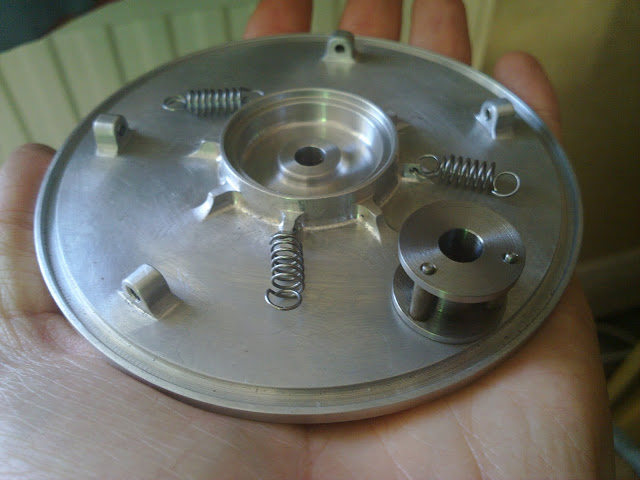
They were then set up in the dividing head in the horiztontal position to have the spring holes drilled in 3 of the webs. These springs keep the brake band from rubbing on the drum when not required:
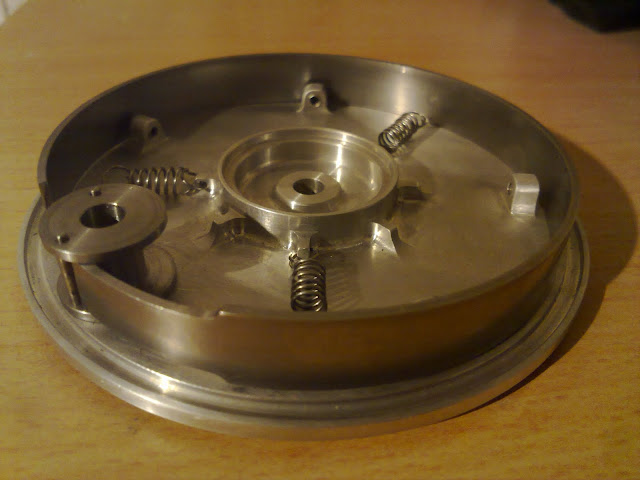
Here is the result so far with home-modified springs in their correct positions, Its starting to look quite good:
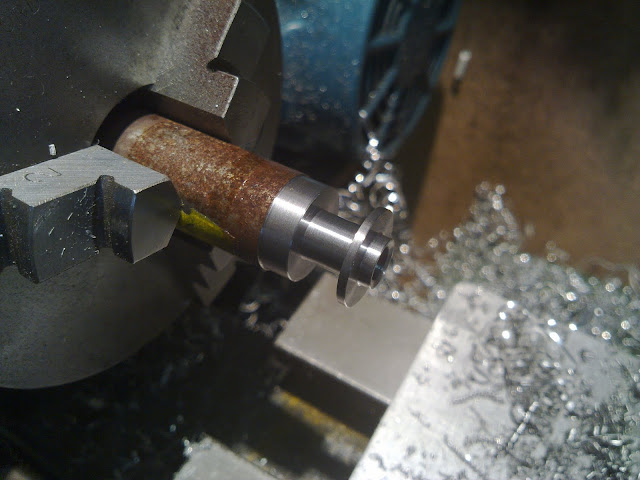
Thats taken me upto lunch on day 2, giving me enough time to start the bobbins which force the brake band apart:
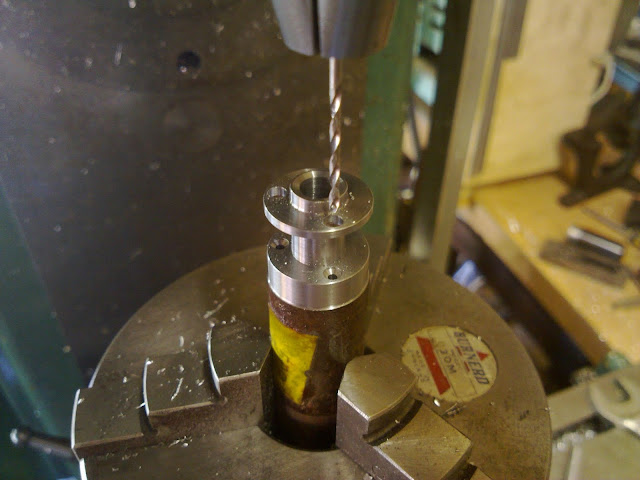
With pins made and ready to be rivited in place once the hinges are made:
I have just found some 1/16" x 1/2" steel strip to make the brake band out of and have located a company that can provide brake material in sheets and thicknesses of 3mm. I will have to machine it down to about 80thou but its looking good.
Hope people are having fun. I have been watching builds take shape on here since easter and they are making me want to not work this summer and just stay in the workshop. I would take it with me but I have so much stuff crammed into such a tight space it would be like trying to carefully take apart a jigsaw puzzle that had been glued together. So, this may be the last update for some time........ Rob,




![DreamPlan Home Design and Landscaping Software Free for Windows [PC Download]](https://m.media-amazon.com/images/I/51kvZH2dVLL._SL500_.jpg)


