Frustrations

Home Model Engine Machinist Forum

Help Support Home Model Engine Machinist Forum:

This site may earn a commission from merchant affiliate links, including eBay, Amazon, and others.
You have shown us a very fine set of drawings that obviously represent many hours of work, thanks.
I do have suggestions that I think will make them even better, so please take these comments in the spirit of offering help.
I have made a few notes in a freehand sketch over a couple of your drawings.

1. use a different arrowhead, one that is open, as these overpower the drawing.

2. make dimension strings to include all of the dimensions keyed to an overall string...no floaters

3. use several line-weights to denote differing things, with 1 heavy line profiling the perimeter of the major part

4. a little more space between the individual drawings would help in places

5. Valve and Points sheet is excellent because of the placement of drawing groups in boxes.

6. Some of the drawings are very faint, like the valves, PDF problem?

7. dashed lines could have a finer dash, as not it gets lost in the rest of the drawing.

Please see my sketches below, and if you like, we can work on this some more.

Mosey

View attachment piston.pdf

View attachment crank .pdf
 
Master Steve,
I am happy to help.
My personal AutoCAD days are in the distant past, but I think you need to overlay a polyline over your parts outlines, and give it the required thickness. If someone wants to give me a piece of a drawing file in DWG or DXF format, I will have a go at it. Remember, we are not doing CAM, that is trying to drive a milling machine to make the parts, rather, we are trying to make a drawing that represents visually what we want, so the lines need to be visually informative. That allows us to have 2 nearly touching lines to represent 2 parts that actually will be in contact, but look like 2 parts so we can see what to make. Don't be afraid to exaggerate the line thicknesses to show what you mean.
Now, if only I could make what I see without all of the mistakes....
Mosey
 
Mosey,

Thank you :bow:

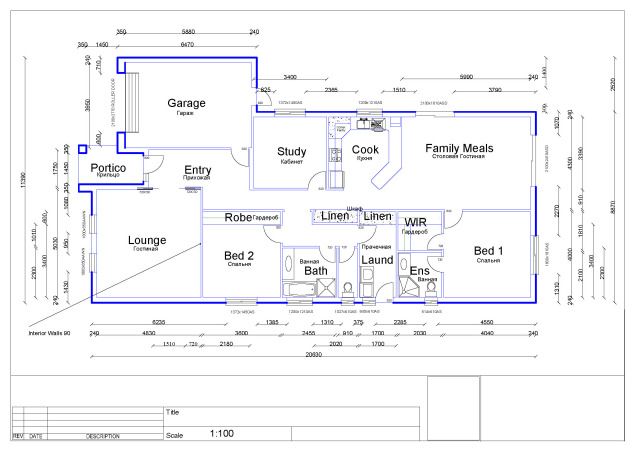
Like Steve I am wondering about increasing the size of the outline lines. In 2D CAD it's fairly easy :-

1. Pick the lines which form the outline and increase their width.

House.jpg


2. Put the outline on a separate layer with an increased line width.

In 3D where I used a program re-generation of the model into 2D sketches I don't know. I will have a play and see what can be done then report back.

Best Regards
Bob.
 
In alibre you edit the layers table each line type is a "layer" you can set line weight as desired
Tin
 
OK,

I've had my play and here's what I found.

If I change the line size/weight and then generate a solid, the whole thing is at the increased line size/weight. This in itself is not so bad but when you assemble it to other parts, IMHO it looks very very ordinary. Then again most assemblies are either rendered or have material specs, (effectively removing any lines as such). The 2D generation from the model transfers to paper space as a block. This can be exploded and then each line of the outline selected and it's size/weight changed.

So............. In TurboCAD, which is my program, yes it can be done. Will I do it?...............Can't say for sure especially as what appears to be one line visually can end up being several lines when exploded. Maybe other programs are better at this than mine.

Mosey,

Like Ken I don't like the open 900 arrow heads. However, IMHO your comment about mine being overpowering is totally valid and I have been through my sketches and halved the size of the arrowheads. Also I have blocked each page to separate the items therein.

Thanks again :bow:

Best Regards
Bob
 
This is a great discussion thread and even tutorial. However that all seems to go to rats if you send your drawings off to a magazine for publishing and all your good work gets thrown away.

My "Northumbrian", currently gracing project of the month was built straight out of the Model Engineer magazine articles, I didn't bother with spending 50quid on the plans. Fortunately I had the full set before I started and asked the question on the ME forum "has anybody built one of these?" That started a flurry of posts on problems found in the drawings in the articles. Worst of which was the frames, published in the first issue, were wrong and the correction had to be posted 2 issues later. That put a good few people off before they started.

The editor was asked how this could happen. Apparently the drawings are sent to a guy in Greece who carves them up to fit the pages in the magazine and redraws them on the way. When asked why they would be wrong, it turns out he's a graphic artist and not a draughtsman. When the editor was asked why they were not proof read, he said he didn't have time.

The net result of this was drawings...

1) That were plain wrong
2) Missing completely from the series
2) That weren't to scale to the dimensions in the two axis (one may be close the other way out)
3) Had wrong dimensions
4) Had missing dimensions
5) Had dimensions that had to be derived from other drawings in the set
6) that didn't relate to the text in the issue and you had to wait for a future issue for the drawing (consider that with #5)

Nonetheless I with the help of the posts on ME and a few remakes I got my way through it.

Stew has had a few of his models printed in ME it would be interesting to hear how well his drawings got transcribed into the articles.

Anyway back to the discussion........

Pete
 
I think that we should not try to solve the publishers' problems on this thread, though we will let them know that we are watching and take a strong interest in what they do, as the real customers. Let's do keep the mags on their toes.
I intended to restrict my comments to 2D drawings for now, as 3D would be too complicated at the onset.
So, we are making progress if we agree that smaller open arrowheads are preferred, simply because they are not interfering with the drawing. Like all of you, I have had my share of lousy plans, with mistakes, etc. As we learn how to profile line weights in AutoCAD we can share that as well.
I may try to redraw the water pump from the plans I am now working from, as it is less than clear. I'll post my redraw if successful. In the meantime, please post any drawings that you think are good examples. I will also post any plans I have that also are good.
Thanks for your thoughts.
Mosey
 
Hi folks,

I know this is an old subject, but it seems funny that after the promise of more excellent reading, and soaking up new input, the lights get turned off and we're at a dead end:confused:

I did however thouroughly enjoy the "East-West" powow about styles, likes and dislikes.
Very well presented by most and very amically received by most!

I, like a lot of others, am eager to learn and in the drawing department (in my case) the windows have been open and most of the learned information has gone the way of the birds to say the least and on top of that; someone changed all the parameters!

In any case, I learned a few things even from this small thread.

My thanks to all the survivors, and respect to the departed.

Regards, J.
 
From what I understand common in European standards. And can be helpful as an auxiliary view. Not of any use for buildings though.

Tin
Hi Tin,

its a pretty old post, but I'm tempted to correct it.

If I understand You right, You are not correct.
There are to standards for this matter, international standards.

They are called ISO A and ISO E. A for American, E for European.
ISO A is what You US folks are used to. In ISO E the different views are mirrored on the center view. The worm eyes view in ISO A is below the center, in ISO E is above. Same applies to the side views, left and right are exchanged.

There are symbols for these two methods, see sketch.

As the model building community is international, this is hopefully a useful information.

Mike

temp.jpg
 

Latest posts

Back
Top