Coles Hit & Miss REDUX

Home Model Engine Machinist Forum

Help Support Home Model Engine Machinist Forum:

This site may earn a commission from merchant affiliate links, including eBay, Amazon, and others.
Hi cobra428

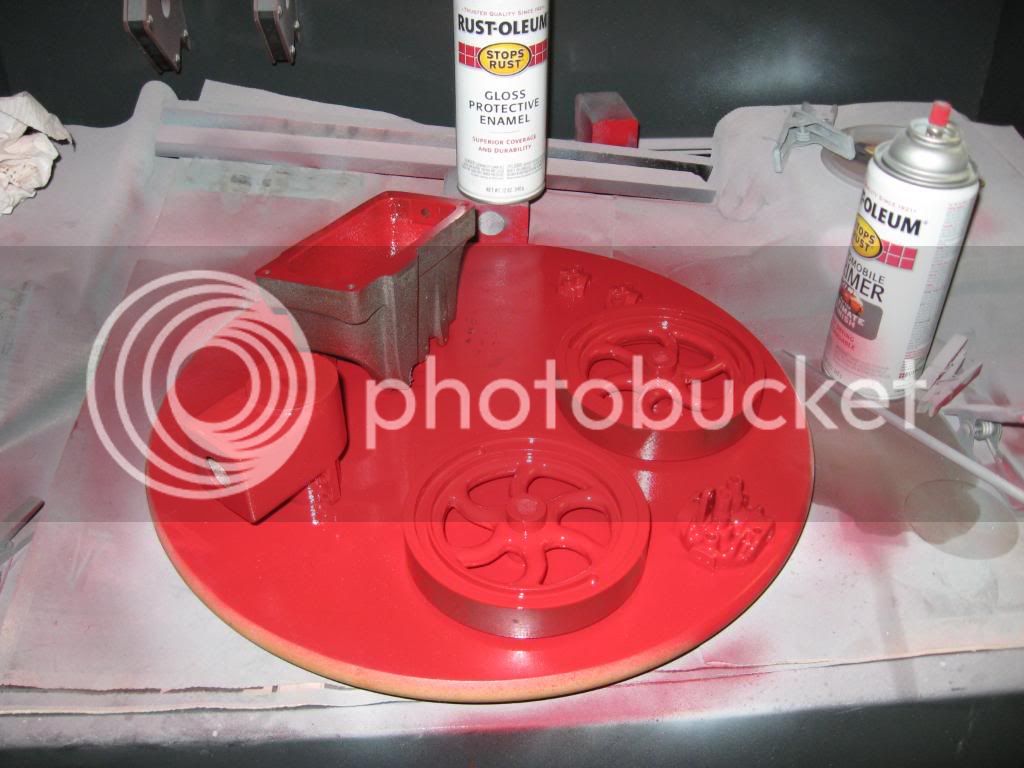
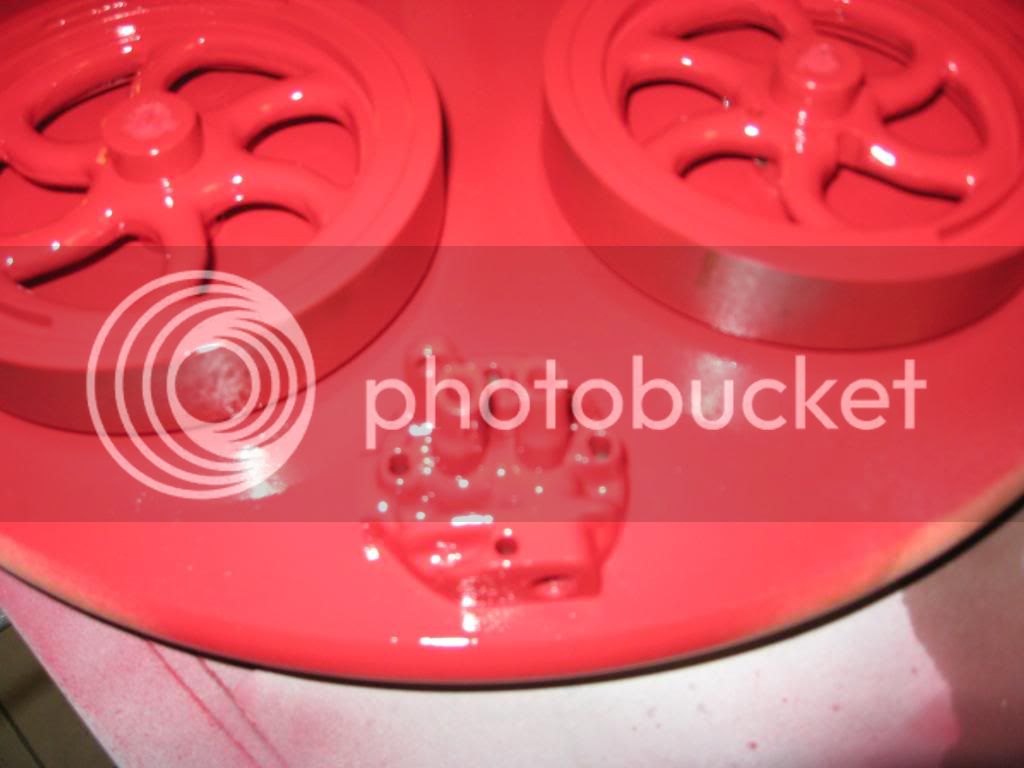
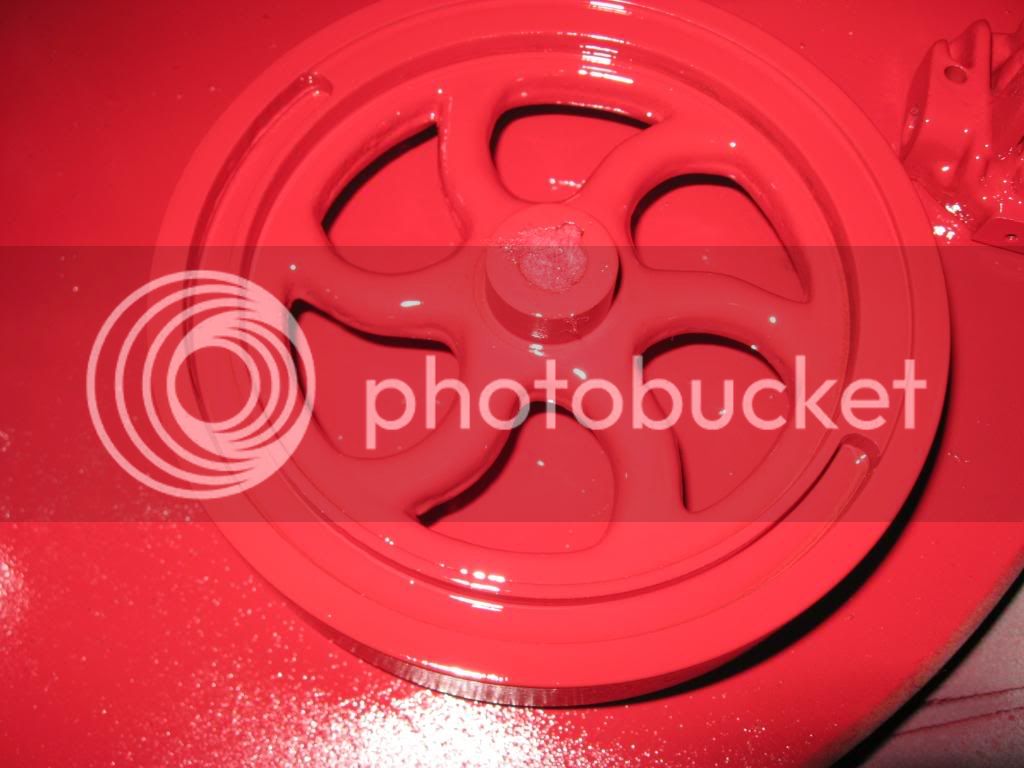
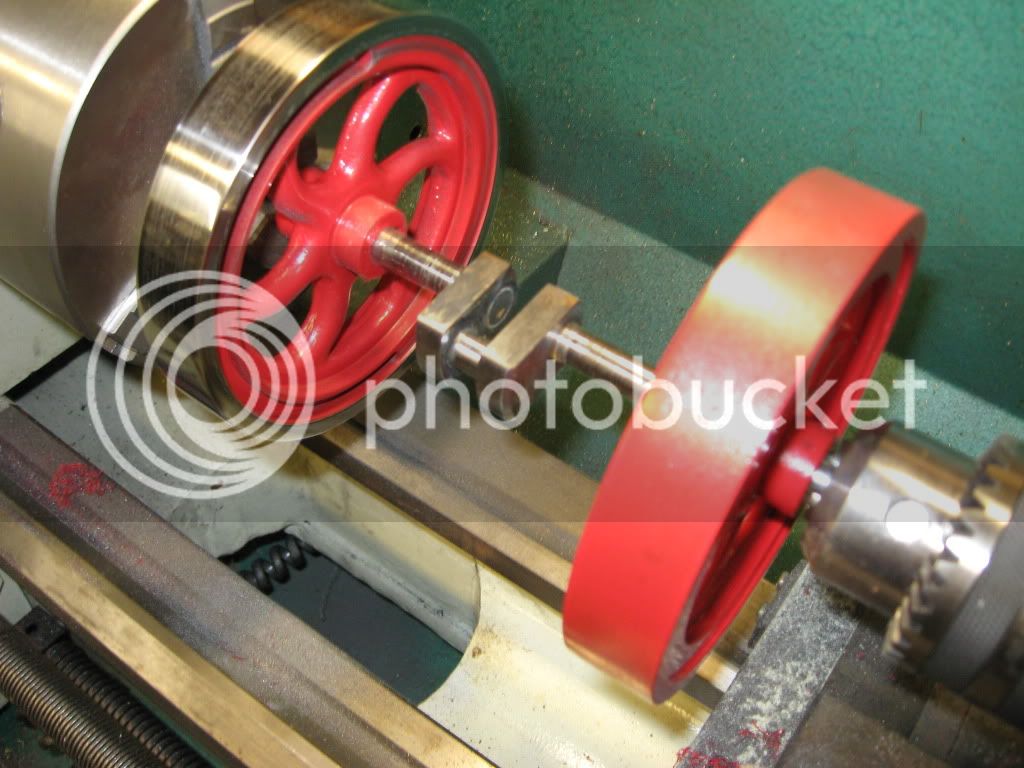
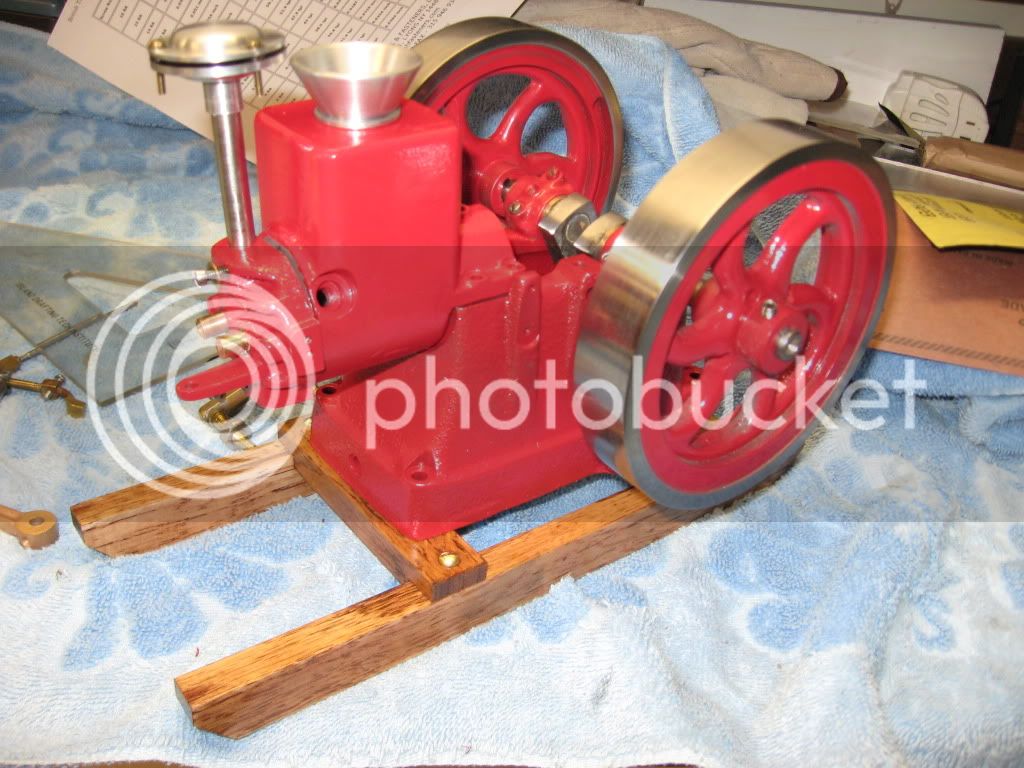
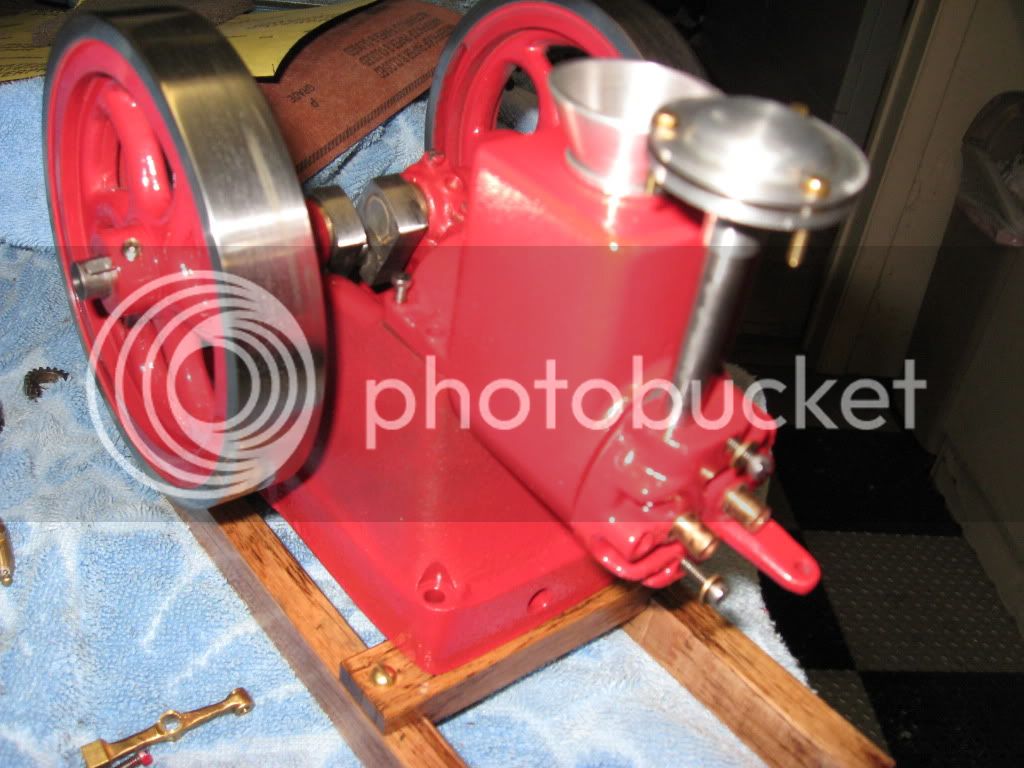
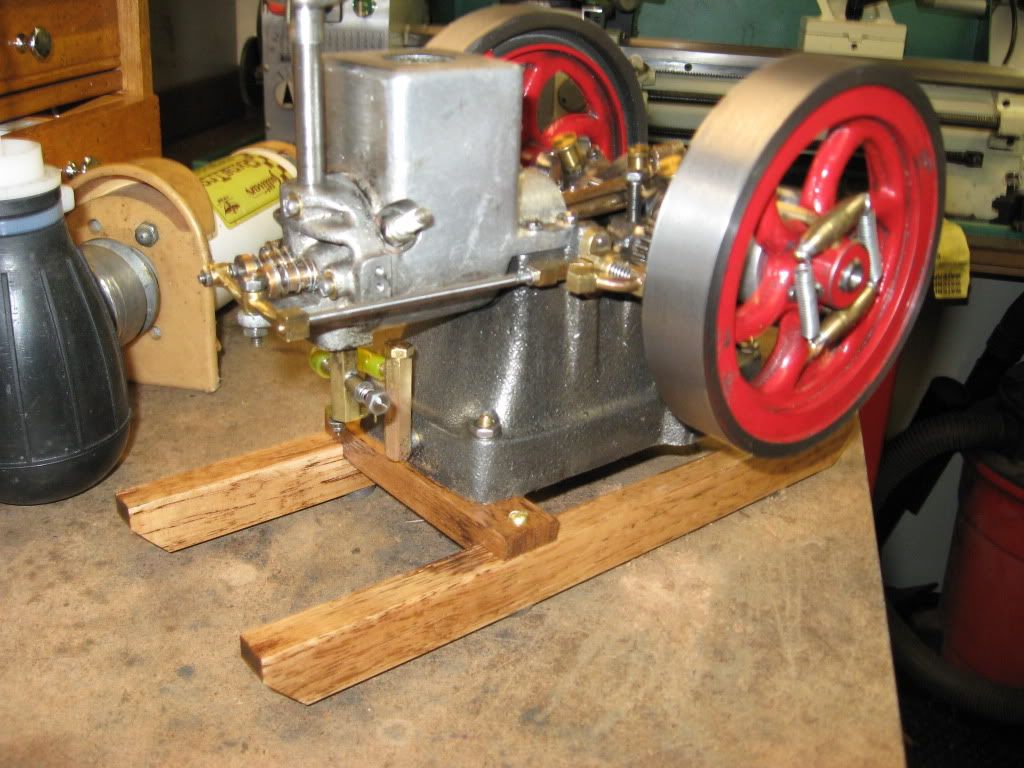
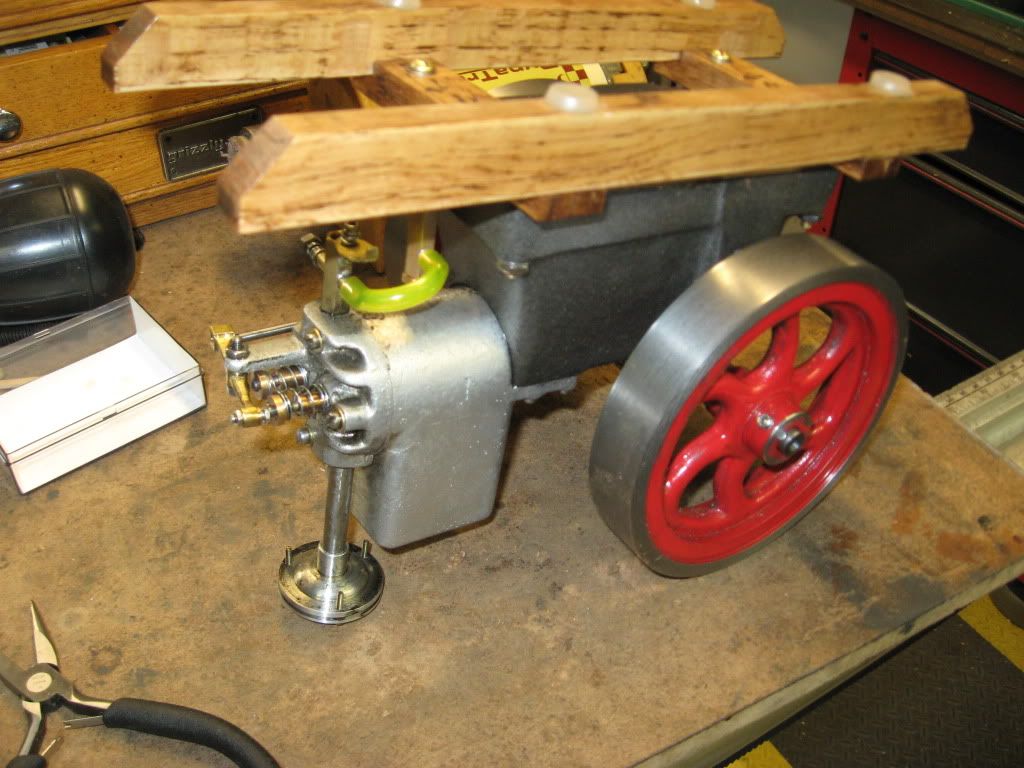
Nice Engine, Nice Photos. I notice that even when I am using my camera in MACRO mode you can still get a tad too close and the camera will not focus in on the subject properly. Keep up the nice work and in progress photos. They help so many others. - Bill Mc Kinley
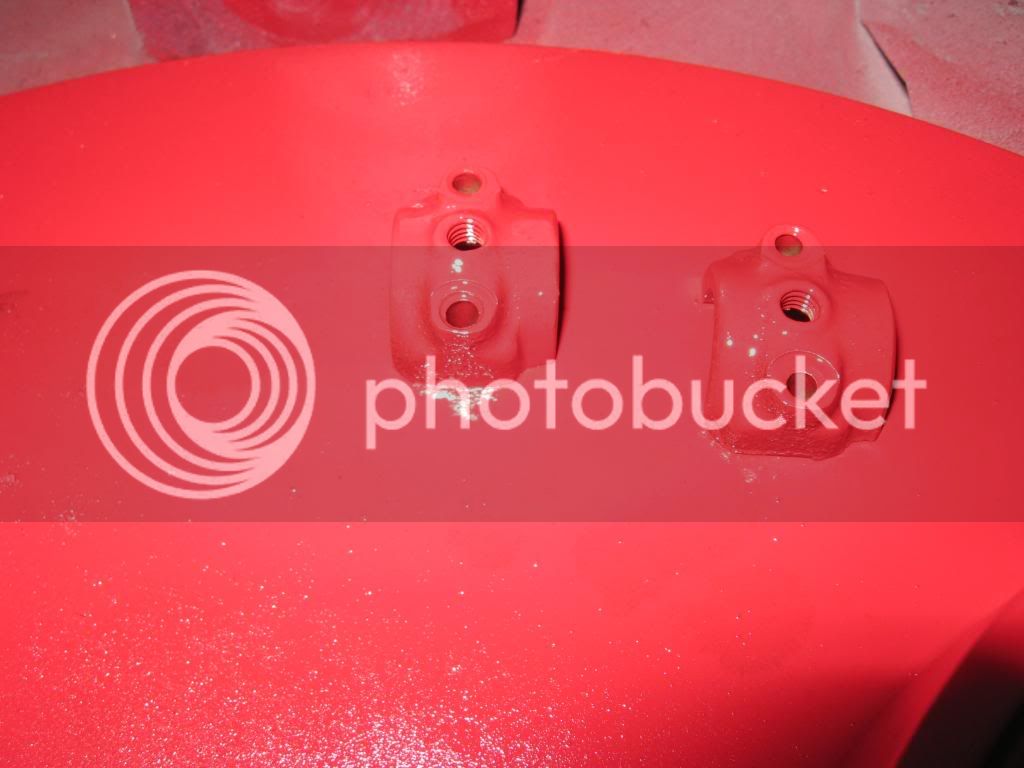
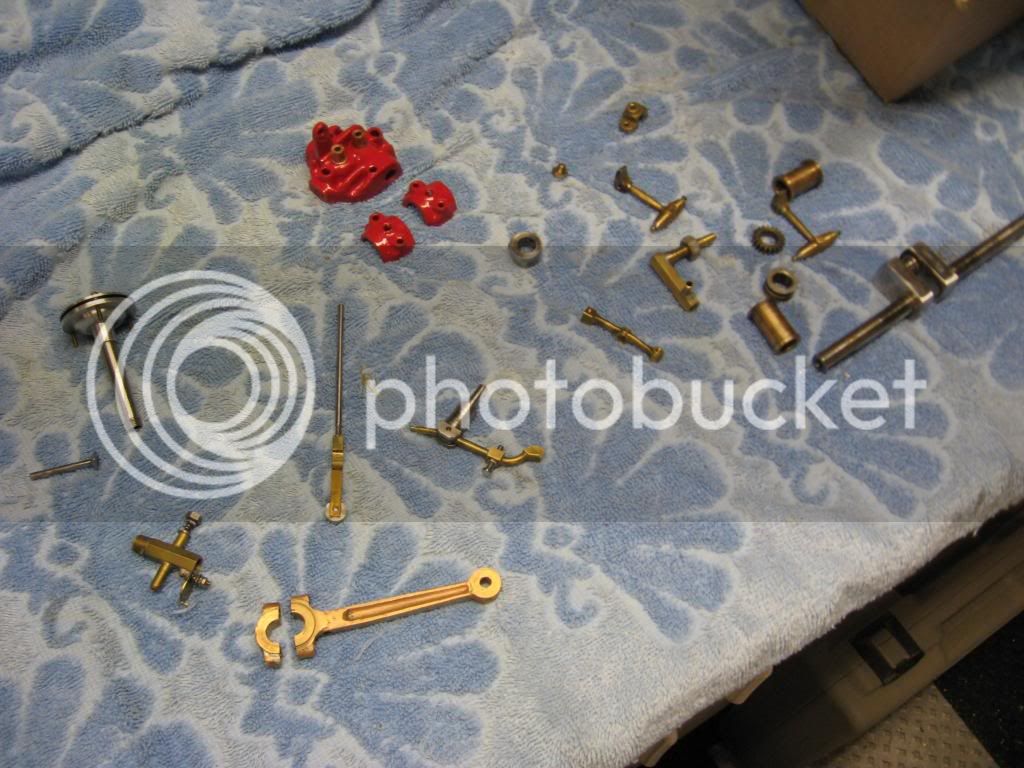
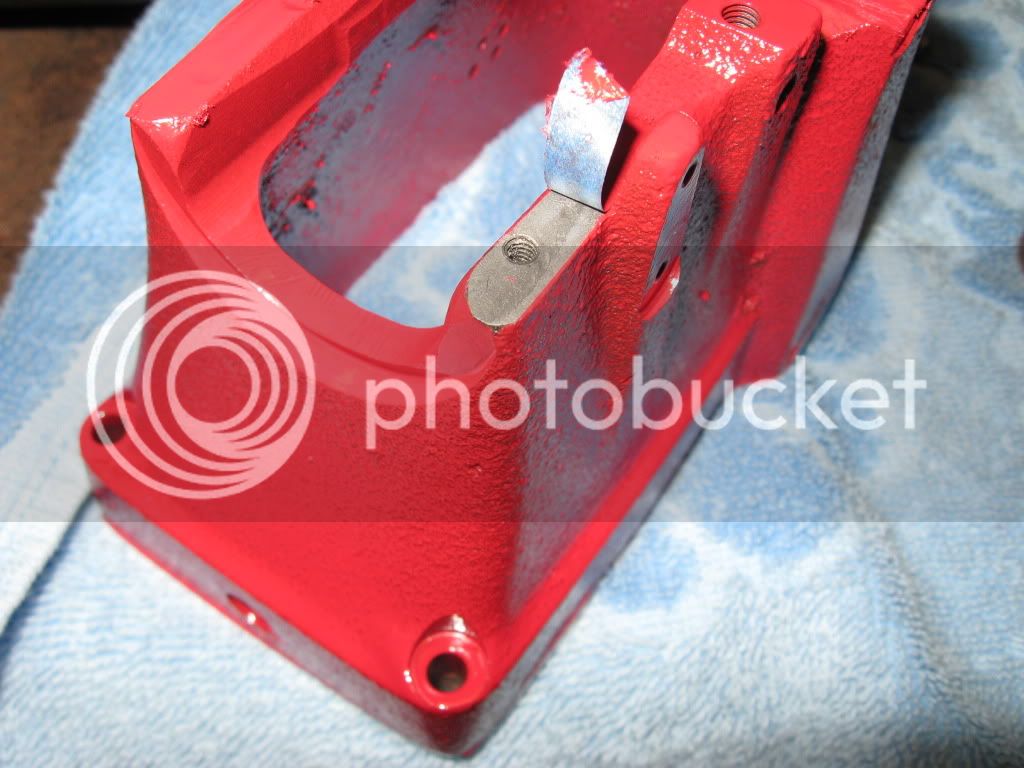
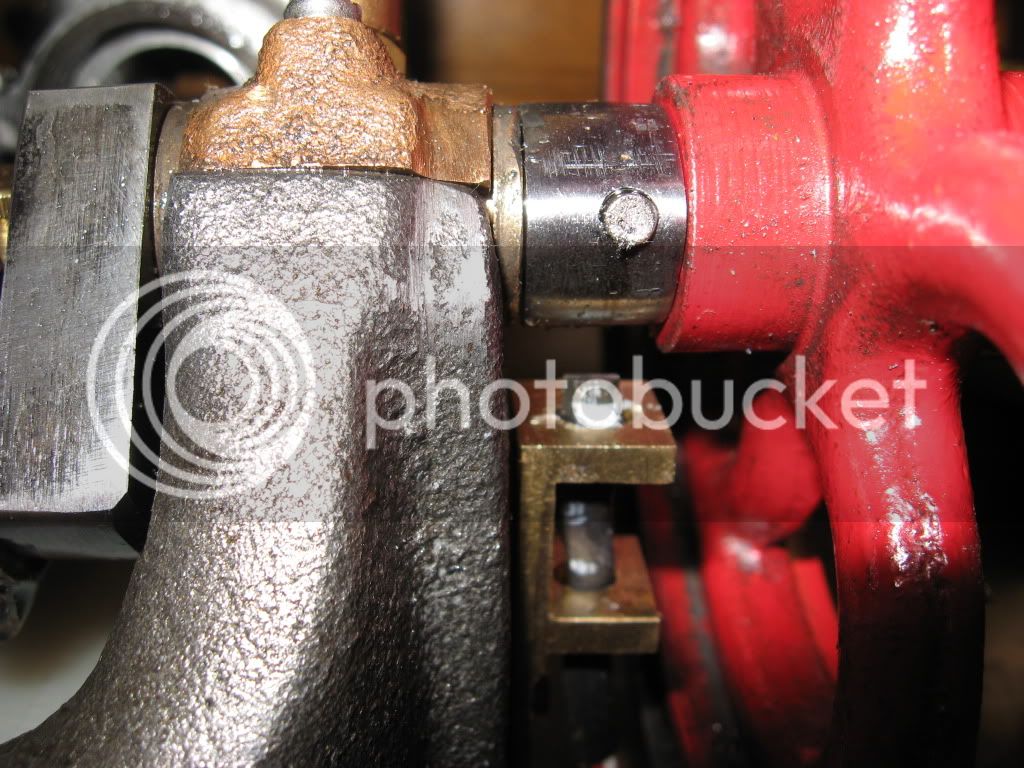
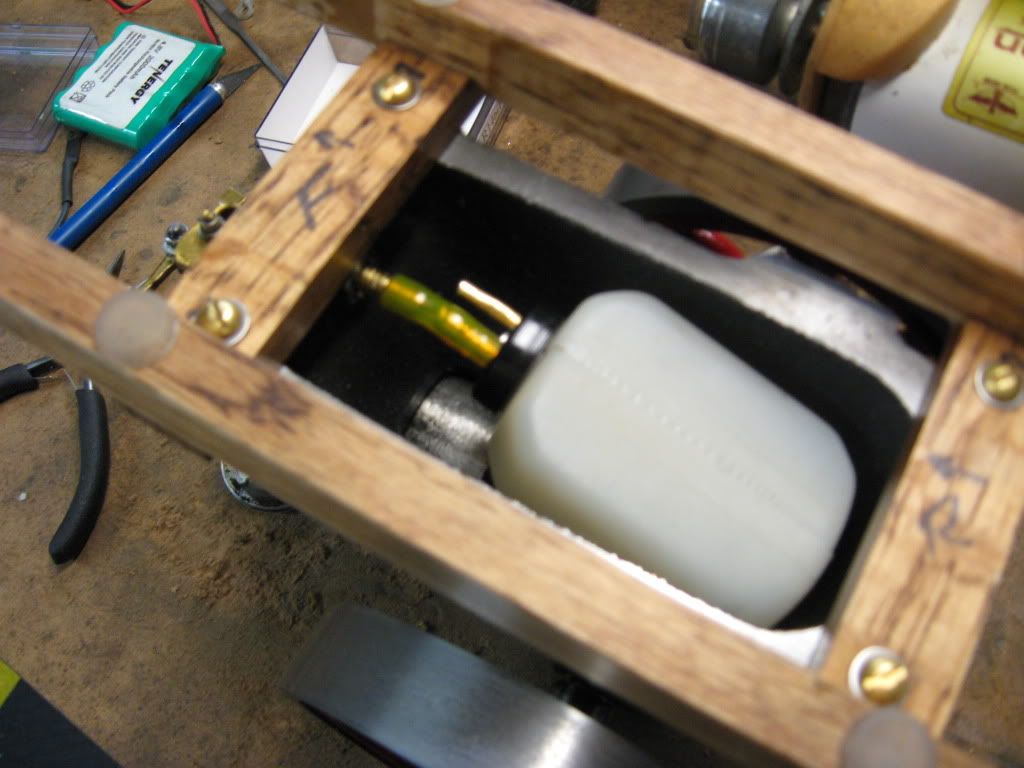
 
Well, after messing with those mechanical contactors (points) for the ign. for 2 weeks to get the timing reliable :wall:. I THREW IN THE TOWEL. There was to much "bounce" and the timing would drift and double fire prematurely. I had to constantly clean and futs with them. So I went to see Mr. Hall. His "affect" was fantastic ;D. Engine starts and runs sooooo much better now. I even started to experiment with BTDC timing and it works :big: But I will return to TDC or ATDC timing (runs a bit cooler that way). And maybe try some HI TEST with 100/1 Amsoil like I use in my RC airplane engines. I wanted to keep the engine "traditional" but...... I rather it runs good :). I took out the contactor mechs and just epoxied the hall in place. Milled a place for the Neo magnet in the existing cam and epoxied that too. Why "O" Why didn't I do this from the beginning :wall: :wall: :wall:
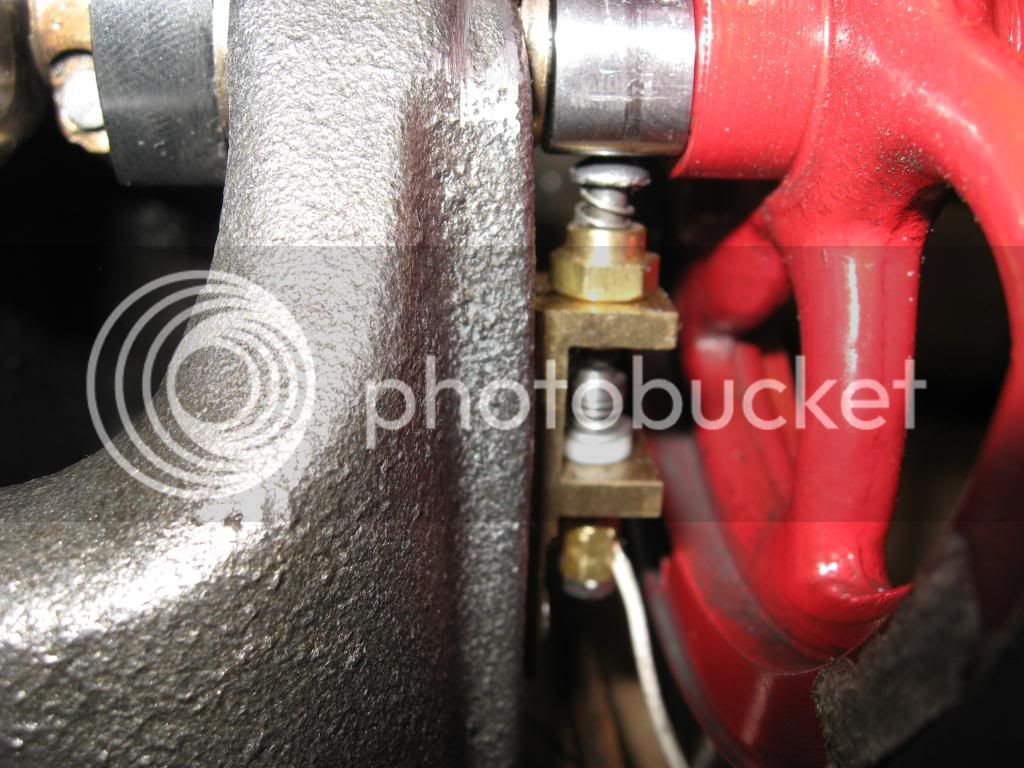
Before
IMG_0099.jpg


After
IMG_0178.jpg


Bling on the way soon
Tony
 
Well I'm working on hiding the gas tank and ignition in the frame/base. I change out the MJN coil for the S/S machine coil (a lot smaller). Made up the wooded skids for the base. I want to display and run the model just like that.

Model Airplane gas tank with oil cup added to ease in filling from the top. The plans call for C/L tank, there available but this one seemed to work out pretty good and I can see the fuel level!

IMG_0180.jpg


Trying to figure out a gunk guard for the ign module. scratch.gif That's a old RC receiver case for my planes

IMG_0181.jpg


On the wooded skids

IMG_0179.jpg


Tank in spot. Looking for some kind of support

IMG_0185.jpg


IMG_0183.jpg


Look at this. If I turn the Cyl around and add some front wheels I'll have a Hit & Miss tractor Rof}

IMG_0184.jpg


I'm getting a little better with the camera?
Tony


Tony, the more you do the more envious I become, looking really great. :bow: :bow:

Best Regards
Bob
 
Bob,
Don't be envious of me. I'm envious of you. You take scrap and turn it to gold. I take gold and turn it to s.....
You have the Midas touch Thm:.

Now a little update. Since I changed to the Hall, things are more reliable and the starts are so much easier.
So, being an ex-pilot I had to "push the envelope".

Results:
Coleman fuel with a dash of WD-40 ka ka (runs but....)
87 oct we're getting better
93 oct with 100/1 Amsoil mix (my 2 cycle giant model airplane fuel 85 and 100cc engines (mfg recommended)) woohoo1
Eng runs cooler, smoother and the hit and miss is getting better and better. I can now be happy when I go to the shop. The engine starts every try with no "playing around" first. I moved the ign timing up to 1~2deg BTDC
and it's a happy camper. So this was a small mile stone to the finish and some exhilaration on the way! God I luv this hobby!!

Tony
 
Tony, where did you get your ignition system?
BTW your engine looks GREAT!
Thanks, Jeff
 
Hey Jeff02,
The ignish comes from

http://www.cncengines.com/index.html

He does model airplane stuff and ME IC stuff. Roy is a great guy to deal with. Honest, Knowledgeable and Sincere about the hobby. I have been emailing him back and forth with my troubles. He answers my emails in a couple of hours every time. I had my first Hall go bad after an hours worth of run, emailed him and a new (free) sensor was on it's way with a explanation of the proper mounting and mfg recommendations. Listen I don't work for him but all I can say he's been a really good guy to put up with me!
Tony

PS thanks on the engine, soon I'll begin the bling! Just want to make sure all is working happy and reliable first!
 
Tony,

Thanks for the kind words. :bow:

Glad your ignition system is sorted. How many deg BTDC is it set at now and what is Coleman fuel. ??? ???

Best Regards
Bob
 
Bob,
Timing is at 1~2 deg BTDC. It seems to give me the most reliable runs. Coleman fuel is White Gas used in camping stoves. It's about 50 octane.
Tony
 
First, thank you Bob and Gail,
Now, it's all apart again :shrug: First I had to change the parts washer fluid (a year of oily parts). Then while I was at it I change the drain plug over to a valve so I could control the drainage rather that scoop out the fluid with a large Chinese soup container a little at a time. After that I started to "soak" the parts then after drying a bead blast.

Good old Rustolium Paint from a spray can. If I clean on more gun in my life I'll go nuts. Two Minutes of spraying three hours of clean up! The best thing I bought for painting was the 16" lazy Susan from IKEA $9. I can spin the part around and not touch it!
IMG_0213.jpg


IMG_0214.jpg


IMG_0216.jpg


IMG_0217.jpg


IMG_0219.jpg


Of course the paint is still wet, hence the wet gloss look :big:
Now while the paint dries and I wait to flip things over to do the other side I can do some cutting for the next build
Tony
 
And I thought it already looked good.

When you get to it...be sure and tell how you removed what paint you didn't want. I want to learn.

The pic showing the engine on the wooden skids...what are those things on the flywheel? (The things forming a square on the hub.)

Thanks,
 
Zee,
That's the Governor. The weights fly open with the increase in rpm. The springs on the weights regulate what rpm the gizzmo holds the exhaust valve open, the engine free wheels till it slows enough for those weight to come back in then that releases the exhaust valve push rod again....the engine fires and the whole thing starts over.

Watch the little arm catch the exhaust valve push rod


I will show how to make the un-wanted paint go away!

Tony

PS gland your not going anywhere :big:
 
Cool. I've seen several references/examples to 'hit n miss' engines and wondered how they worked.
Thanks. (And thanks for your support.)
 
A little more paint before I go to work this morning

Side two

IMG_0229.jpg


Clean Parts

IMG_0236.jpg


Head and Crank blocks dry and unmasked

IMG_0235.jpg


Got to go and make some money now :big:
Tony
 
Hey Zee,
Still waiting on the paint to dry. When I go to the shop I can smell the paint still (after 3 days) gassing out. The weather here in the NE USA has been terrible. If any body is a duffer, I live about 5 mi. south of Bethpage (the US Open). If you been watching TV you will know about the rain here. It's been raining for the past 2 weeks and the forcast is for another 2 weeks of it. The open will take about 2 weeks to finish! Humidity is not paints friend.
Zee, I use painters tape from the depot, put it over the machined surface then trim with an X-Acto knife. As for the Flywheels, I won't keep you in suspense anymore......When the paint is hard enough I just put it in the lathe and cut and sand it off. Then polish the bare metal. That's the secret!

IMG_0259.jpg


IMG_0261.jpg


Tony
 

I know what you mean...rain rain rain. It's past mid-June and I don't think it's gotten over 80 degrees (Fahrenheit obviously. That or I'm in the wrong place. Read into that as you will.)

Painter's tape? Why does it look like a foil? It's not the blue stuff.

Ahhhh. Sand and polish. That subject just keeps coming up for some reason.

Thanks Tony.
 
Yup Zee, the blue stuff, you could use green too. If you want to bling sand and polish and polish and ......
Tony
 
Hey again Zee,
Forgot to mention. I use Cotton Balls to fill the inside machined surfaces. I stuff them in there a drop of alcohol will tame the fibers. Or you could roll a piece of paper up and let it "unwind" in the hole.

IMG_0271.jpg


Shown being removed. Pushed down flush or below surface when in paint mode
Tony
 
Well, got a little bling done on the H/M. Cleaned the paint from the flywheels and polished and polished

Before and after
IMG_0287.jpg


Starting to look like something
IMG_0292.jpg

Think I'm going to cut that funel down a bit
IMG_0294.jpg


That's it for tonight.....fingers are killing me :big:

Tony
 

Latest posts

Back
Top