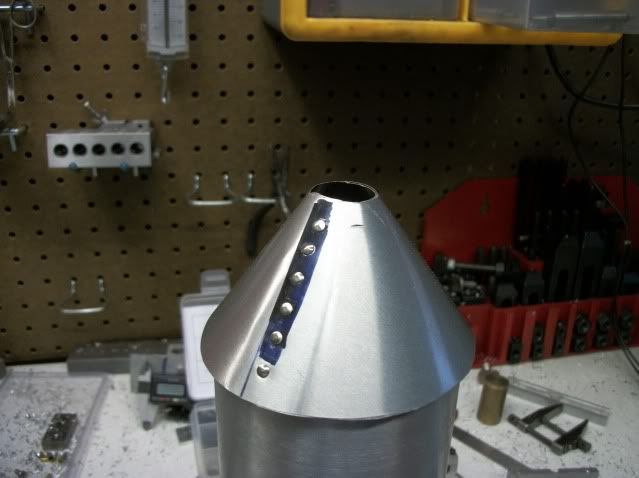
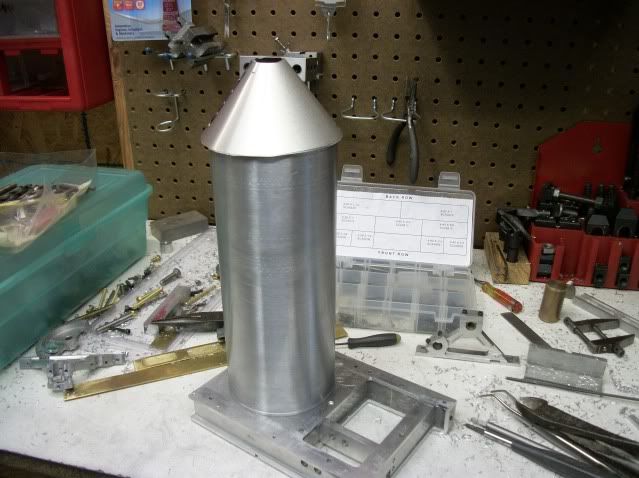
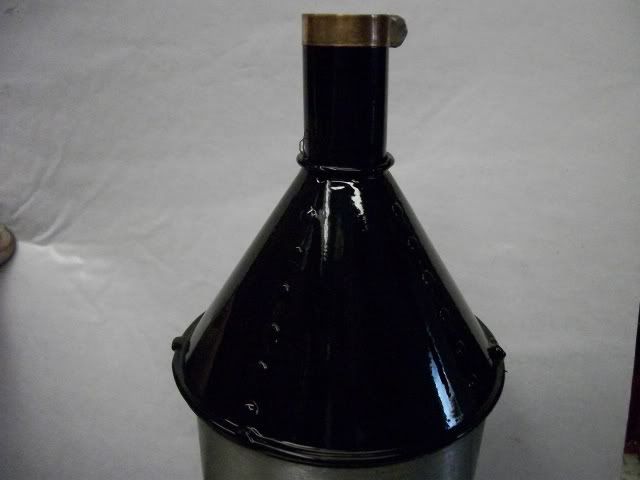
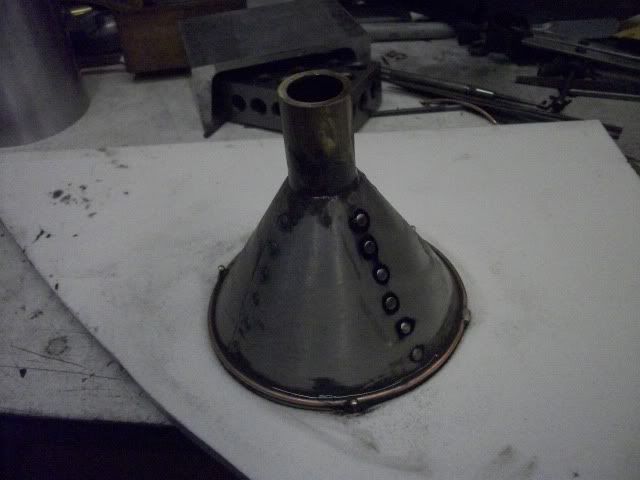
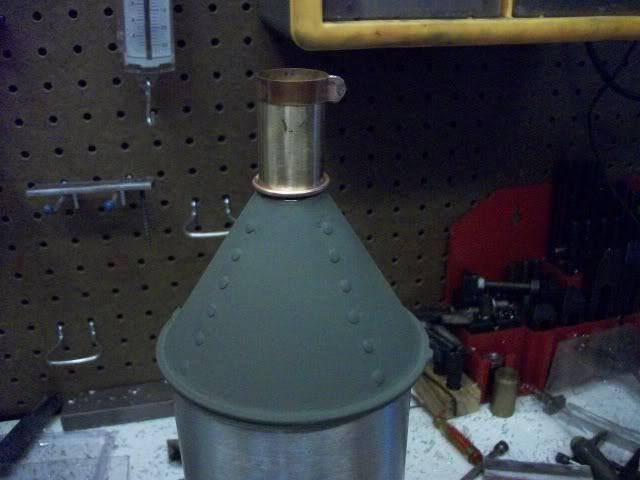
This is the current state of the hood.
The previous was just a test of the process and it worked ok so I started over with a little more care. The material is aluminum roof flashing available is several sizes at home improvement stores. I have always called this stuff roofing tin so in the interest of saved keystrokes I'll just call it "tin" from here on. It is easy to cut with heavy scissors but when formed into the funnel cone. The first step is to layout a circle with a radius equal to the distance from the edge of the boiler cylinder to the apex of the final cone.
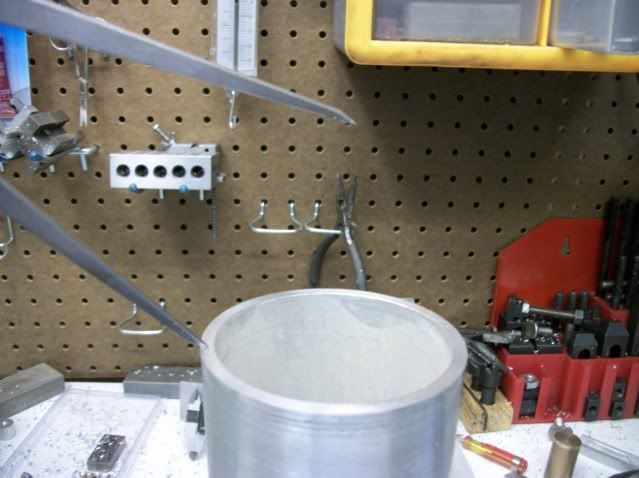
Here I am using dividers to pick this dimension by eye.
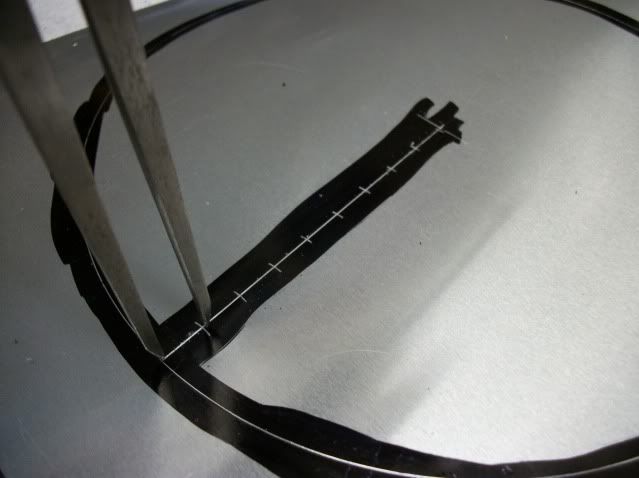
Adding a little for overhang yields a dimension of 3.6" which I used to scribe a circle in the tin. I then scribed a radial line and stepped of 3/8" increments from the edge to the center for rivets. A second line, parallel to the radial line, is scribed for cutting.
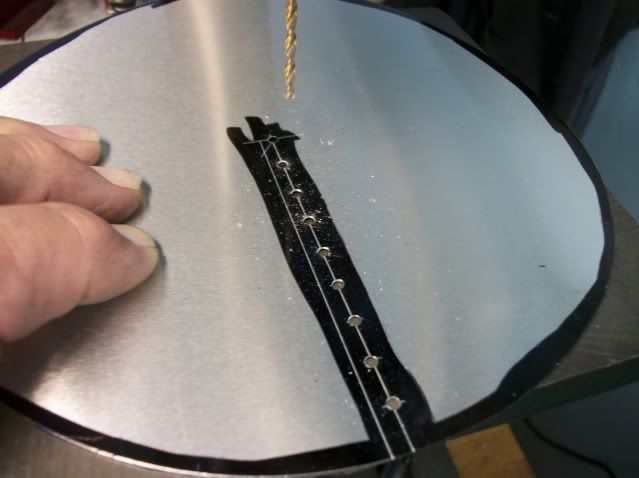
The circle is cut with shears and then holes are drilled at the center and at each rivet location. For the rivets that I have the bit is 5/32". The surface is very smooth and the drill bit will wander so the locations must be punched but VERY lightly so the sheet is not distorted.
The tin is then cut along the line parallel to the rivet line. This line does not intersect the center hole so as the shears pass the last rivet hole, the cut takes a right turn and cuts int to center hole. IMPORTANT! The cut must not cross the center hole and nip the far side of the hole. If the for side of the hole is cut, you will have a very difficult time forming a regular cone without distortion.
Using your fingers, offset the cut edges and slide the tin into a cone shape, being careful not to kink or fold the tin. Continue to slide the tin tighter, until the cone is to the desired shape. Trust your eye, but the base of the cone should be just a bit larger than the boiler cylinder. I am quite capable of working out the math and geometry to cut a pie shaped wedge out of the circle that would yield a cone but the overlap method yields a smoother, stronger curve. With the cone formed to the right shape, using a sharp scriber, mark through the outer rivet hole to locate the mating hole.
I guess I lost my concentration here and forgot a process picture of this next step. Now lay the circle out flat and locate the marked location. Scribe a radial line through this point to the center, and step off 3/8" increments for rivet holes. Punch lightly and drill the holes.
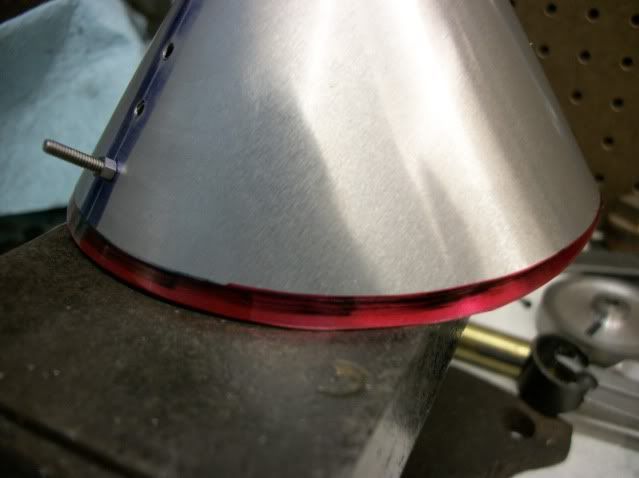
Now the cone can be reformed and secured with a #2-56 bolt and nut. Do not rivet yet! There are more holes to mark and drill but first, note that the inner layer of tin hangs out slightly past the outer layer as shown here in red.
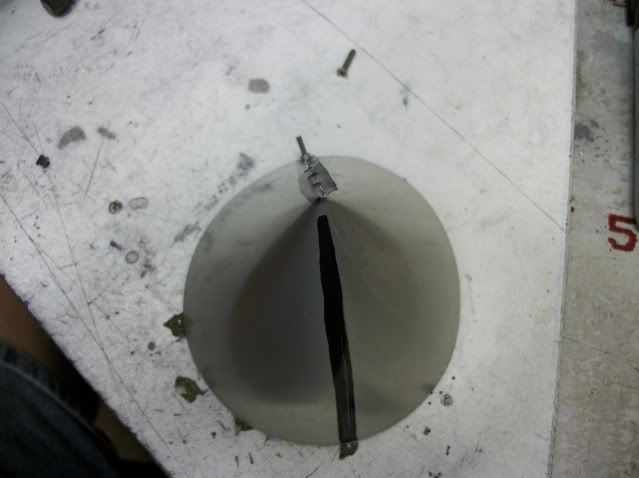
Mark this overhang with a sharp scriber, uncoil the cone and trim the excess before reforming the cone. Now we're ready to mark and drill the second row of rivets 180° from the first row. Mark the location with a magic marker as shown here.
Only one line is shown in the pic but I decided that four rows of rivets would look better so I made marks at 90° and 270° as well. Now unroll the cone and use the marks to scribe lines and step off the rivet hole locations, punch and drill.
These are only the exterior layer, so once again, form the cone, secure it with the bolt and use the outer ring of drilled holes to mark the locations on the inner layer. Be sure that the inner layer of tin is tightly pressed to the outer layer when marking.
I know this is getting very repetitive but again unroll the cone, pick up the marked locations, step off the rivet locations and drill.
WAIT! BUT FIRST! Before uncoiling the con in the above step. it is time to mark the location of the stack pipe which must be cut. I am using a piece of 1/2" brass pipe (ext diameter .875") for the stack pipe so I set the pipe down on the cone and scribed around it. When the cone is unrolled for the last time, this line is cleaned up and cut very carefully, using my wife's finest scissors (you know better).
Now the cone can be formed for the last time and riveted. Where did I get the rivets? At the junk yard (salvage yard)! No kidding! They have bins full of the little buggers. They are plated steel but they will be painted so why not. If I had the right sized copper rivets I would use them but I don't
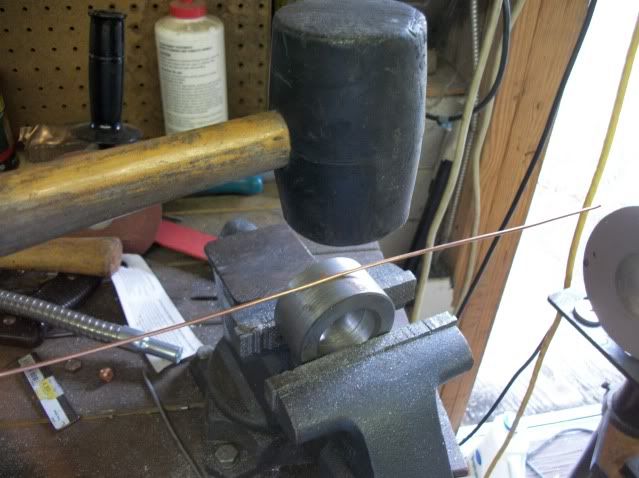
Just a few more steps to finish. The cone is fairly stable but just needs a stiffener ring around the base for ridgidity and appearance. 12 guage copper wire is just the ticket, strong enough and easy to form. To get it into a smooth regular shape, I resort to one of my favorite tools, hammer and anvil.
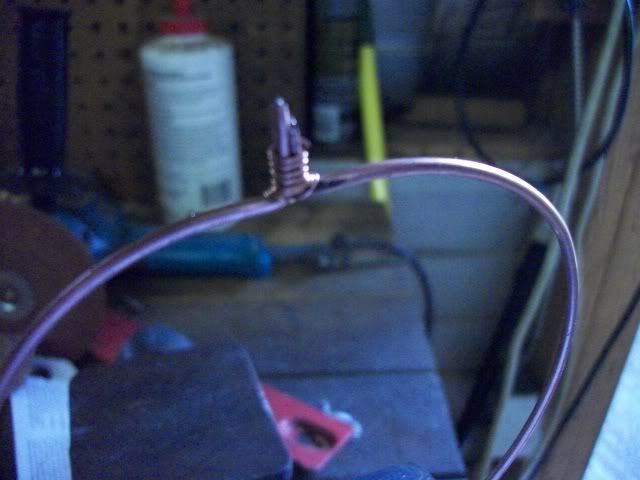
Well rubber hammer and round anvil. The rubber hammer eases the wire into a smooth circle without marking the surface. It doesn't have to be beat to final size, just to near size. Final size is to fit the base of the cone with enough extra to bend up some ears for soldering.
Soft solder is fine for this. After soldering, it is closely trimmed and filed. Here it is on the cone. It has been fileted with J-B Weld and small nails are used to keep it forced to the edge of the cone, holding the circle and cone on a piece of scrap of HDPE (Starboard).
Here it is with a coat of primer. Another copper ring is in place to blend the transition to the stack pipe.
And one last pick with paint. way to glossy I think. If anyone has a good experience with a not too glossy black paint, I would appreciate a suggestion.
This has been a very long post. Almost longer that the build.
Thanks for watching.
25920
Jerry


