Auto reverse mechanism

Home Model Engine Machinist Forum

Help Support Home Model Engine Machinist Forum:

This site may earn a commission from merchant affiliate links, including eBay, Amazon, and others.
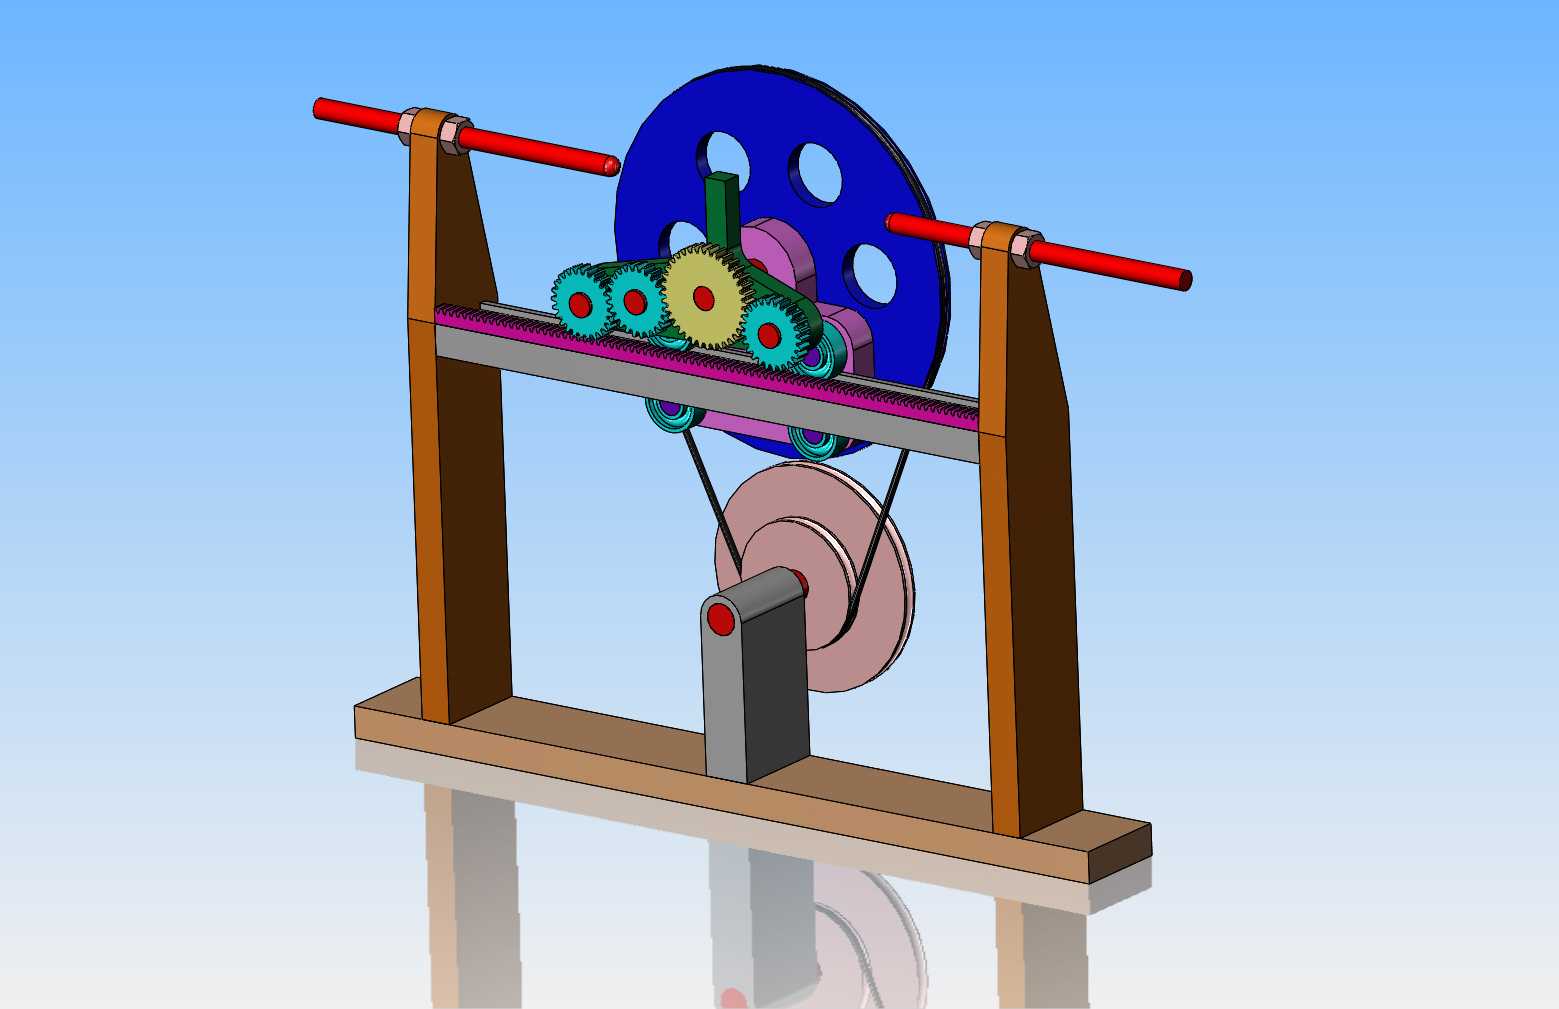
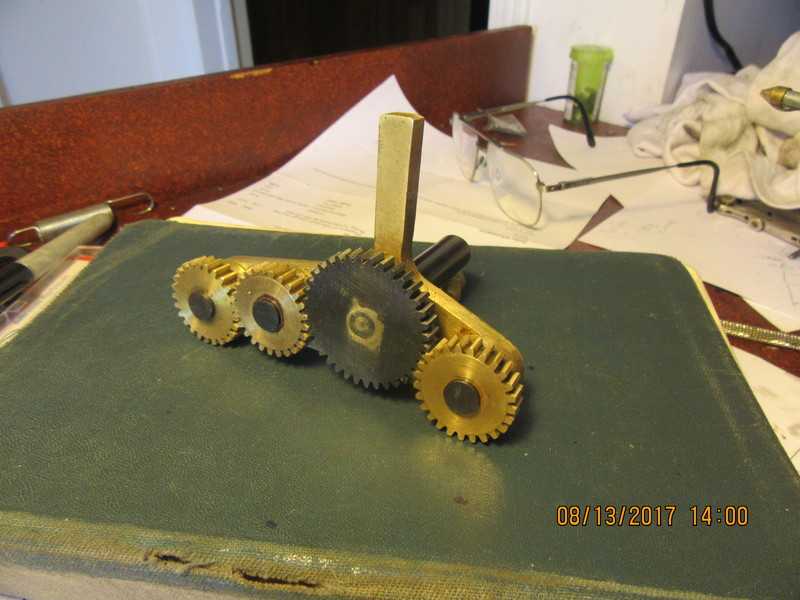
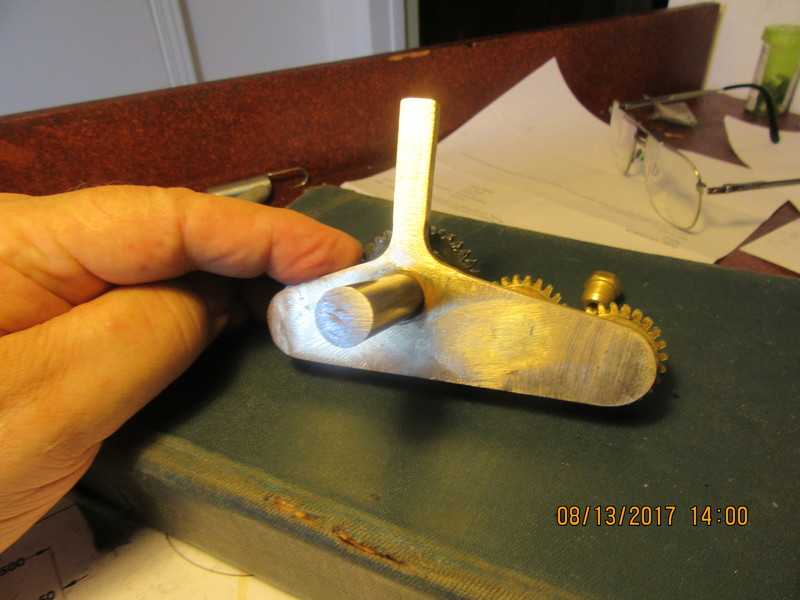
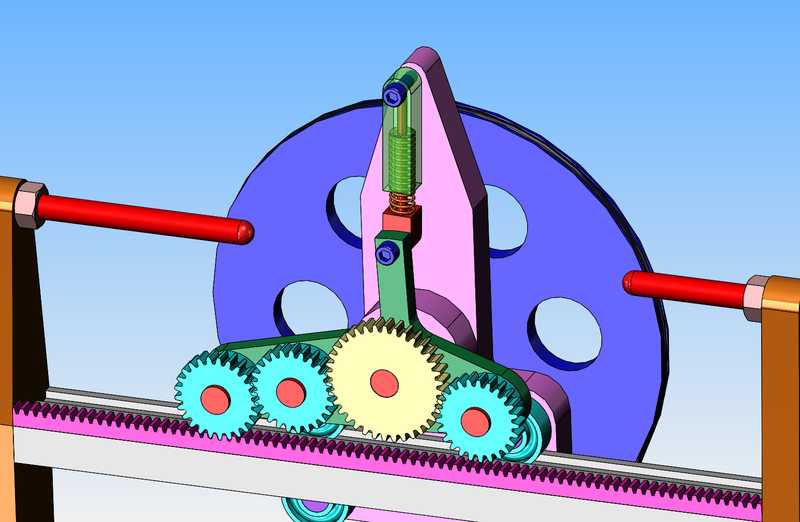
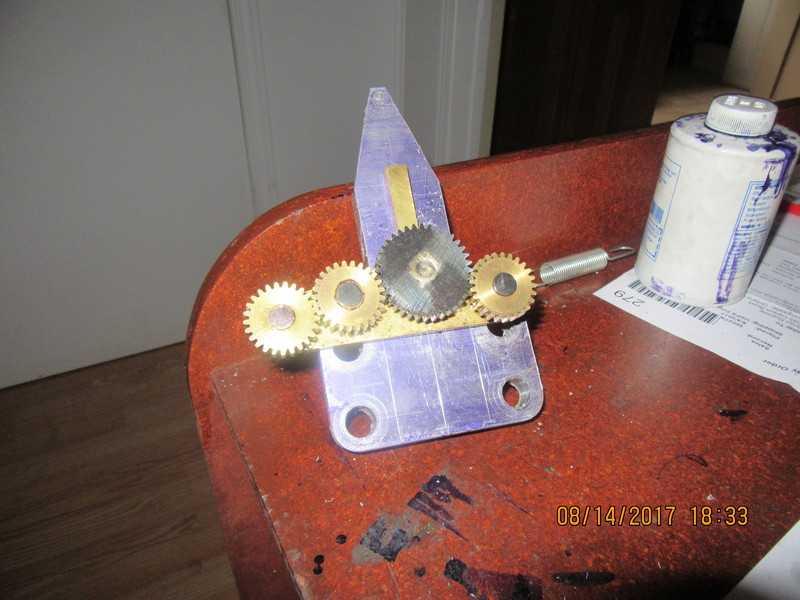
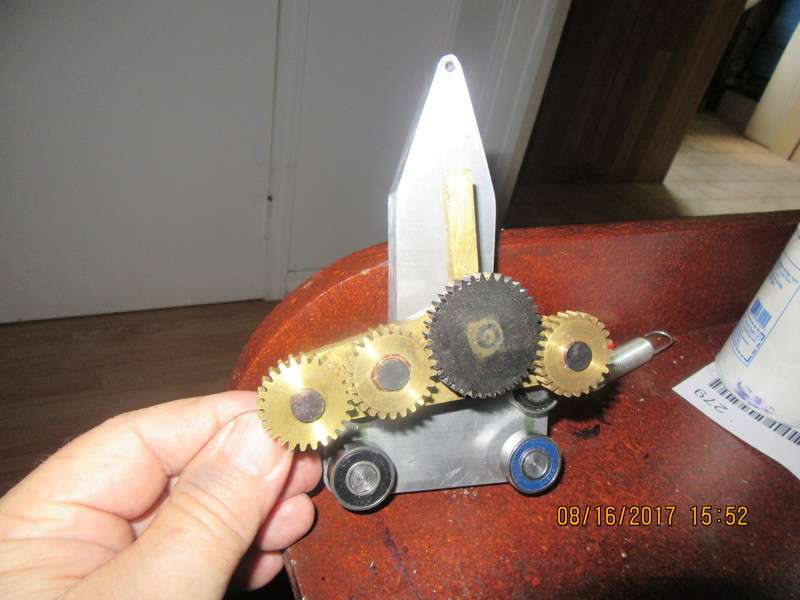
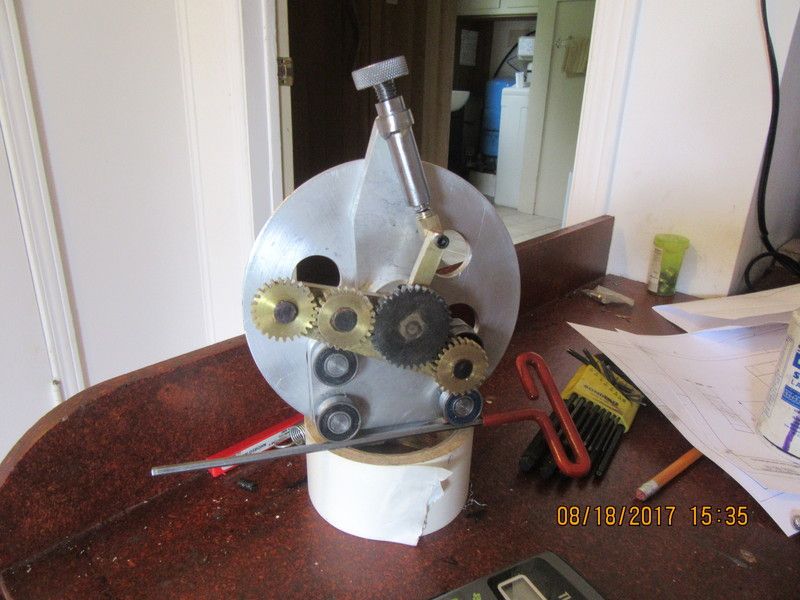
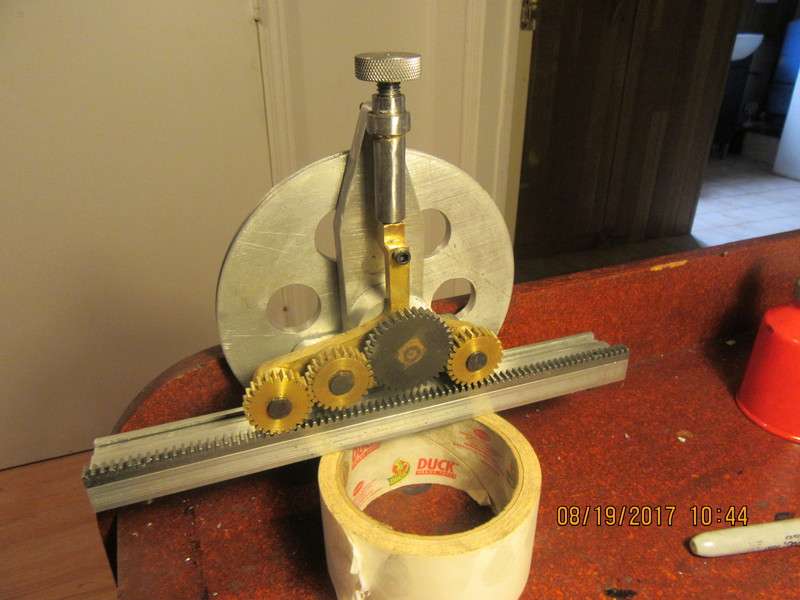
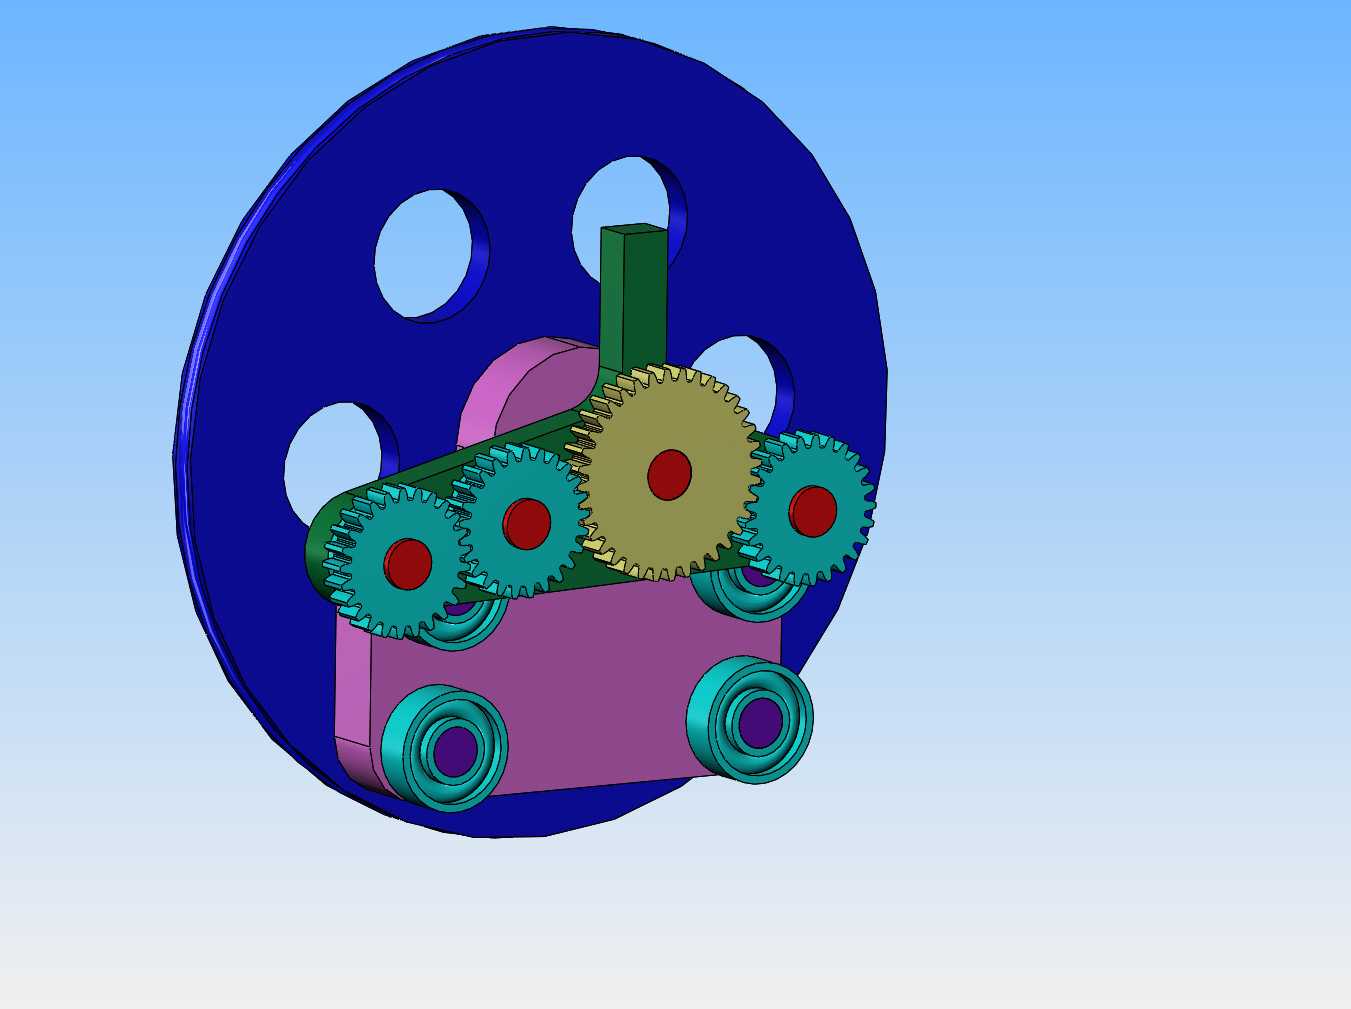
This will be my travelling carriage. Three of the gears are the same, so they can all be cut at once, then parted off to length. The blue ball bearings attached to the carriage plate will run in grooves in the stationary rack support plate to give guidance and stability.
UoanZr.jpg
 
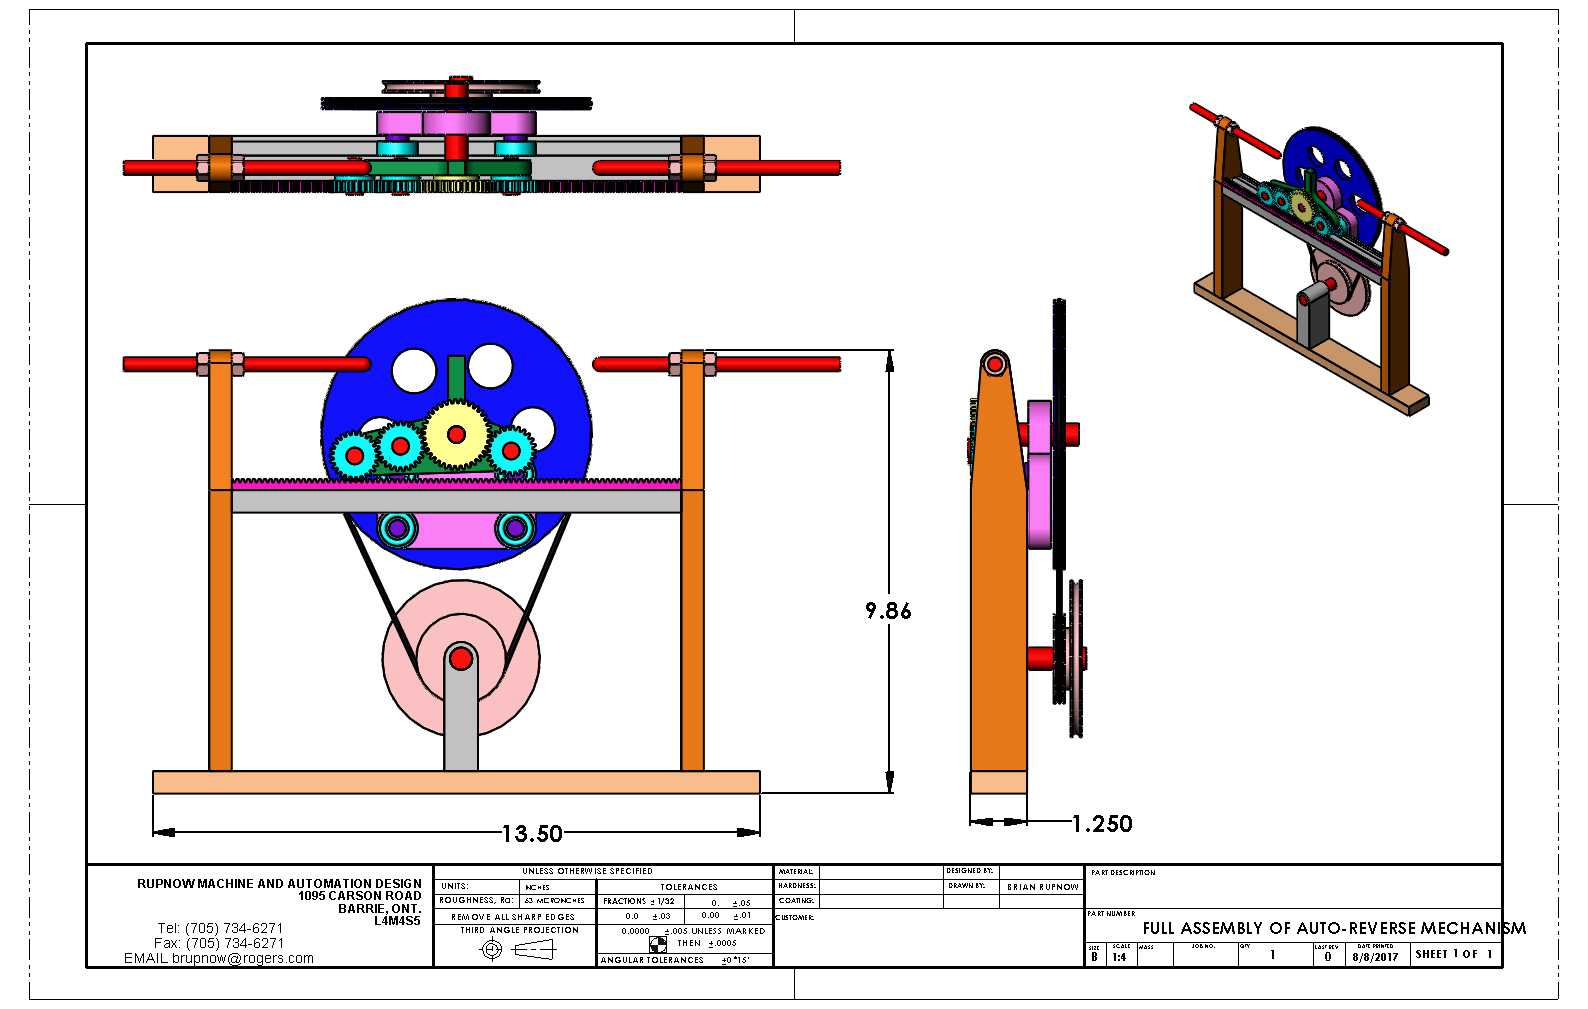
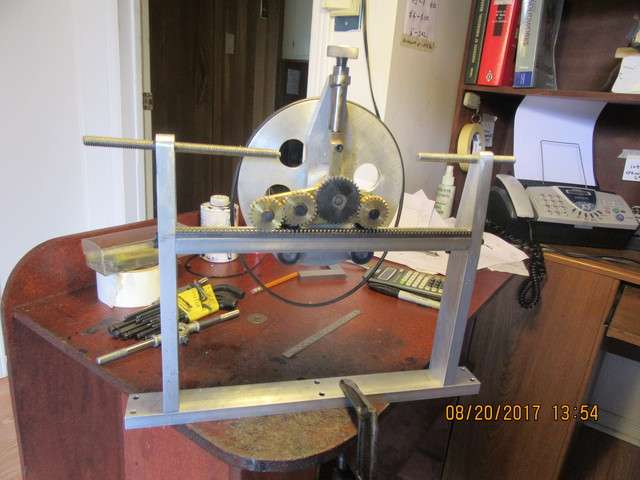
Here we have the full set up. The jackshaft at the bottom is centered between the two endplates, and the drive belt to the top pulley from the bottom is a 0.100" diameter rubber o-ring. The jackshaft pulley is actually a double pulley, with the larger diameter hooked up to one of my engines via a second rubber o-ring which is not shown. As the moving gear cluster goes from right to left or vice-versa, the rubber drive belt stretches to accommodate it. The grey colored horizontal bar has a groove milled in each side to accommodate the blue roller bearings on each side of the "traveller" to keep everything aligned.
kBSiL9.jpg

MOtaZQ.jpg
 
So, here we have the beginning of the old "cut three gears at once" trick. Outer diameter of gears and outer diameter of hubs have been turned, and reamed to 0.352" diameter center hole, all in the same set-up. (It was going to be a 5/16" center hole, but discovered that I didn't have a 5/16" reamer at the very last minute, so I went up one size to 11/32" which I do have.) This method will let me cut the teeth on all 3 gears at once, then part them off in the lathe. Of course it also gives me the opportunity to screw up all three gears at the same time, so I'll try not to do that.
 
Last edited:
We have a finished and fully operational gear cluster. This didn't go quite as smoothly as I would have hoped. The chuck on my rotary table is attached with bolts in T slots, but no centering spigot. Sometimes, (I expect for sins I have committed in the distant past) the damned chuck moves a bit off center. It's not visible, but you can end up with slightly off-center gears. The pitch circle ends up being shifted very slightly from the bore. This of course results in gears that mesh very good on one side of their rotation, and are very very tight on the other side of their rotation. However, with a bit of fettling and cursing, everything now meshes very well, and I've done enough work for today.
o29r6q.jpg

XGH71Q.jpg
 
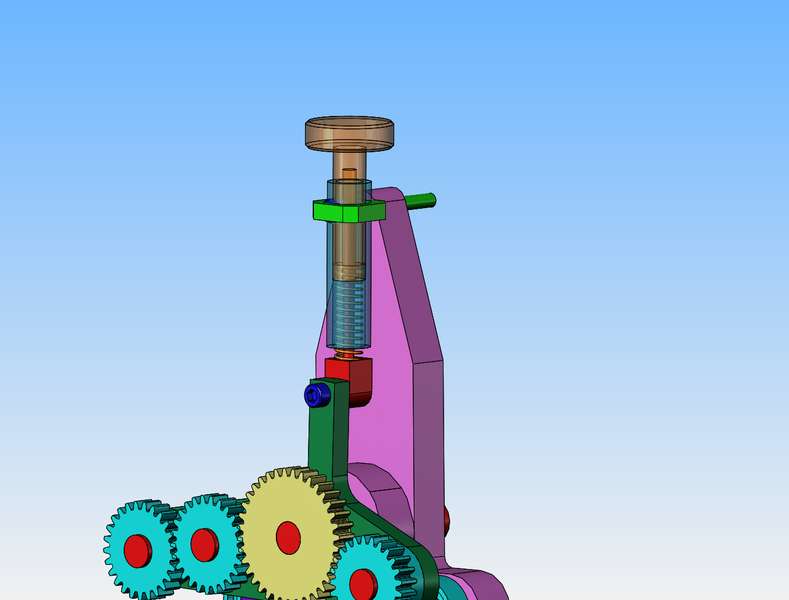
Since I don't have room for a spring tension toggle device directly below the actuator arm because of the shaft running thru, then I will put a compression spring acting on it from above. This will serve as my toggle device.
ADTKFC.jpg
 
After I got home from my "away office" this evening. I whittled out the "Pivot anchor plate". Got all of the holes drilled and reamed, and the profile roughed out. I will pick up the four ball bearings tomorrow.
LNnCKe.jpg
 
Just for a bit of reference for you Brian, I stumbled across a reversing mechanism the other day which was 2 straight gear racks facing each other, with a decent sized gear between them. The gear only had enough teeth around part of its circumference that it engaged with one rack at a time. As its rotation disengaged one rack it would engage with the other and thereby generate reverse motion. Probably only good for a relatively small back and forth oscillation or the gear diameter would get too large, but was interesting to see a simple continuous auto reverse that may come in handy one day.
 
That would also work with a small gear pivoting about its axis and moving from one rack to the other so the racks would not be governed by the size of the gear.
 
Today we have the four bearing mount shaft made and pressed into the aluminum backplate, with the bearings Loctited to the shafts. Why does one bearing have a blue grease seal while the other three are black? Beats me--Must be something to do with "diversity".
wrKiZF.jpg
 
In the final phase of completing the gear cluster and "toggle" device, I decided it would be wise to make the compression of the toggle spring adjustable.
cKqkQO.jpg
 
I've been a busy little beaver. The 6" diameter pulley is finished, and the toggle is finished. The toggle seems to work very well, and definitely will "kick" the gear mechanism down into position as soon as it is "over-centered" in either direction. Hopefully, tomorrow I will get the slotted track machined and attach the rack to it.---Brian
KMF78E.jpg
 
Today I have the first trial assembly of all the important pieces. Everything fits and clears properly, but I'm not getting enough "kick" from the toggle to shift things cleanly. I may mill some material away below the rack to let the rack set a little farther away from the gear cluster. This will allow for more movement when the gear cluster shifts position, and the toggle should have more movement so should be more effective.
DcpAfl.jpg
 
Well, I'm finished enough to begin having doubts about whether it will work or not. It works when I turn the pulley by hand and use my other hand at the end of stroke to help flip the toggle over. However, as I expected, the problem is going to be getting that toggle to flip over nicely and consistently. I've spent enough of this weekend working to get it done to this stage. I will play with it in the coming week to see if I can get the toggle to work better.
fEr5R5.jpg
 
After playing with this thing for an hour after supper, it has loosened up considerably. I have come to the conclusion that I need a stronger spring and more hysteresis in my toggle. I'm sure that a lot of you old guys could use a bit more "hysteresis in your toggle", but that's not what I'm talking about. I can buy a stronger spring sometime this week, and I think that if I lower the rack by milling away about 0.100" of material below the rack, that will increase the "hysteresis". (Let the toggle move more between full left and full right position.)
 
Hi Brian.

I worked on chain driven self reversing mechanisms in my dim and distant past. The only problem they ever had was hang up at the point of changeover. There were usually two reasons for this. First caused by the driving gear disengaging before the toggle was fully over-centre. The second by the reverse gear engaging before the driving gear was fully disengaged. If this is not happening, then before you remove any material from below the rack, you may want to try lowering the strikers so that there is more movement of the toggle for less movement of the driving gear. It looks like you could clamp on some temporary strikers much lower down. The lower the better.
 
Thank you for the suggestion Tony. I'm kind of hung up on this mechanism at the moment, and I've been busy with other stuff. I just spent today driving 390 kilometers to see my mother and take her a birthday cake and celebrate her 97th birthday. I will probably get back to this sometime in the next week or two.---Brian
 
Thank you Baz. She has been a great mother. My wife and I and my mothers younger sister (who is eighty eight) had a little birthday party at the retirement home where she now lives. I thought that putting 97 candles on the birthday cake might have set off all the sprinklers, so we only put 7 candles on the cake. For many, many years when I was a boy, my mother had a pen pal named Ruby Walmsly in Australia. They corresponded for many years, and my mother was always happy to receive mail from her "Friend in Australia". When I was about 10 years old Mrs. Walmsly sent my mother a small wooden boomerang souvenir of Australia about 10" long to hang on the wall. It was quite pretty, and had a kangaroo painted on it. After seeing it hanging there for about 6 months, and reading about the "bushmen" of Australia, I sneaked it off the wall when my mother wasn't looking, took it outside, and threw it as hard as I could. I fully expected it to return to me.---But sadly, although I looked for it for weeks, it was never seen again. I always thought afterwards that the damned thing must have flown back to Australia. I had a lot of difficulty explaining this to my mother-----Brian
 
And another Happy Birthday to your Mum from me as well.

But sadly, although I looked for it for weeks, it was never seen again.

This made me smile. There is certainly a knack to throwing a boomerang, and if you did it correctly (which you may have accidentally done) and if it was a properly built boomerang (not just a pretty bent stick) then it would likely have traced a figure 8 path in the air, with the cross-over point of the 8 right where you threw it from. In reality, the throw has to be absolutely perfect for this to happen but it wouldn't have taken much for the boomerang to have landed behind you - possibly explaining why you never found it...
 

Latest posts

Back
Top