V-TWIN---MAYBE V-4

Home Model Engine Machinist Forum

Help Support Home Model Engine Machinist Forum:

This site may earn a commission from merchant affiliate links, including eBay, Amazon, and others.
Brian. Great to hear you got it running .
That pressure building up in the crankcase may be why you are getting so much blue smoke out the exhaust ( oil vapour forced by the rings ) and the pressure will cause extra leakage at your access cover in the bottom .
I'm not sure what RC 4 stroke model engines use , the smallest I've seen is a Honda 4 stroke trimmer .
You may be able to incorporate it into the plug of your oil fill assembly .
Bill
 
Brian, on the Crank Case Vent suggestion, do you think maybe remove the pipe plug in the oil filler elbow and maybe take an old grease rag or something over it with a rubber band to keep it covering the hole just for a test? sure without a grease rag or something it would likely blow oil out of that as well. and maybe even with a grease rag. but just curious. i cant wait to see a video of it running.
 
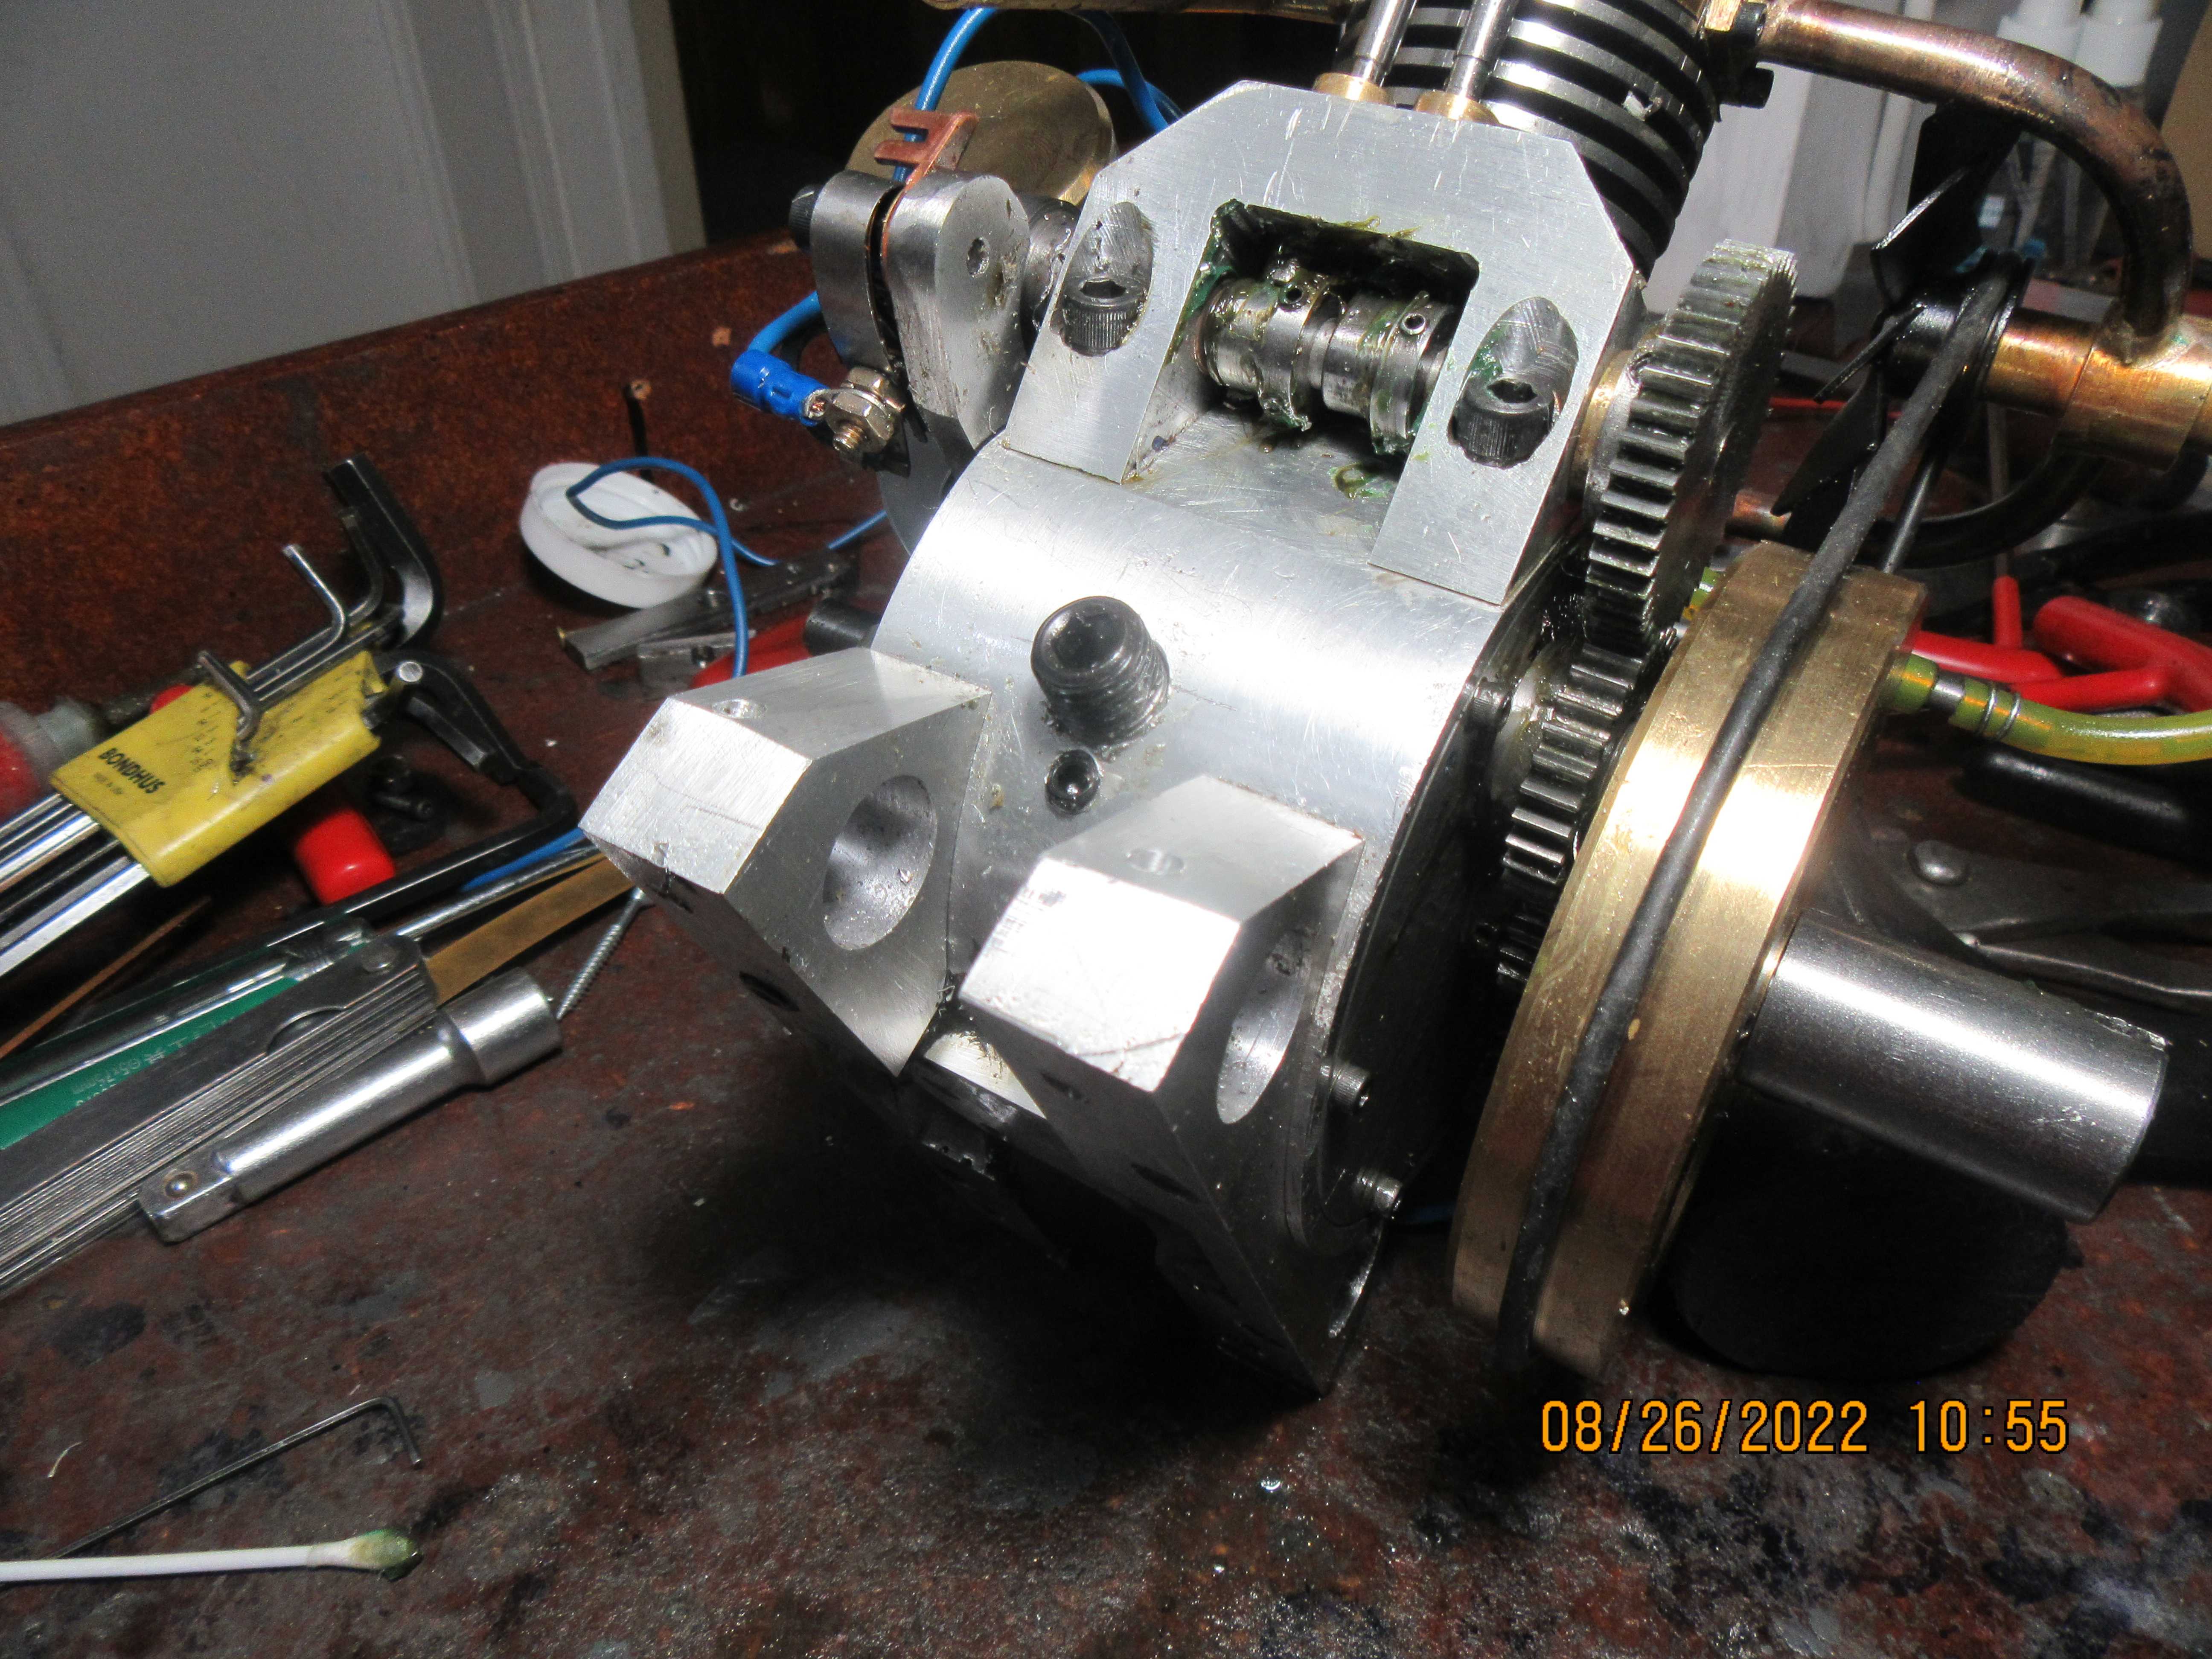
The drain plug for engine oil has been moved down a good 1/4". The hole which originally had the oil drain pipe in it has been sealed with a 1/2" threaded plug, and a new #10 hole has been drilled directly below it. I set the engine up in the run position and inserted a piece of 3/16" rod thru the hole horizontally. When I turned the engine over by hand, the 3/16" rod moved a bit, so I know that the con rod is still going to touch the pool of oil. Now, back to the bench for some more test running.
IWCsYj.jpg
 
Even with a reduced amount of oil in the sump the oil is still splashing up onto the cylinder walls, getting past the rings, and overwhelming the sparkplug. So----No oil sump. Now I will cut access holes in the engine backplate for squirt can oiling of the rods big ends.
 
Hot dawg! That thing runs like a scalded cat!

Nice job, Brian! I guess the "squirt oiling" method will work, but you can probably still lower the oil level a little bit more and still get it to splash just off the influence of parts flinging around in there. Or you could add an oiler tube and have a cool little drip oiler off to one side somewhere.

Think you'll ever add a second half to make it a V-4?

Cheers!
 
Brian,
In a multi-cylinder engine, you don't need (and in most cases don't want) to run a sump level where the crank throws, or even more likely the rod caps/bolt heads, are dipping into the oil. With the oil level sitting clear of the moving parts, the windage created by the crankcase pressure pulses will create an oil storm inside the crankcase that will keep its interior wet with oil. Even full-size engines with oil pumps use this windage to wet the cylinder walls. All the engines I've personally worked on have had windage trays to limit this oil storm and in the process free up a little horsepower.

Fill your crankcase with oil so the level is just below any of the crank's moving parts. Then run the engine. Suck out oil as needed to reduce the oil smoke to an occasional puff at idle and somewhat more at w.o.t. This will be the level you want to run at and will ensure everything inside the crankcase is kept wet with oil and well lubed.

Your rubber o-ring isn't doing much to help with oil control and in fact may be worsening the problem by trapping oil between it and your bottom cast iron ring which would otherwise be trying to scrap the oil away during the piston downstroke. - Terry
 
Today, for the first time in 10 weeks, I haven't worked on the engine. I've spent the day cutting grass and catching up on all the other things I've let go over the summer. Tomorrow I have to go to my oldest son's house and put in a new sump pump line before the weather turns cold. I've had a couple of runs out of the engine, one which I videoed and a longer run that I didn't. I've learned a couple of things, which I will discuss later on as this thread continues. Thank you all for following my build thread, and yes, there will be more---just not right away.
 
Old bones are still in recovery mode from putting in a 100 foot sump pump line at my oldest sons place. He has early onset Parkinsons disease, and I try and help him out whenever I can. I haven't went near the engine for three of four days, and I've enjoyed the break from it. Just for the record--I do take advise from people who post on my builds. Not all of the advice, not all of the time, but some of it. I know the engine runs, you've seen it in a video I posted. I want it to run slower and more dependably, so now that the pieces have all been machined and assembled I will devote some energy in tuning the engine. The fact that the engine runs gives me a pretty good feeling about the valve sealing. For now, I am going to run with a dry sump and use "squirt can oiling" thru the holes I machined in the engine backplate. I think that I will remove the "knife" style con rod and cylinder and set the engine up to run the way I want as a one cylinder engine. When I am happy with that, I will reinstall the con rod and cylinder and then concentrate on running it with both cylinders installed.
 
Hi Brian. First I have to say I follow closely this thread and I enjoy both your design solution and the build.
Looking at full sized engines ways of dealing with this (I'm speaking of the 3rd piston ring area), how about making radial holes in piston and maybe in the cast iron ring combined with a middle groove - for excess oil drain?
Assembling refurbished motors I also know that even this might not be enough for a new pair of cylinder/ piston/ rings; of course, not speaking of other factors -already mentioned - which add to smoke in exhaust.
 
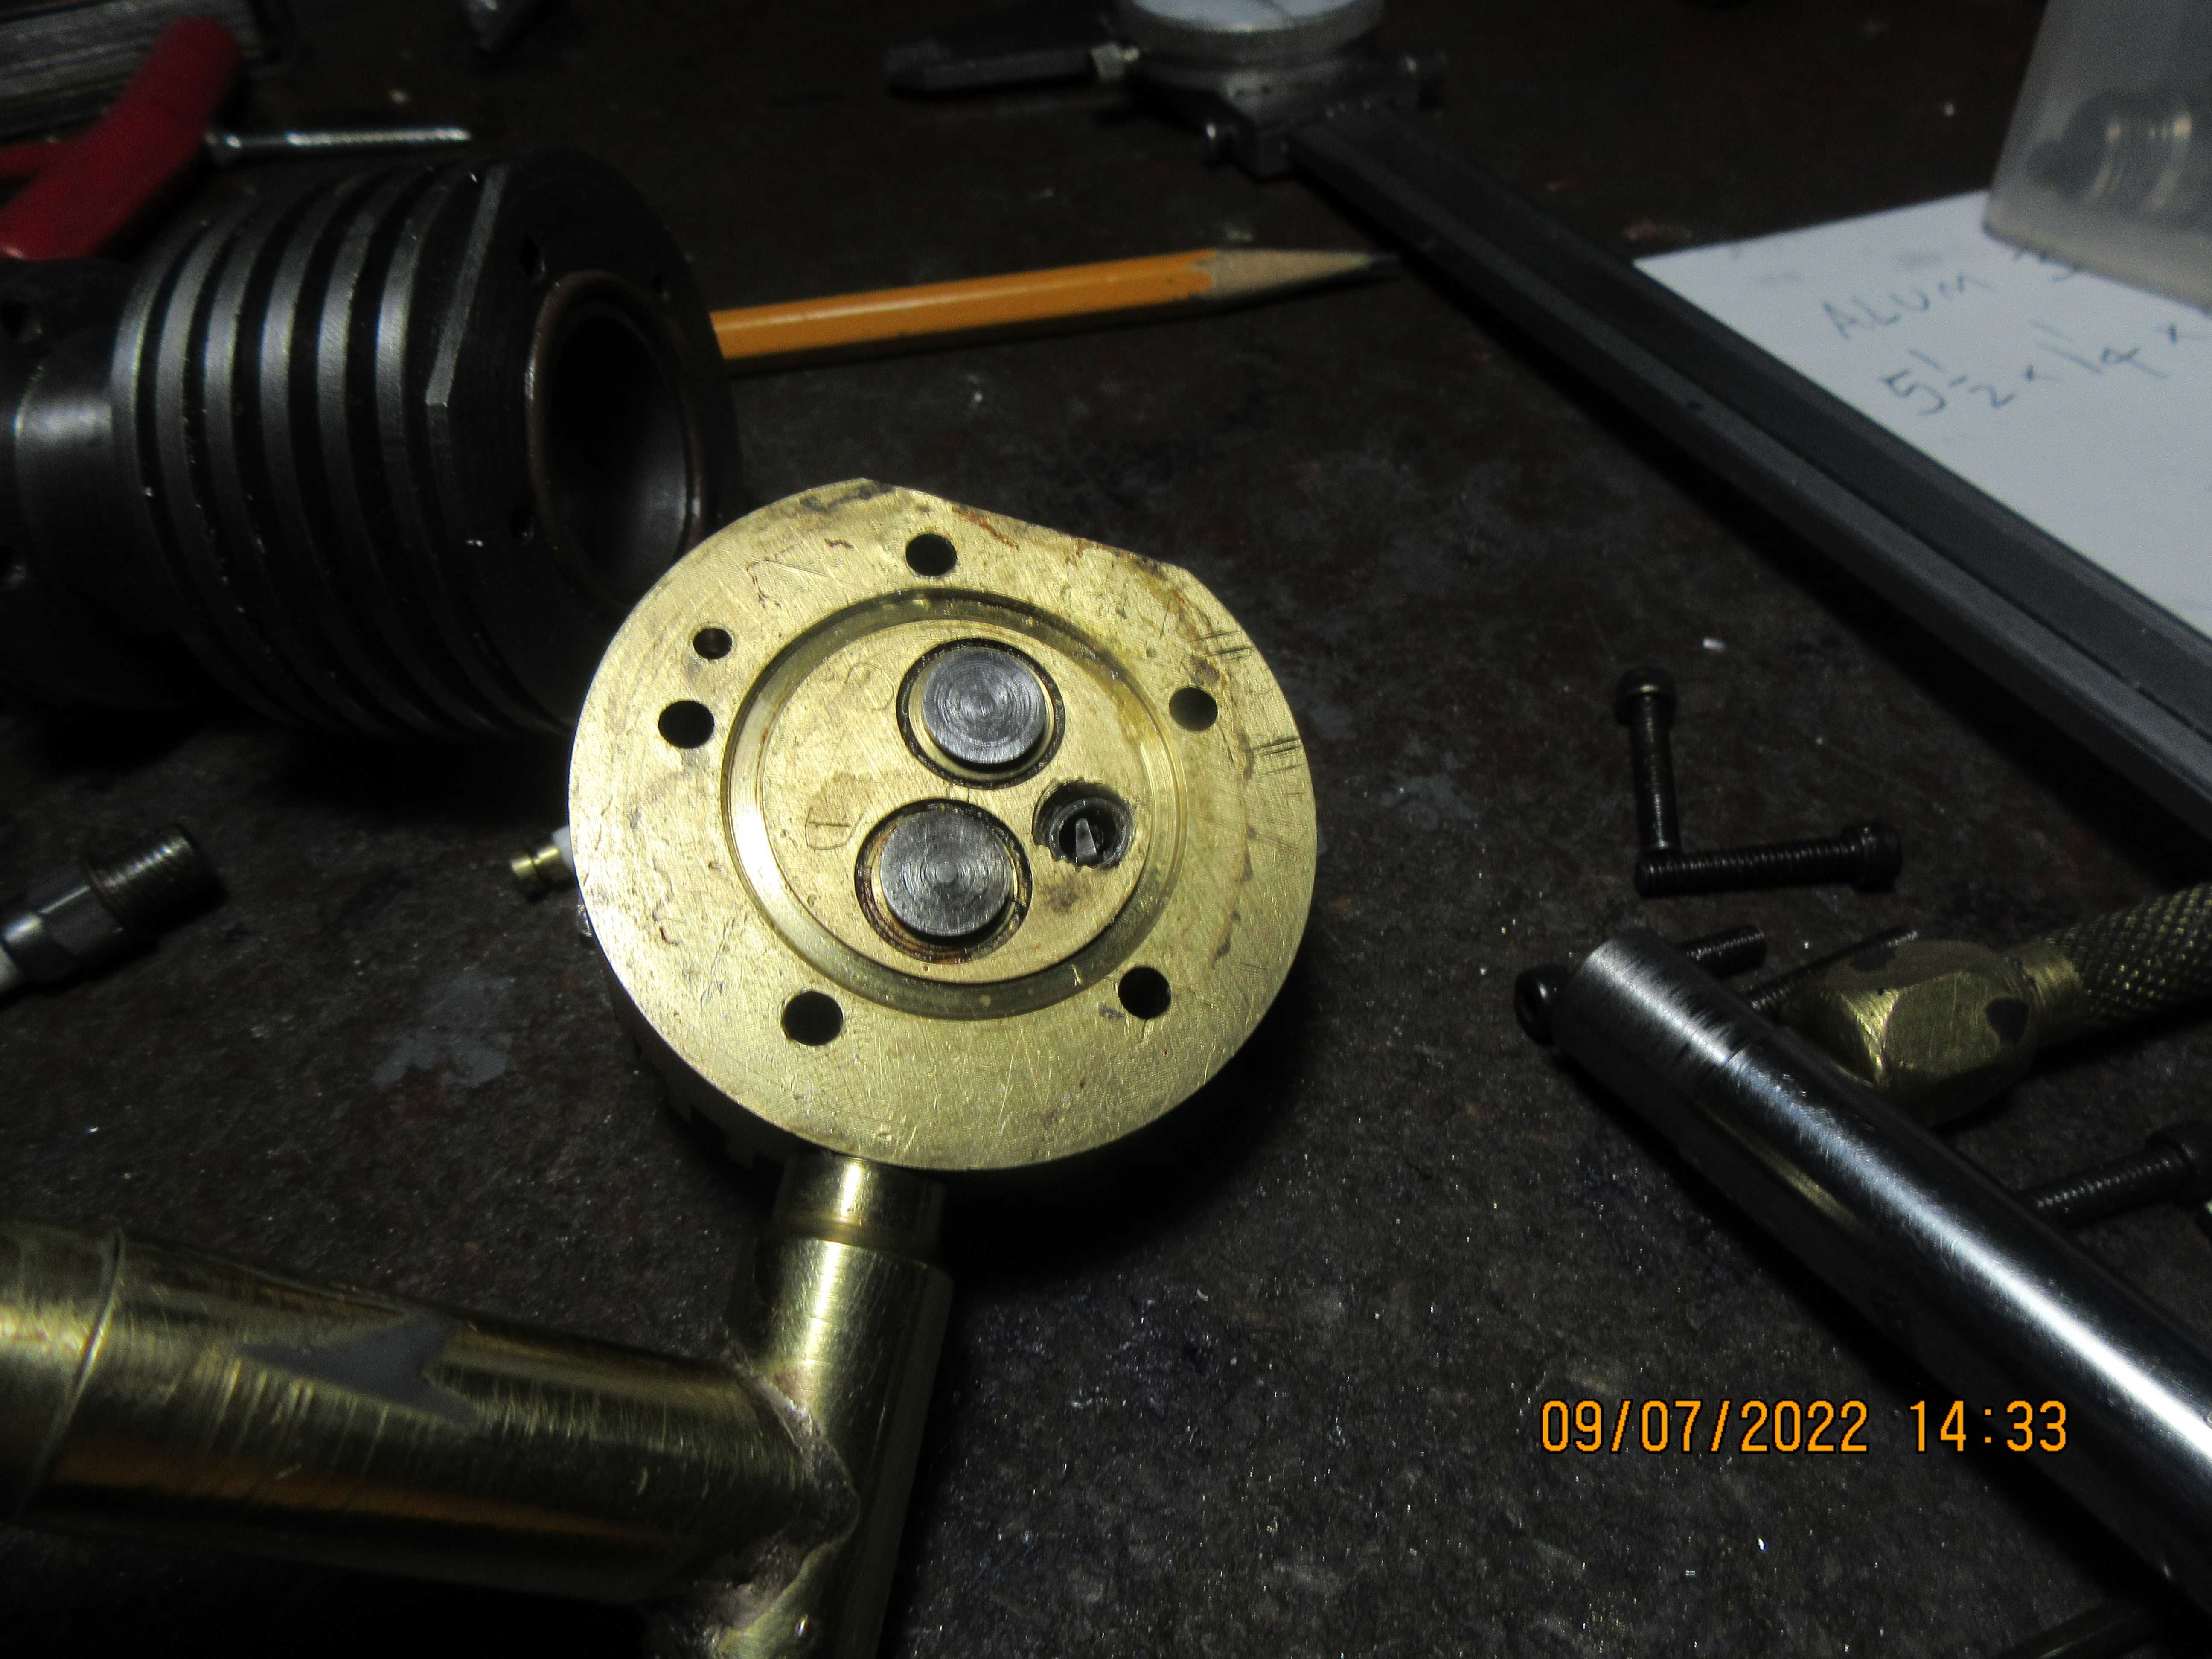
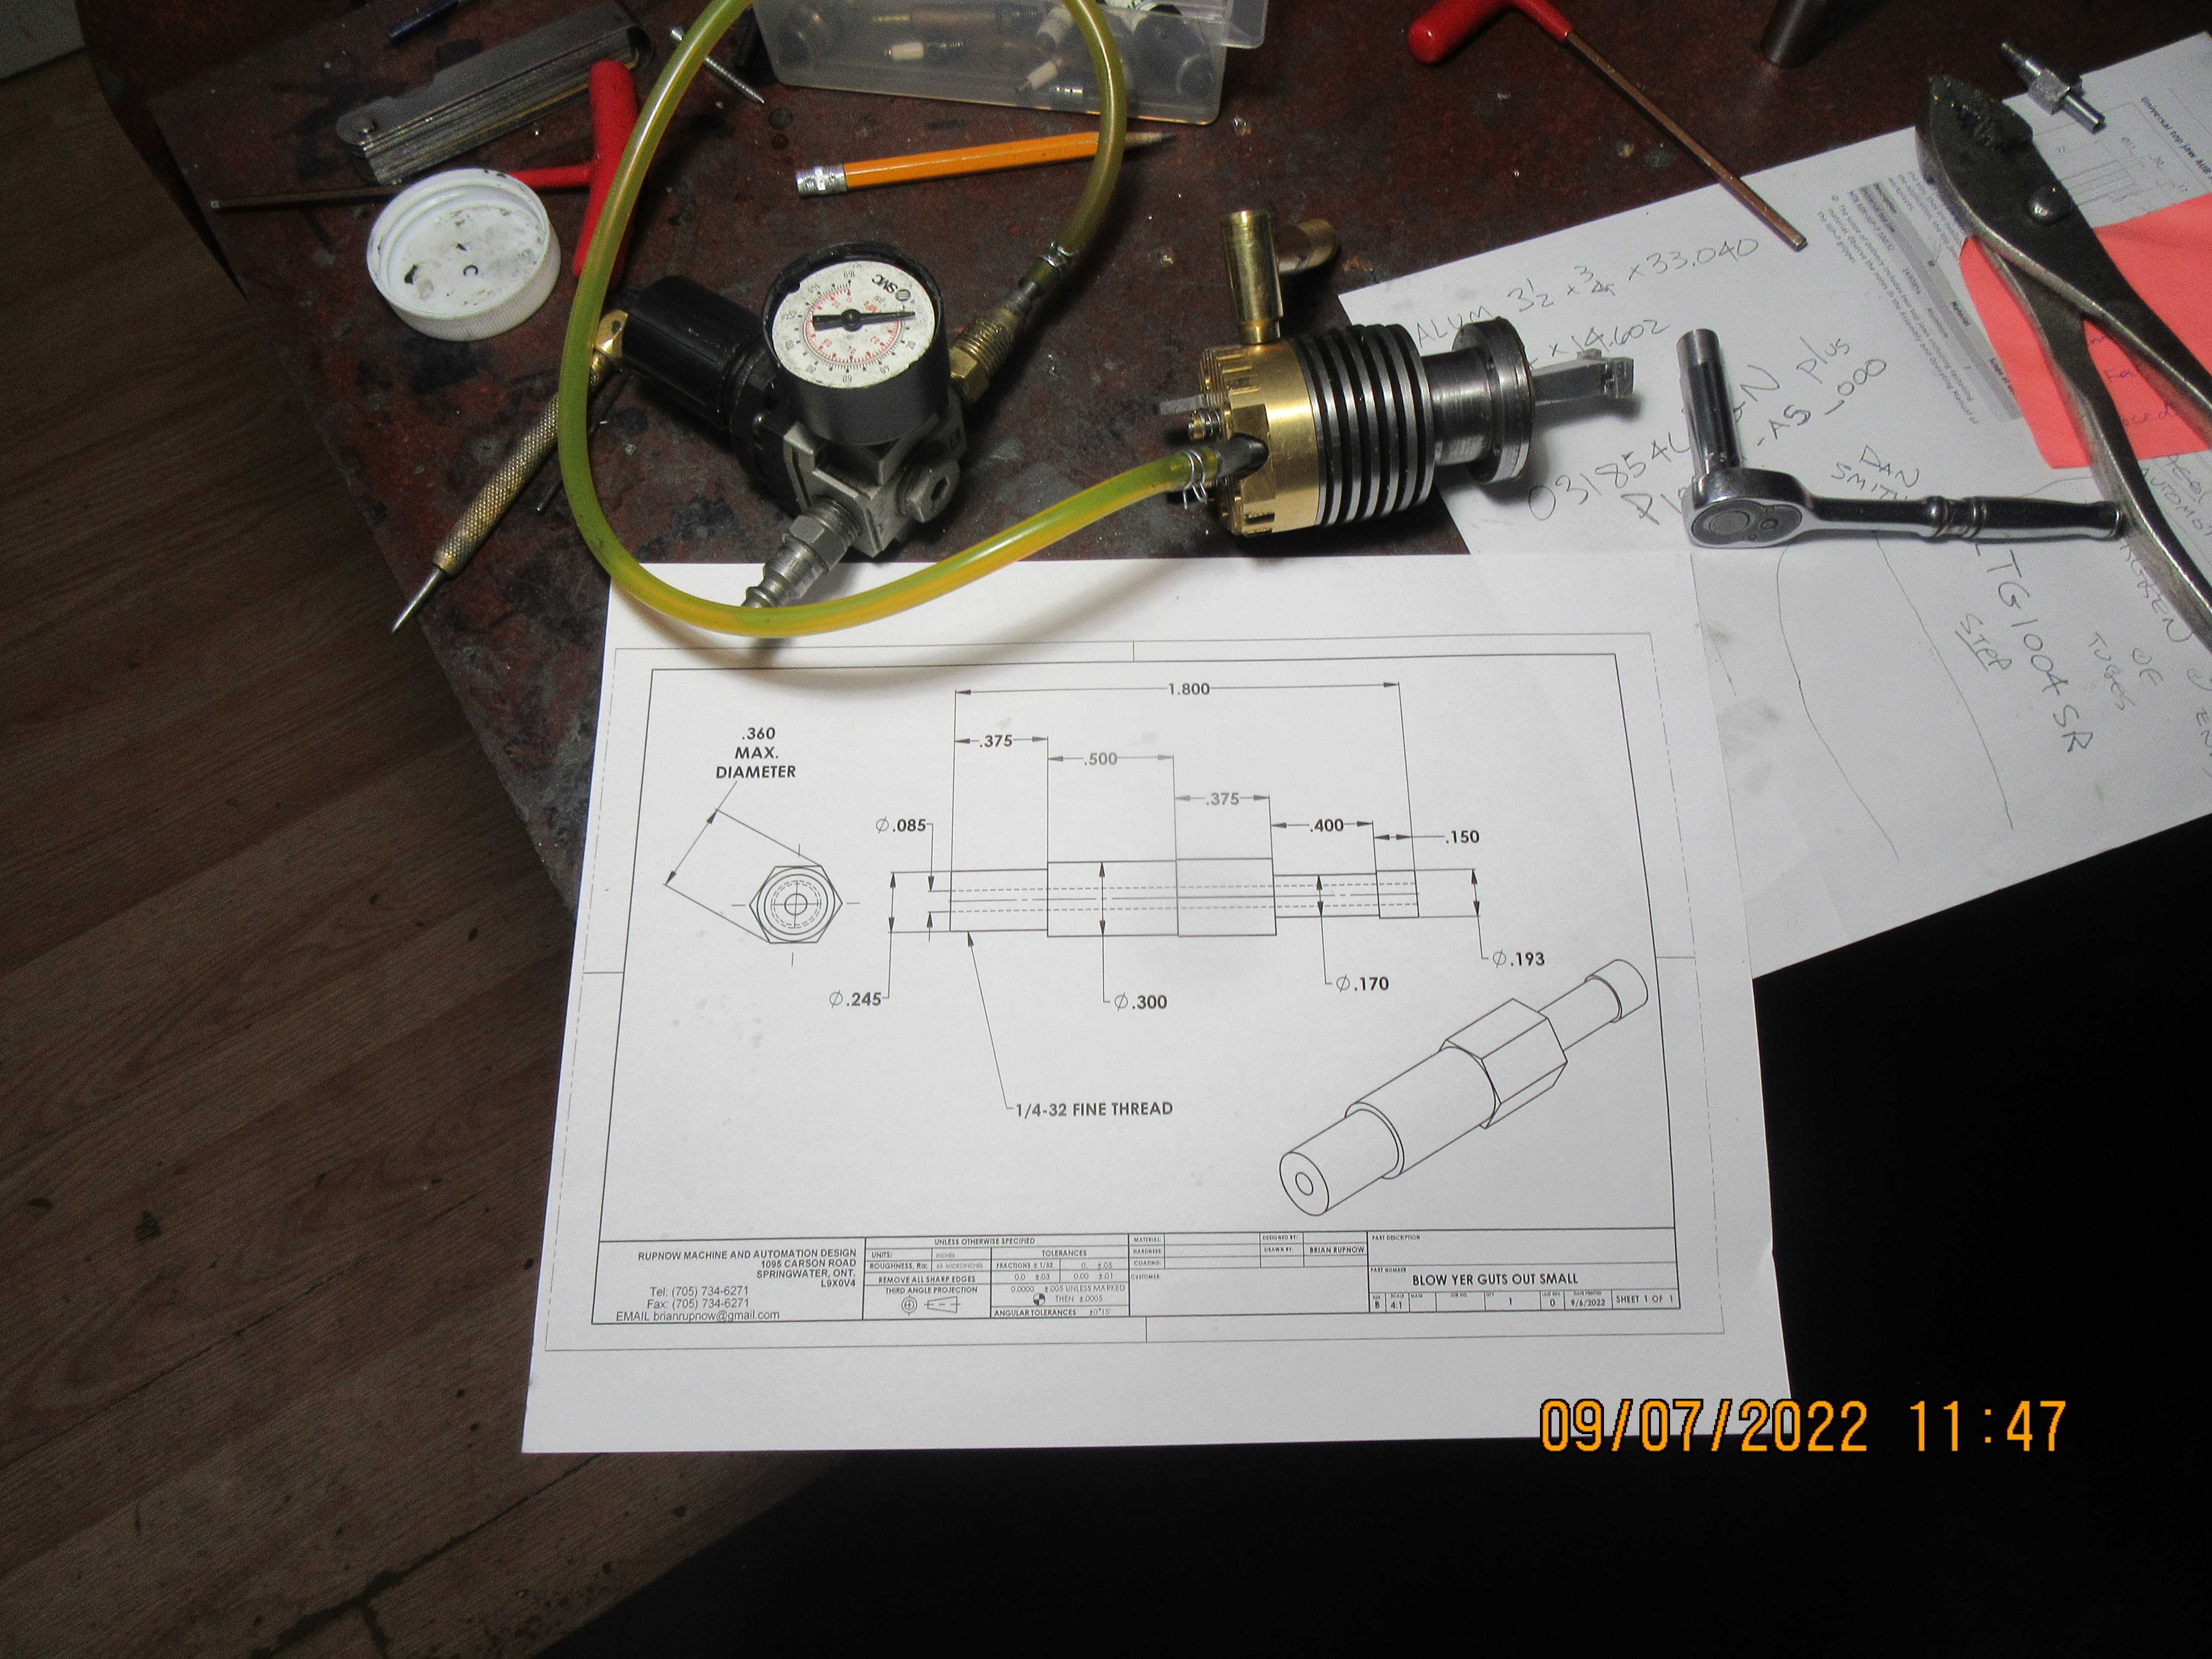
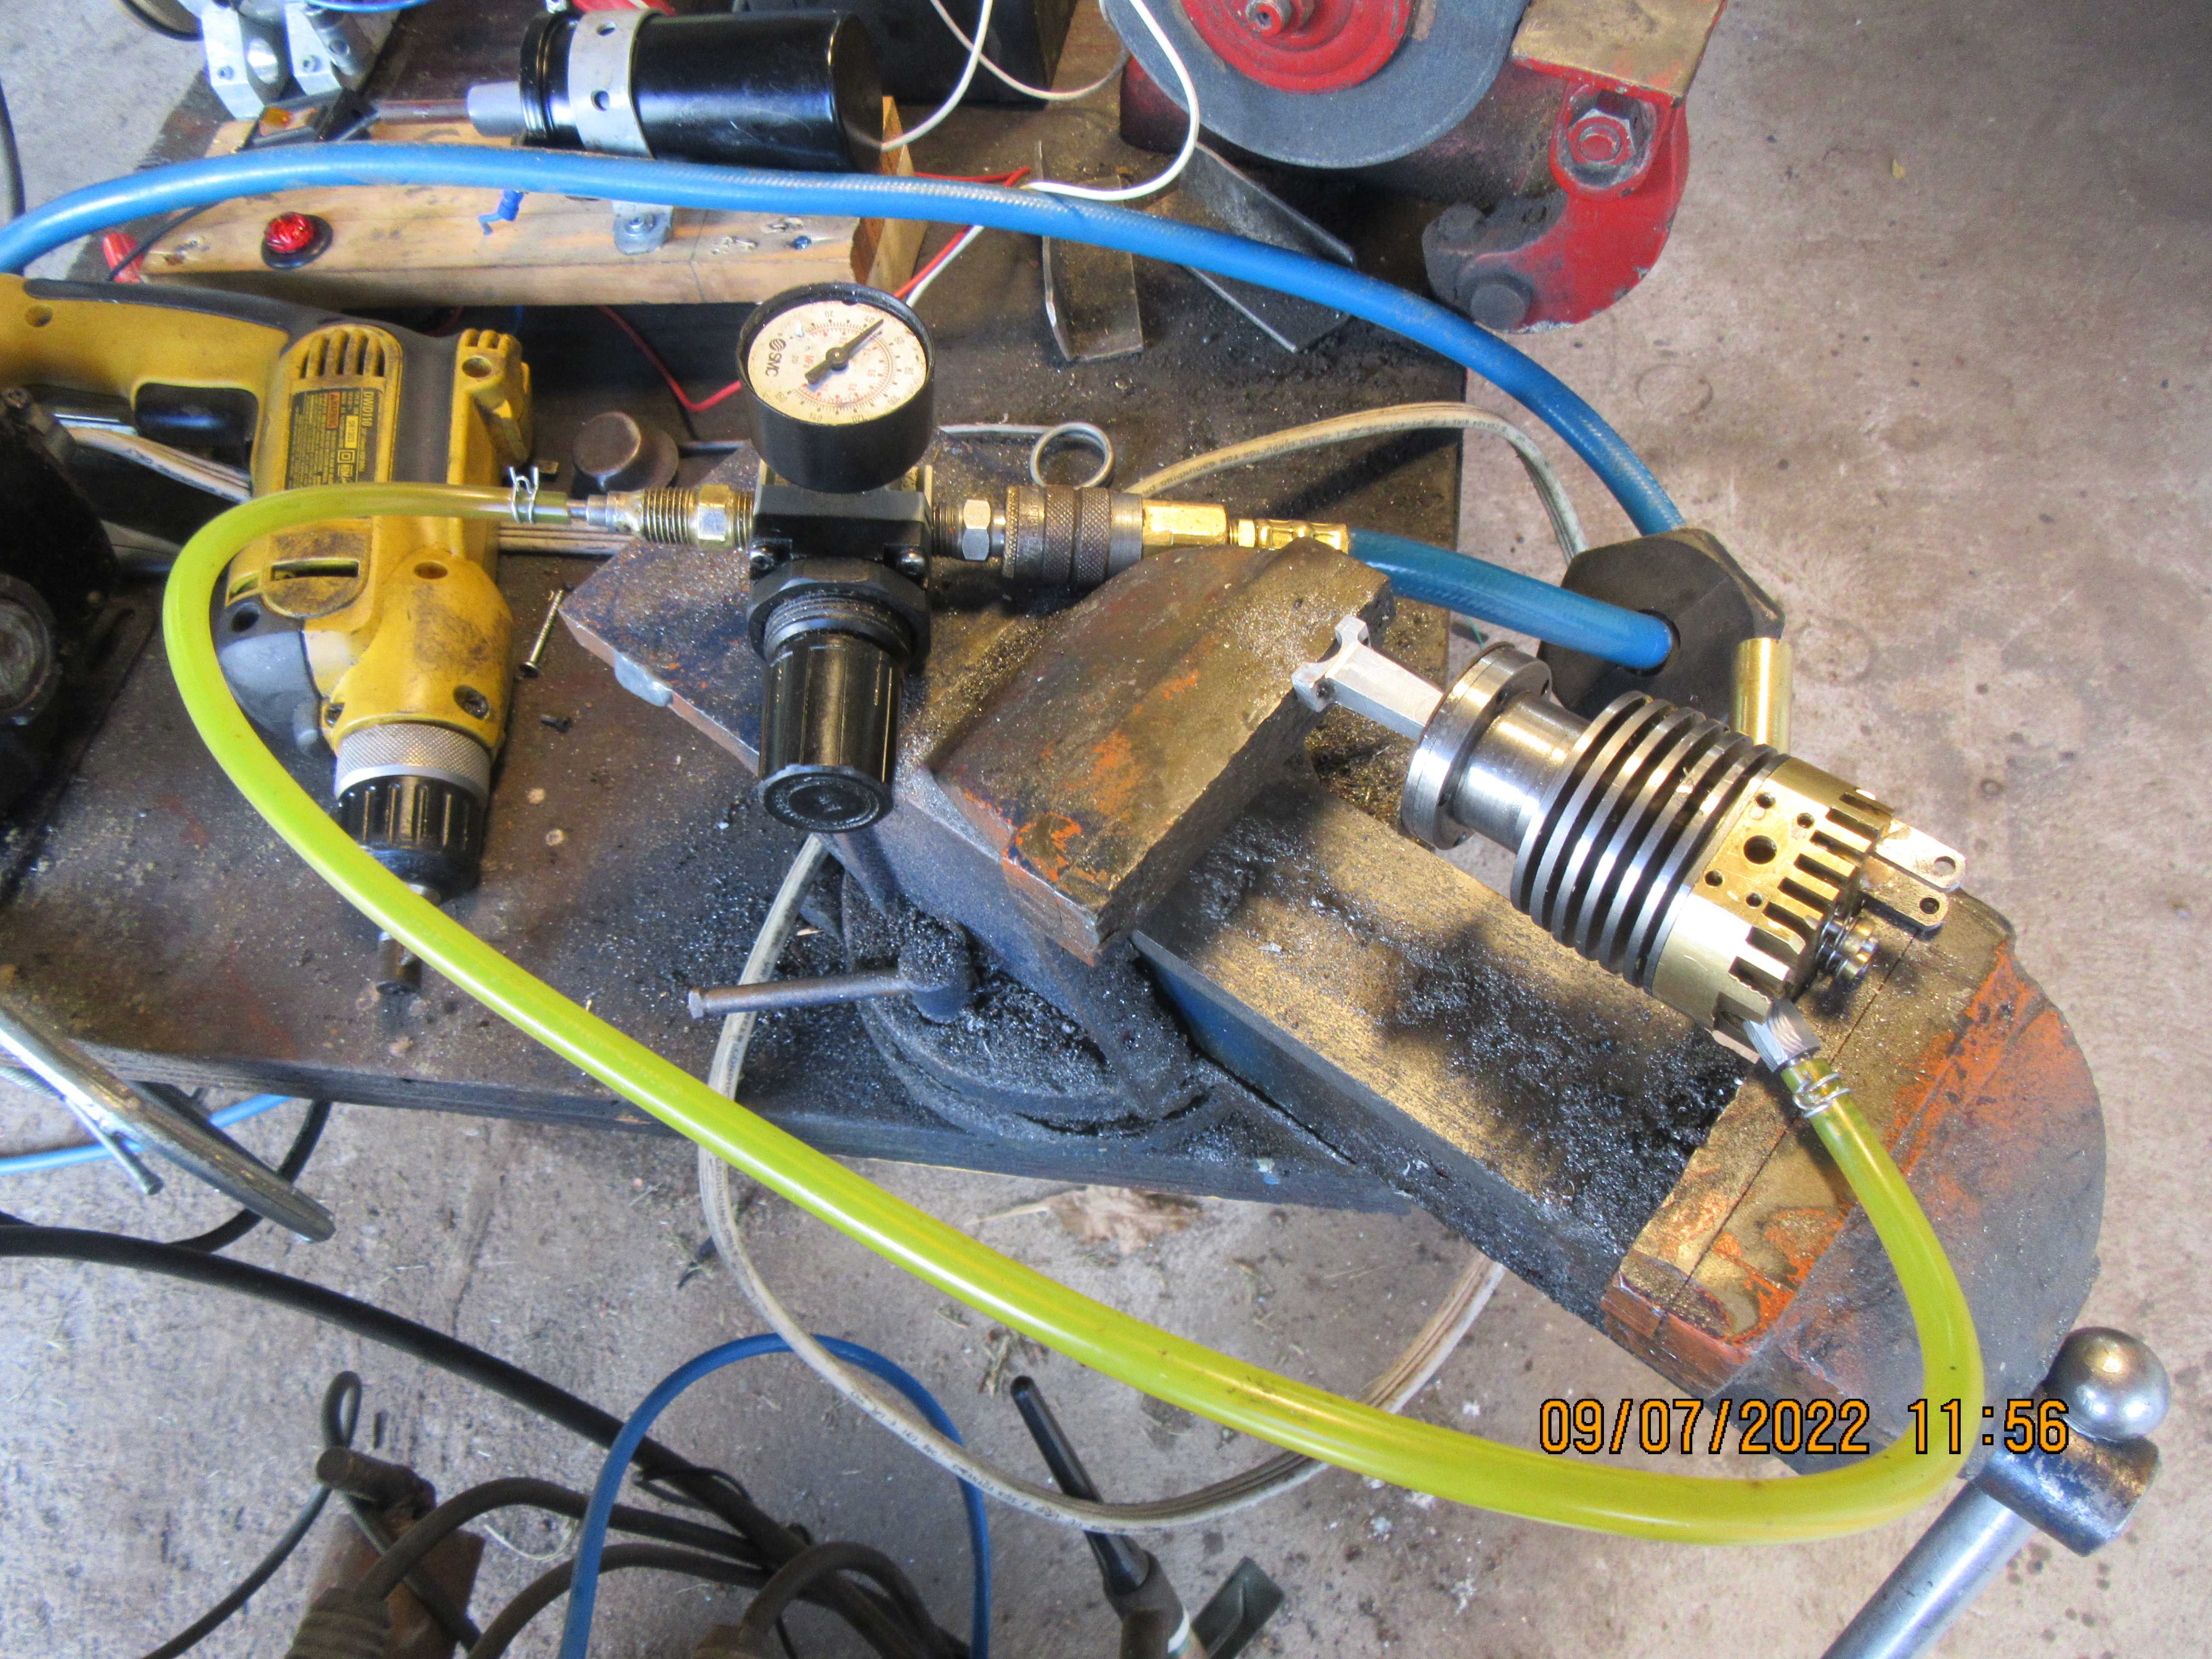
Today, after a well deserved break away from engine building, I am in diagnostic mode. The engine runs (You seen the video), but it doesn't run smoothly nor consistently. The surest diagnostic trick is to pressurize the cylinder with compressed air, and see where air is leaking out. If you are testing the cylinder off the engine, you have to put it in a vice like I show, or the piston and rod will take off like a cannon ball as soon as you pressurize the cylinder. If you test the cylinder on the engine, the piston has to be at top dead center on the power stroke so that both valves will be closed, and you must devise something mechanical to prevent the crankshaft from turning. So, with 50 psi on the regulator---If you have air coming out the intake side of the cylinder head, your intake valve is leaking. If you have air coming out the exhaust, then your exhaust valve is leaking. If you have air coming out the other end of the cylinder, then your rings are leaking. Follow the pictures and it shows what I am talking about. There were no leaks in this set up I have shown. after this post I will check the other cylinder which is still attached to the engine.
qCxDsU.jpg
 
So, what were the results? The cylinder tested in the vice is not leaking any air anywhere at 50 psi. The cylinder still on the engine is leaking a little bit around the rings at 50 psi. I may have pinched that Viton ring when assembling the piston and rings into the cylinder. I will pull that piston out and check the condition of the ring. Both sparkplugs are firing in the correct sequence as the engine is rotated by my variable speed drill. I may have a carburation problem, but will check that out as I continue my diagnostic testing.
 
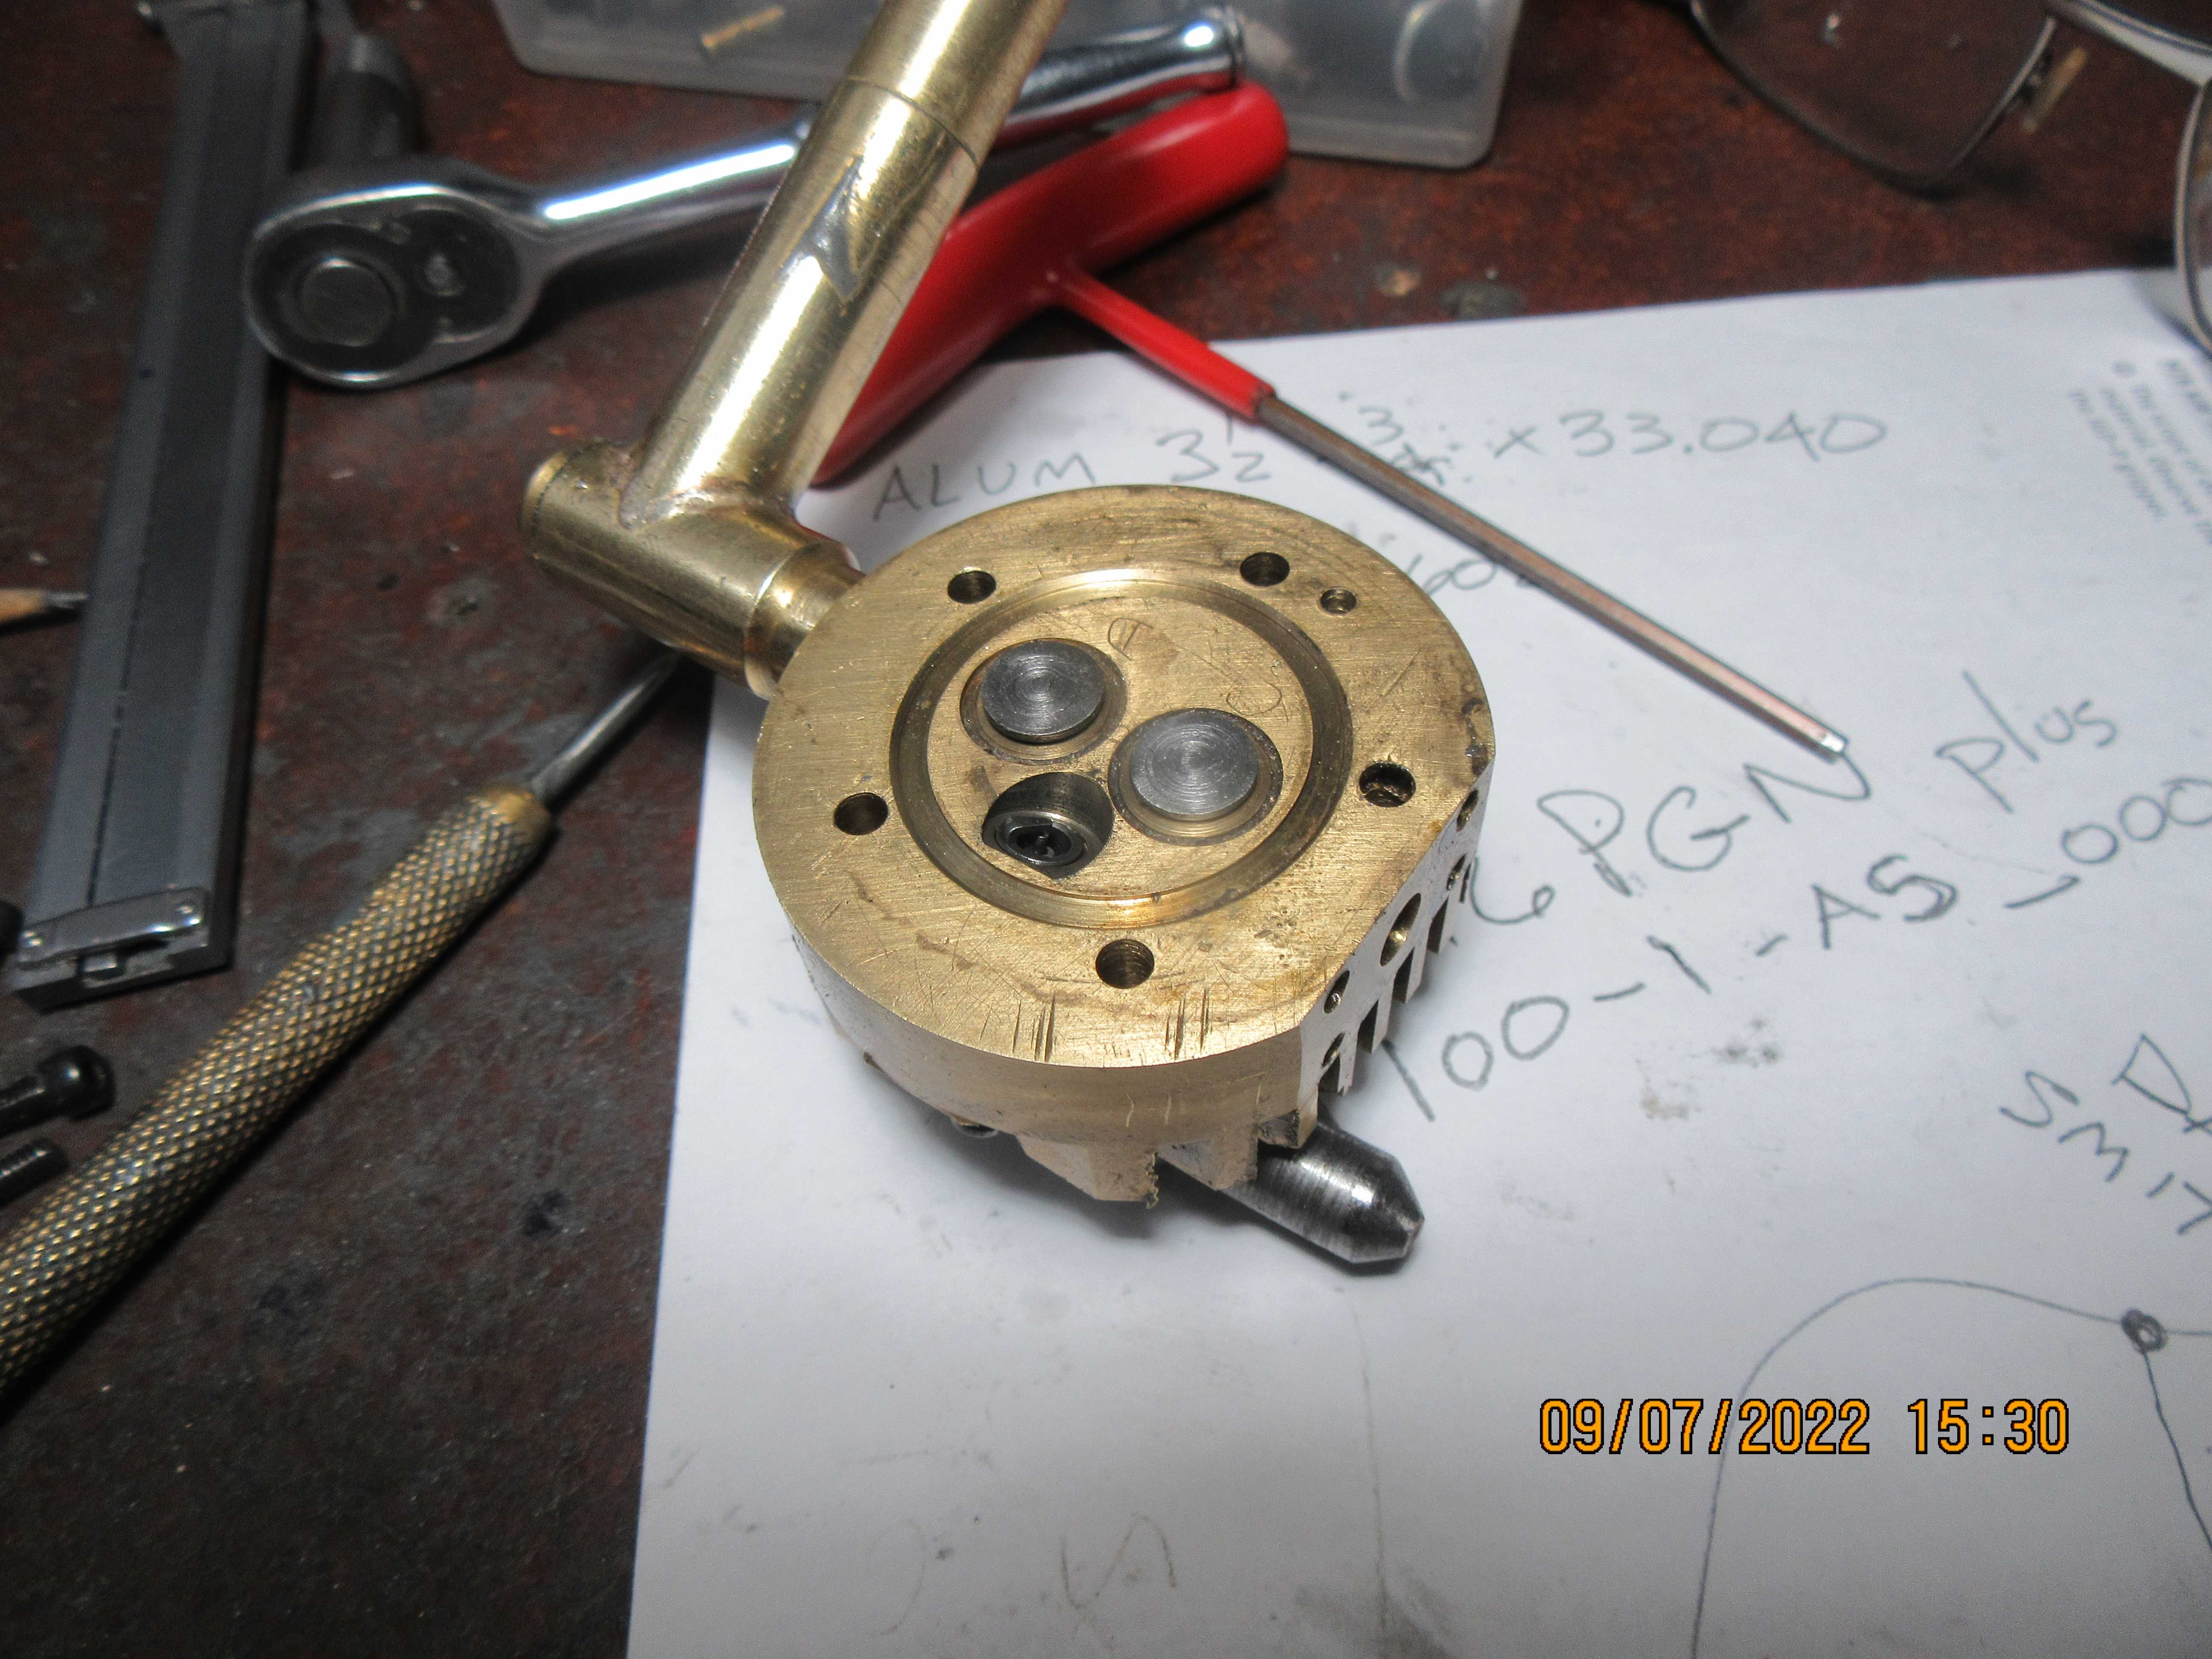
An inside view of the cylinder head. There is a possibility that the end of the sparkplug is too shrouded by the cylinder head itself. As it is right now, the threads in the cylinder head fully engage the threads on the sparkplug. I don't want to deepen the sparkplug counterbore any more, because although it would allow the tip of the sparkplug to extend farther into the combustion chamber, there is too much chance of the smaller thread engagement stripping out the brass cylinder head threads. However, I can come in with a 5/16 endmill from the near side of the cylinder head and plunge about 0.100" concentric to the sparkplug hole. This wouldn't change the thread engagement at all, but would open it up around the tip of the sparkplug more, to give a better chance of the air/fuel mixture igniting.
Ha8305.jpg
 
This picture shows the same cylinder head. I have ran a 5/16" endmill down 0.100" from first contact. This doesn't do away with any thread engagement with the sparkplug, but does open it up so that the air/fuel mixture has a better chance of igniting.
LK1Bqs.jpg
 
Things have been crazy/busy around here this past week. My wife organized a "Walk for Parkinsons" charity walk on Saturday. Weather was great, over 100 folks showed up and she raised over $32,000 for Parkinsons research. I've been working on a robotic work station for one of the big 3 automakers and this morning they changed everything that I've done in the past two weeks, but I still get paid for what I've done. Today I made a new piston for the cylinder which was leaking pressure into the crankcase, because I couldn't stop it leaking past the rings. I think the previous piston had it's bottom ring too close to the wrist pin hole. Tomorrow I will pressure test that cylinder again, and hopefully the leak is fixed. I also learned the nasty truth about socket head capscrews today.---I love the look of them, but after you've tightened and loosened them about 5 times, the socket rounds off and then they can't be tightened any more, and even worse, the tight ones can't be loosened. Of course, I'm always an optimist, thinking they will only have to be tightened once.---HAH!!!
 

Latest posts

Back
Top