Small Locomotive & Boiler (ME Northumbrian)

Home Model Engine Machinist Forum

Help Support Home Model Engine Machinist Forum:

This site may earn a commission from merchant affiliate links, including eBay, Amazon, and others.

doubletop

Well-Known Member
Project of the Month Winner
Joined
Mar 1, 2010
Messages
866
Reaction score
82
Since I did my first basic boiler last year I've always fancied making a 'real' locomotive boiler. The problem is that the materials are expensive and a cock up can be painful. I then stumbled across the boiler for the Northumbrian serialised in ME in 2009.

http://www.model-engineer.co.uk/news/article.asp?a=6974

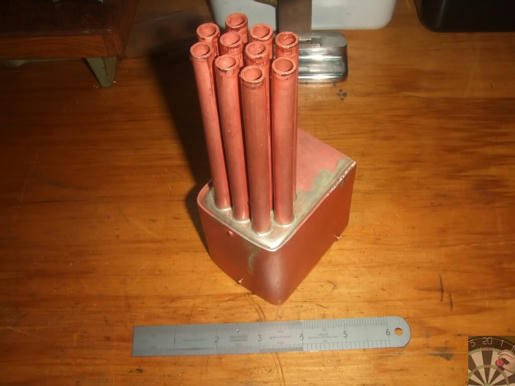
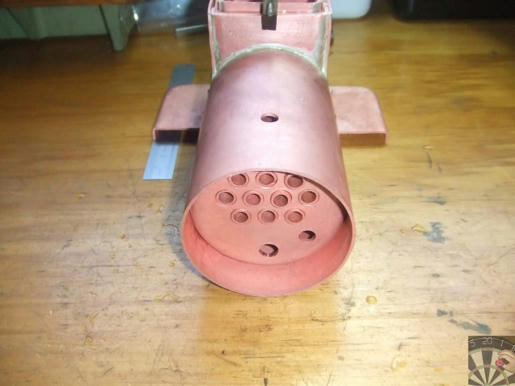
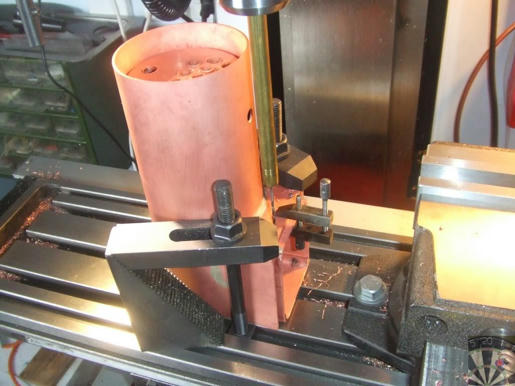
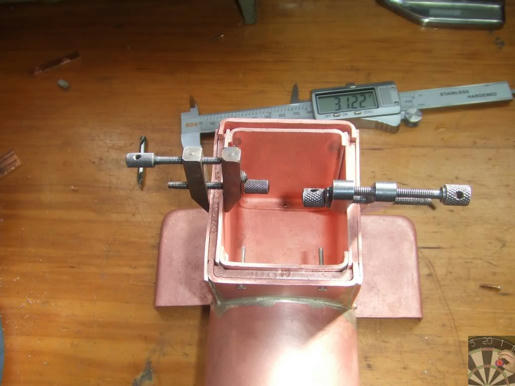
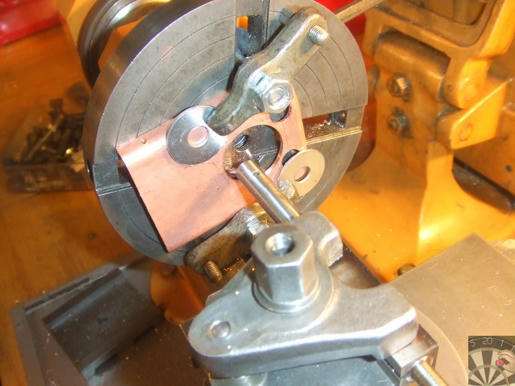
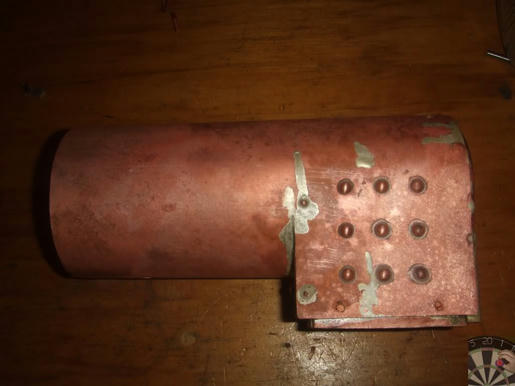
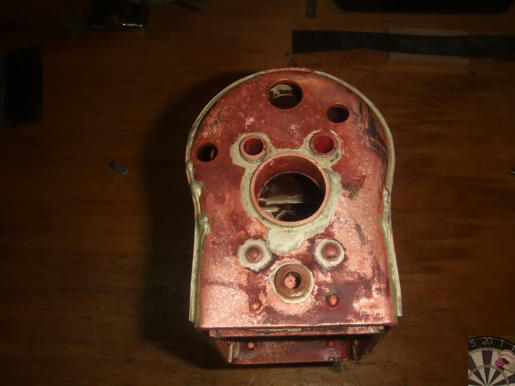
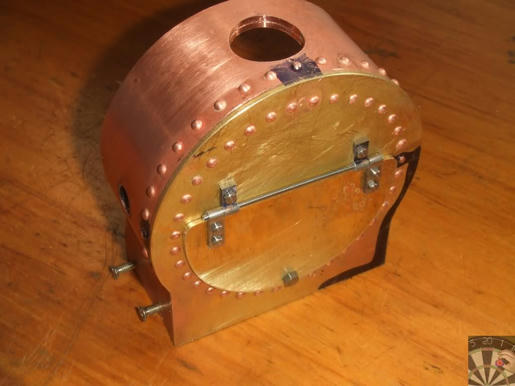
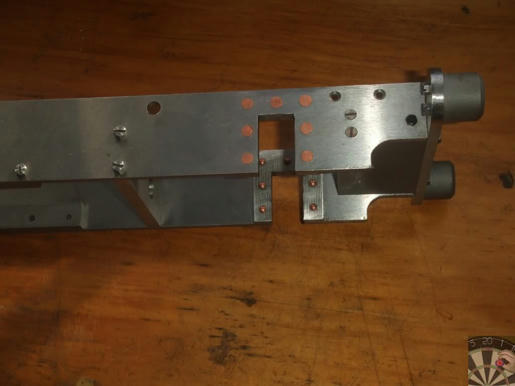
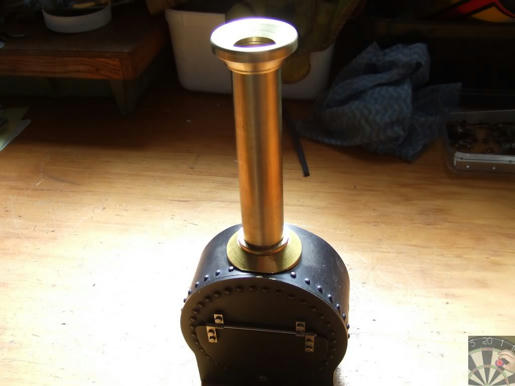
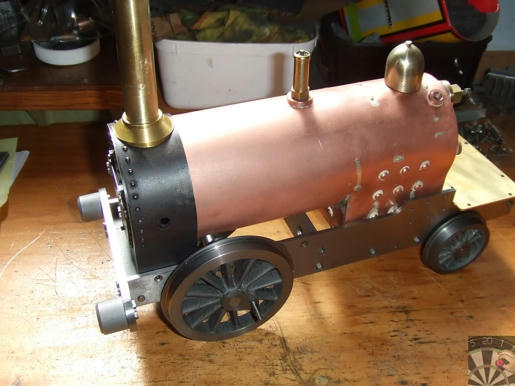
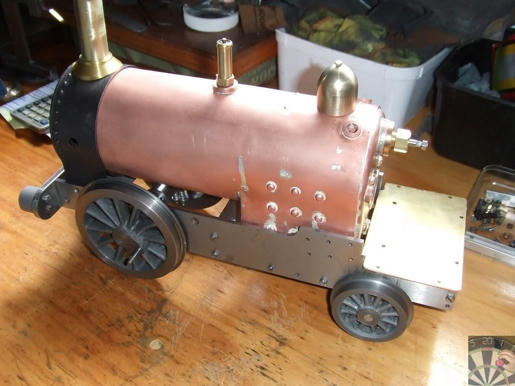
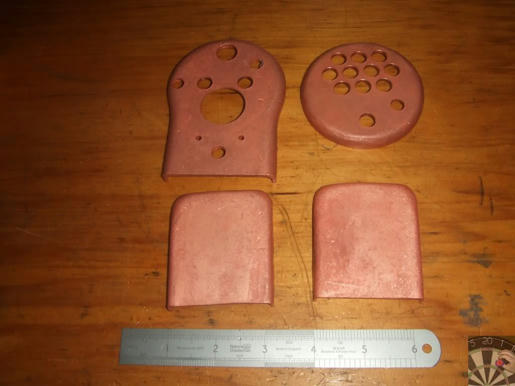
Its small and based on 3" tube, which I had in stock. I also had material for most of the other parts so decided to give it a go. Here is progress so far.
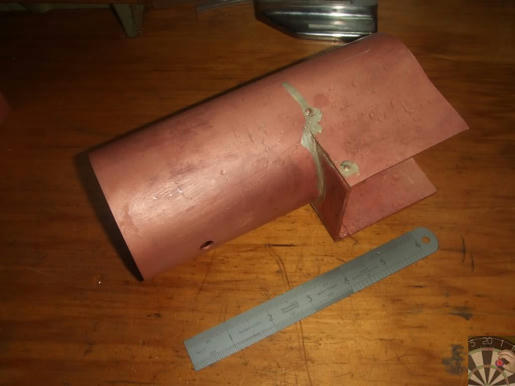
yob4g320ihiimj34g.jpg


5w5wqcby1echsaq4g.jpg


vnj6xijk6qihzpn4g.jpg


92d9b1hdz1hm7mj4g.jpg


crkel4yce1ggx6d4g.jpg


344vwjny64zyebu4g.jpg


ayqrmycx3ja7a6c4g.jpg


5qqdtqmv9vd2cg74g.jpg


fsfyp86bmszk47u4g.jpg


9gt1no5kqp55kgf4g.jpg


Its going pretty well and had been a bit cautious about doing the bushes so have left them to last. I probably should have done them first.

It's been parked for the past month as we had a quick trip to Blighty. I could get back to it over the weekend

Pete
 
Looks really nice, are you making the rest of the loco?!
 
Looking good, if you are going to make the rest of the loco be sure to look at all the threads about it on ME's forum, It took a lot of effort to convince the editor that the frame drawing was wrong, there should be a revised one on there somewhere.

J
 
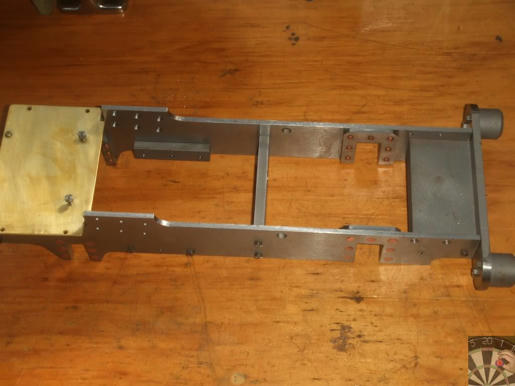
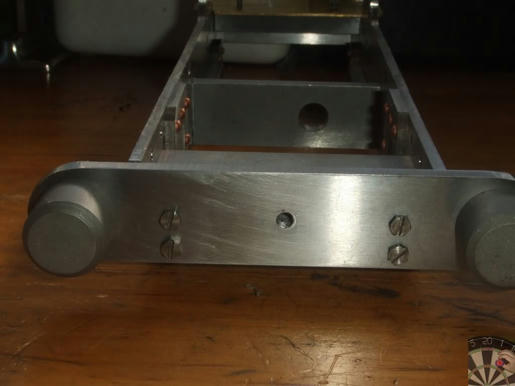
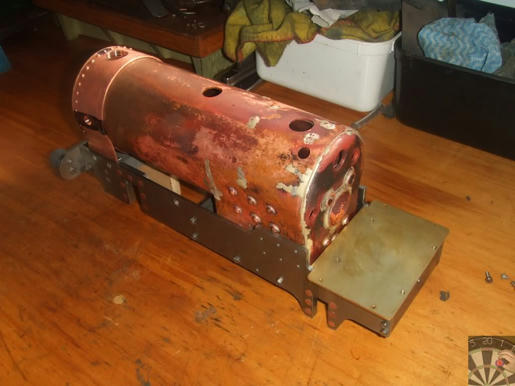
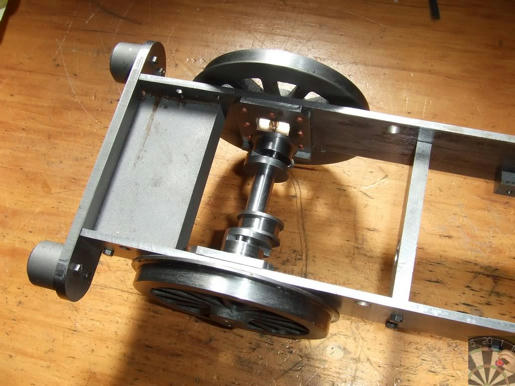
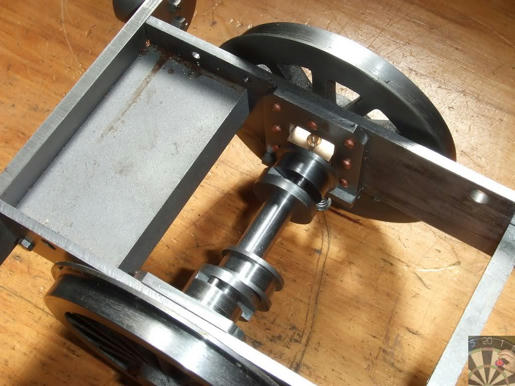
Jason you'll recall you put me straight on the drawings fiasco over on the ME forum, so yes I'm making the rest, or that's the intention. Part of the instructions for the boiler are something like "test the size in the frames as its a tight fit" so I saw no point in making the boiler, deciding to finish the job and then realising the boiler wouldn't fit. So I've done the frames, I just happened to have enough stock for those to.

9gt1no5kqp55kgf4g.jpg


s2j4w4ydrsiwr8n4g.jpg


4w8hh0wi0689kru4g.jpg


005alxcebfvtj8a4g.jpg


005alxcebfvtj8a4g.jpg


94khx2p7qpx9k6g4g.jpg


You'll notice there is nothing that has required any purchases. I took the view that I'd wait to see how successful I was with the boiler before investing in castings.

The odds and sods of large head bolts are only temporary to hold it all together. I have small head BA bolts to replace them.

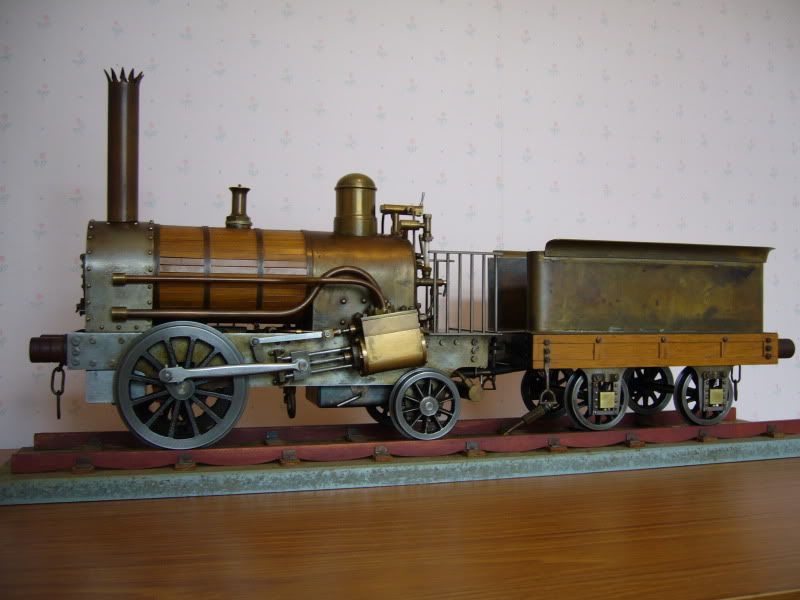
This it what it looked like originally

northumbrian.jpg


and what it should look like when finished

NORTHUMBRIAN-2010.gif


You've seen it all now, that's as far as I've got.

Pete
 
Good going Pete :bow:

You had me puzzled with the big hole in the backhead, until I realised it's for the fire door!

Frames look great :bow:

3" boiler ? - so will the loco be for 3 1/2" gauge ?

Regards, Arnold
 
Thanks Arnold; yes its 3 1/2" gauge. I'm going to gas fire it as I'm all set up to do that for my Rob Roy.

After a 3 week lay of I'm just about to go out to the workshop and pick up where I left off. I'll also be ordering the castings from GLR over the weekend.

Pete
 
That Boiler looks Fantastic :)
I love it :bow: :bow:
Pete
 
Thanks Pete

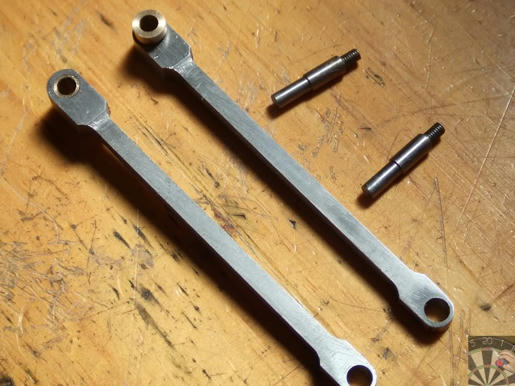
I've just had a day in the workshop and started getting the bushes installed and in between I've been working on the conrods. I'd got stuck on the workholding while doing the various profiles so put them aside and went on holiday. Came back to it today and just picked them up and finished them. I find that's always a good policy rather than pressing on and stuffing up the job

Pete
 
Very similar to LBSC Rainhill
Picture007.jpg

This was made by my brother an myself 45 years ago,takes me back a bit.
Don
 
Thanks Don very nice and the picture is useful. The series is titled "a second look at Rainhill", basically its an update but its all new to me so have no idea what the original was like. Without any decent historical pictures the result is open to interpretation.

Pete
 
Just picked this thread up.

The loco and boiler is looking great.

Stew
 
Don
the patina of age on that engine is simply wonderful
Pete
 
Thanks Stew

Unless I've missed it I'm looking forward to you making some more progress on yours. That's of course once you've done with articles for ME. I see you've go two on the go in the latest issue, well done.

Latest update: I got all the bushes in over the weekend, made up some blanks and give it a quick low pressure hydraulic test. From what I can see, so far, only one minor leak from one bush. I'll do a more controlled test later in the week.

Pete
 
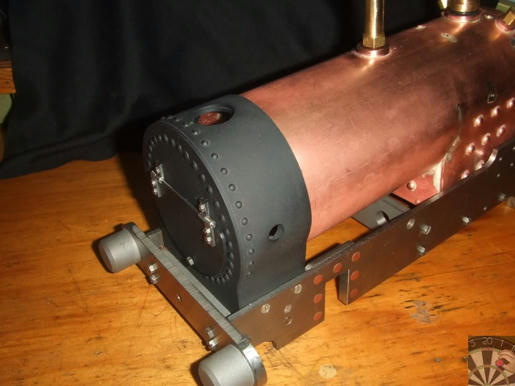
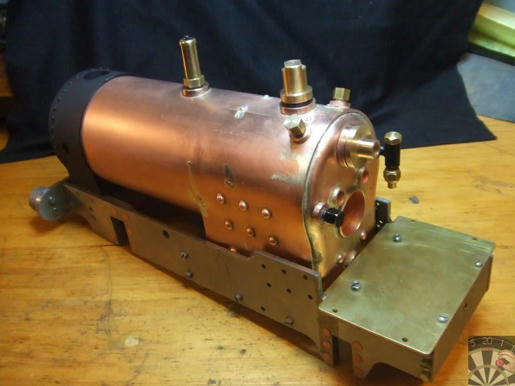
A bit of an update. The bushes are done so I gave the boiler a bit of a cleanup and had the smokebox in the sandblaster, to give it a zap and a coat of 650degC paint.

q7chkxxc2h7w8ki4g.jpg


ukau98bzqy4s01d4g.jpg


Just to make it look the part the safety valve, start of the regulator and inner steam dome are is with some of the plugs ready for the pressure test.

I've met my original objective, so its time to call GLR and order the wheels and castings

Pete
 
It's been a few weeks so a bit of an update on this. I got to the point of a preliminary pressure test, it was really a leak test, and I had a couple of small leaks and was in two minds how to deal with them.

My local ME supplier suggested I use Harris 'Bridgit' http://www.harrisproductsgroup.com/en/Products/Alloys/Soldering/Lead-Free-Solders/Bridgit.aspx to calk the leaks. I wasn't happy about this as one of the leaks was on the foundation ring so decide to use silver solder.

The upshot of this decision is that I've been going round in circles fixing leaks and creating more and getting more and more dejected as I went. What I thought was a reasonable first effort as a proper boiler is becoming a bit of a mess. I take heart from a statement in the Martin Harris Loco boilers book, along the lines of, "the best of us get leaks". At leats it hasn't fallen apart into a pile of bits, I did make it mechanically sound rather than rely on the solder to hold it together.

The lessons learned from this are I really got to know how my gas torch works and how to get the heat where I want it and next time I'll use stepped temp ranges on the silver solder.

Pete
 
That's a good looking boiler.
Sorry to hear about your trials but I'm confident that you'll get it sorted.

Ron
 
Thanks Ron

Sorry about the tardy response but I think I've got it sorted now.

I chased all the leaks down by using low pressure air from a cycle pump, with the boiler under water, puncture repair style. This wasn't pressure testing it was leak tracking with no more than 20 psi. Once I got to the point where I had no bubbles I switched to the proper pressure testing procedure by filling the boiler with water. I took it to 120psi and held it there for long enough to be satisfied that it wasn't leaking and its ready to be taken to the club inspector for the formal inspection and test. We'll see how that goes. In the meantime I've been churning out various other parts. Pictures later

Just to make the point for those who have missed this important message in previous posts , NEVER PRESSURE TEST A BOILER WITH AIR

Pete
 
I do need to do a bit of an update. The castings were ordered from GLR and while in transit I got on with a few odds and ends as the fancy took me

Con rods

ekv9ahe2k6y4tl24g.jpg


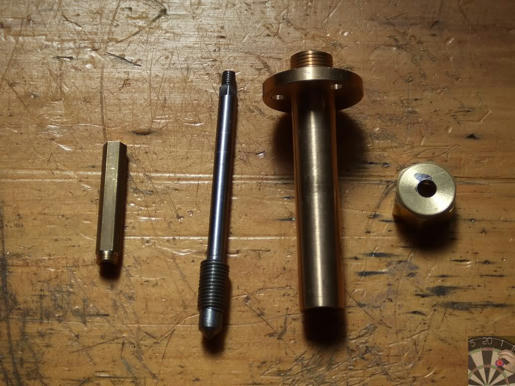
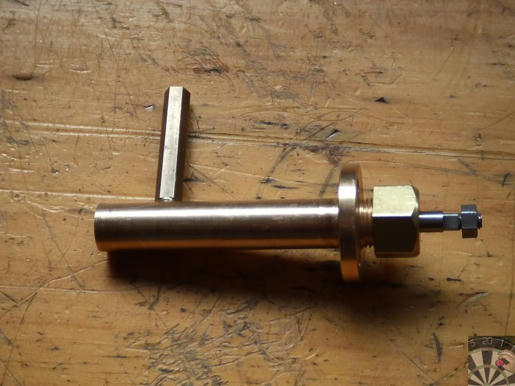
Regulator

gaqu7wb177w3ldq4g.jpg


wrdz9bm1wujh3us4g.jpg


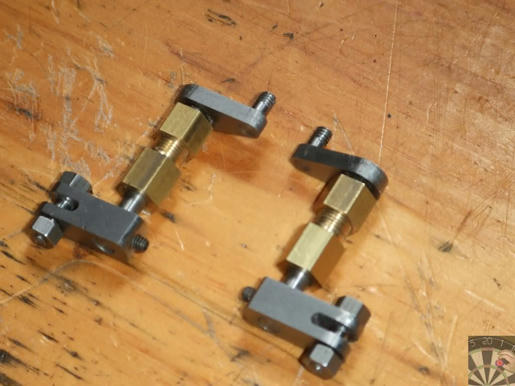
Valve linkage

yspuee0la1afyvg4g.jpg


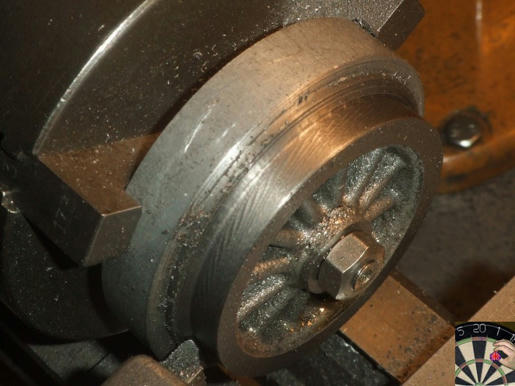
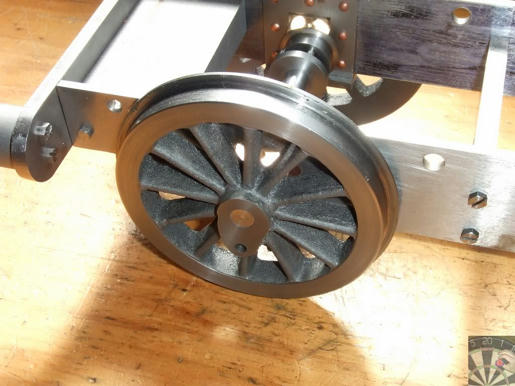
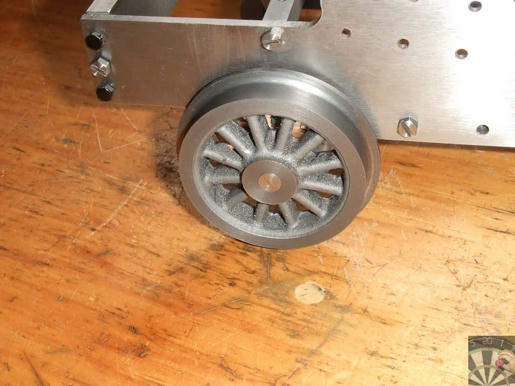
Wheels

The main wheels went pretty well on my little lathe but for some reason I couldn't get the set up rigid enough for the small wheels.

9nhu9h3jdhnk3904g.jpg


How I fixed that problem is over http://www.homemodelenginemachinist.com/index.php?topic=16001.0

wmm55abl48lfc0w4g.jpg


iqcmni3lwjawmgf4g.jpg


Eccentrics

The new lathe made these a breeze.

1rwsjxzighwms3y4g.jpg


7z508z71wyi11dh4g.jpg


Chimney, base and cap

97b4y461tn6r2k54g.jpg


Trial fit

irr77vgudkq7naq4g.jpg


39babd1qufob9wv4g.jpg


As for the boiler I took it to the club for pressure test. The inspector was happy with the construction but I had a couple of weeps that are best dealt with rather than hope they rectify themselves. To be frank I've got to choose the right time to attack it with the torch again. It will happen.

That's it for now. Next major step is the castings, either the eccentric straps or cylinders. I'll use my favoured decision process, the day it feels right I'll get on with it.

Pete
 
Looking good Pete. It's looking like a loco now.

Your new lathe looks similar to mine,do mine do A Grizzly 10 x 22.

I know you will enjoy it as much as I do mine.

Ron


Edie;; Took a closer look at the lathe pic. Yours appears to be bigger than mine and appears to have power cross feed as well. Oh well at least the "shape" of the head stock appears the same.

 
Good going Pete Thm:

I'm glad to see you're enjoying the bigger lathe!

I'm wondering how the regulator will work; the taper on the needle end of the spindle seems to be a bit blunt/steep , so would it not be very sensitive to small regulator arm movements ?

Keep up the good work!

Kind regards, Arnold
 
Back
Top