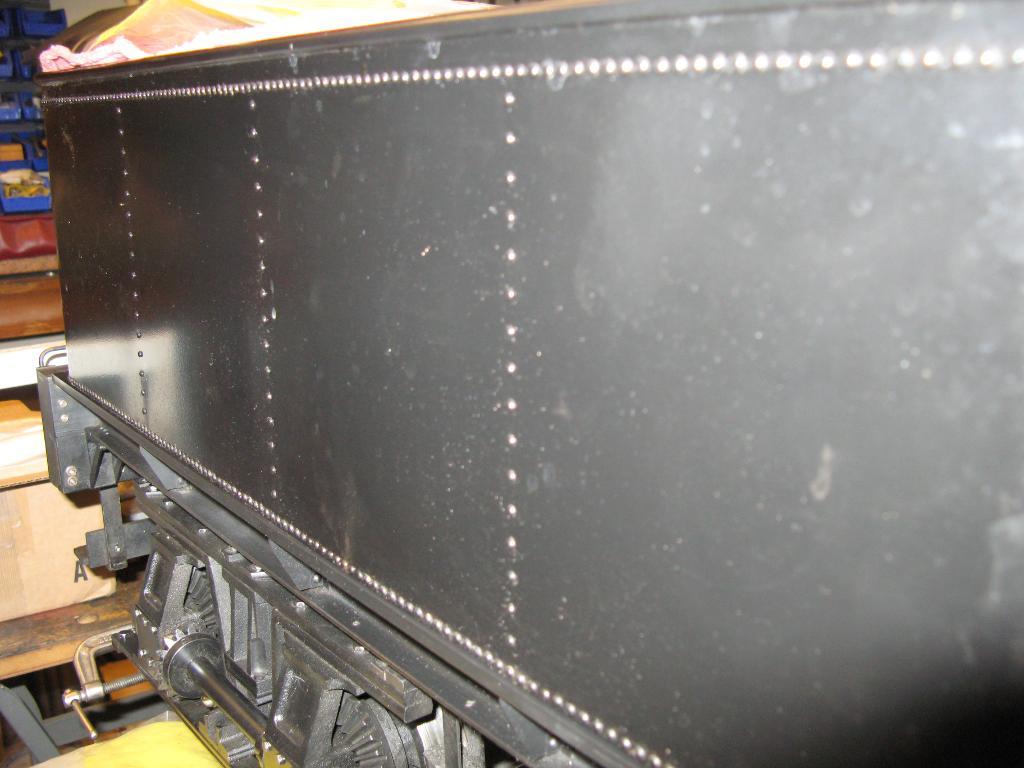
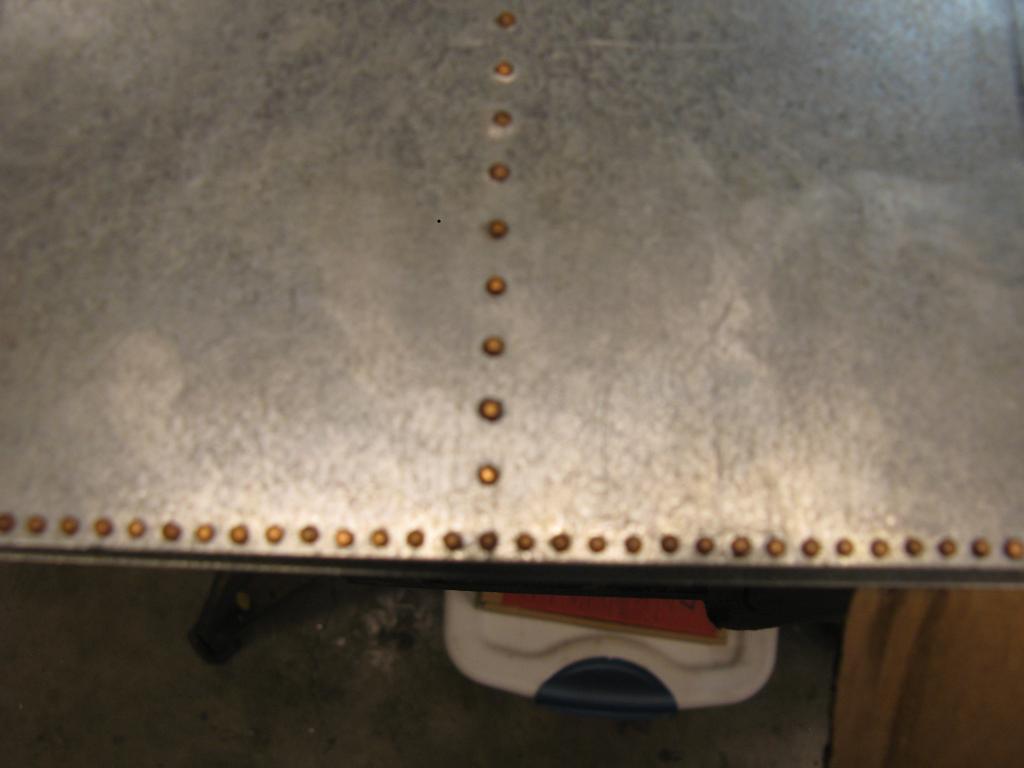
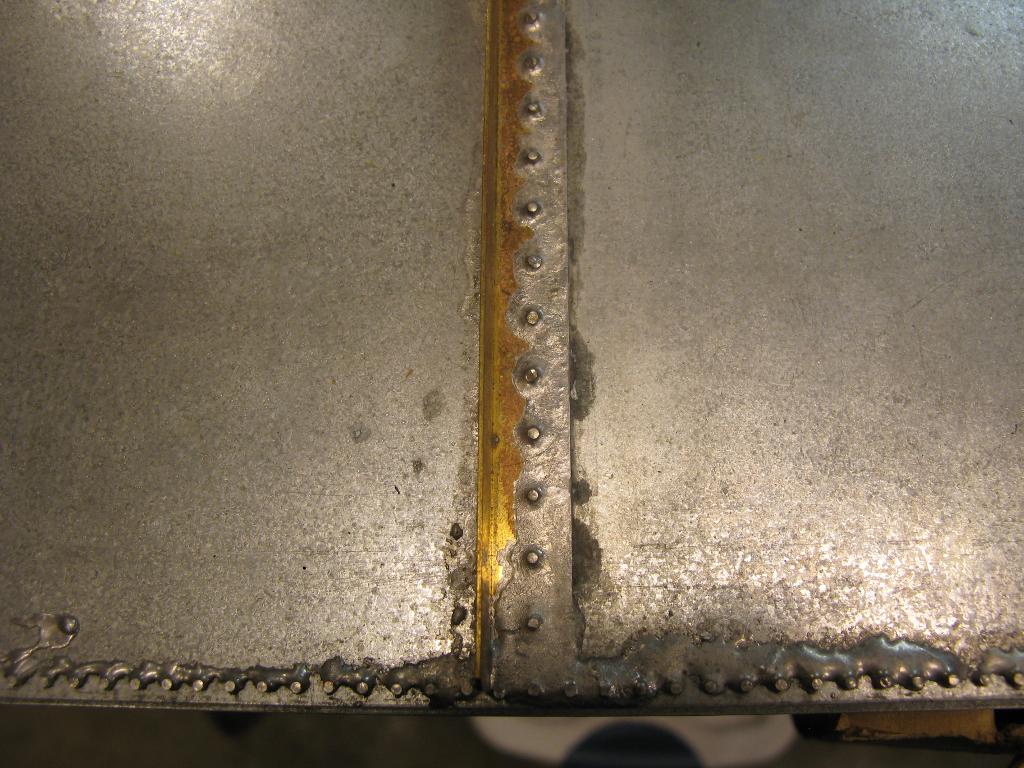
I agree with JasonB about copper rivets they are much easier to form (brass ones tend to split) and easier to get hold of
You will probably amass quite a collection of rivet snaps and dollies by the time you have finished as you usually have to make them specially E.G. for getting into awkward corners. but they can be made quite easily from bits of mild steel (or old bolts).
As for tinning the joints, Killed Spirits (Zinc Chloride) is ideal or Fluxite I think is still available. both of these need to be cleaned off afterwards as they are both a little corrosive (being active fluxes). but failing this I have very successfully soldered brass with electrical resin flux. Easily obtainable as they sell it for P.C.B. and electrical work.
As the solder is only a caulking and I presume not subject to great heat, you could use the solder paste used in the electronics industry for Surface Mounted Devices. (search for SMD solder paste). This is a mixture of fine solder particles and flux and simply needs to be pasted on where required and heated with a blowtorch (they use hot air guns in electronics). It is fairly inexpensive and very useful where you can't get in with a big soldering iron. And for this you will need a big one about 250 - 300 Watts I would think.
My father was a dab hand at small riveting and has passed on a couple of tips, you may already know them but here goes,
Copper rivets should be supplied annealled but often aren't so it is usually a good idea to do so before use. simply heat them to cherry red and drop them in cold water. This makes them lovely and soft and easy to work and also removes any oxide or protective coating on them. You can also do it with brass rivets but it's not as effective and you should take care not to overheat them.
When you are riveting don't start at one end and rivet along as the tolerances can build up and at the other end either the holes won't line up or your job starts looking like a banana. do the ends first, then the middle, then between them and keep subdividing until all the rivets are in.
Try to make all the components first and rivet as a last operation, this gives you the chance to do a "dry run" and spot any snags. As you point out Peter it is very easy to "paint yourself into a corner" doing this sort of thing. There is a tale that a riveter was killed during the building of the Titanic by doing just this. He riveted himself into a sealed compartment and died before he could be rescued.
Do the tricky ones first like tight corners and the like, this limits the amount of work and material wasted if things don't go well. I'm sure it will go well but riveting has many pitfalls to trap the unwary, I've fallen in most of them but that's how we learn.
When you start riveting up just use a few strategic rivets as "tacks" and place a thin piece of paper between the joint surfaces. Cigarette papers are ideal (red Rizlas) and hammer the rivets down gently this will make the joint flexible and everything can be checked and adjusted a little, the paper can be dissolved out with hot water and the rivets hammered tight afterwards. This also makes it easier to get the rivets out if you have to (hopefully you won't have to but Murphy's law is always waiting to bite you)
Hope this is of help
Regards Mark


