arnoldb
Well-Known Member
- Joined
- Apr 8, 2009
- Messages
- 1,792
- Reaction score
- 12
I've been a bit quiet of late, but some things did get done...
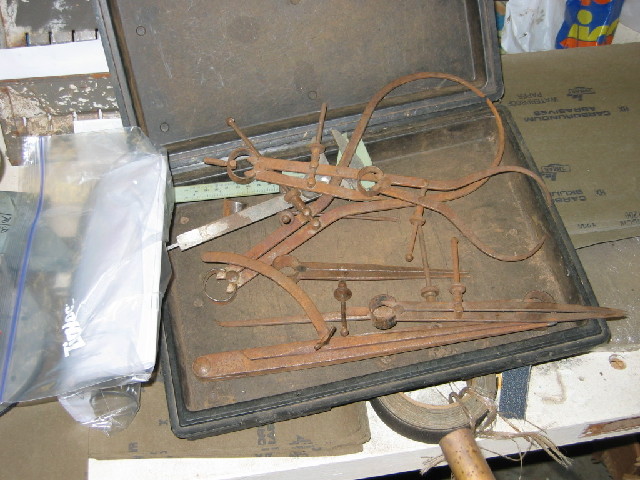
My father bought a box of "junk" at an auction a while ago. At the bottom of the box was a case with lots of very rusted calipers - he handed these to me while visiting:
I took a couple of the smaller ones and gave them a good soak (2 days) in citric acid, followed with some steel wool & oil, and in the case of the left odd-leg caliper, a new scribing pin and tightener:
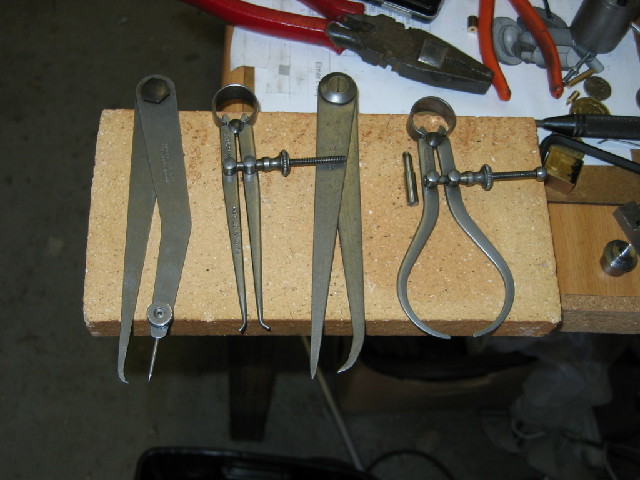
All are good quality tools; mostly Moore & Wright - I needed that!
One of the items on my To-Do list was a rear tool post for the Myford - primarily for parting, but a multi-use post was better.
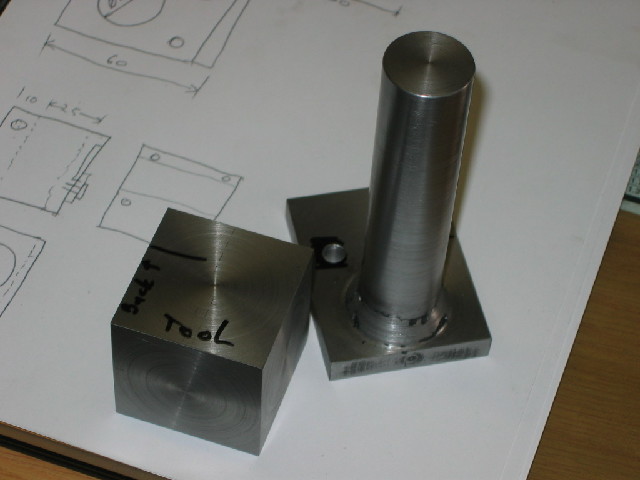
So I started off by turning a piece of mild steel rod down to 25 mm, made a base from some 10mm mild steel flat bar, and welded the two together. A block of mild steel square would become the parting tool holder - just faced off in the 4-jaw chuck:
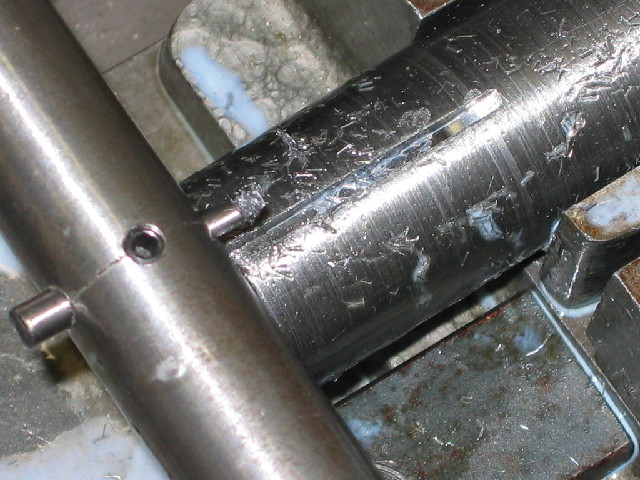
Next up, I cut a keyway down the post using a boring bar and the post mounted in a vice on the cross-slide:
I milled a recess in the block for the parting blade, and then used a slightly unorthodox way to cut a "dovetail" in the bottom of it.
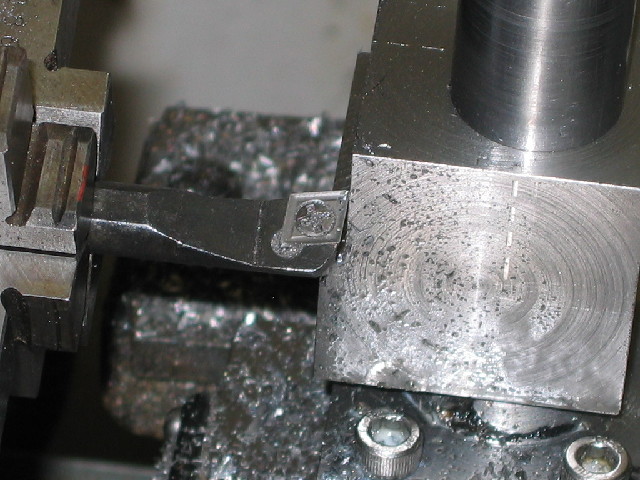
Just for the record, the "parting" blade is a HSS blade from a wood planing machine; I just ground off the original cutting edge on the bench grinder and was left with a nice piece of HSS 2mm thick, 20mm high and ~200mm long; I split it in 2 on the length - so LOTS of parting tool left ;D
A shot of the rear parting tool after it was used a couple of times - the tool block is not finished yet, as it needs a height adjustment screw for quick-changes, but I have to finish something else first...:
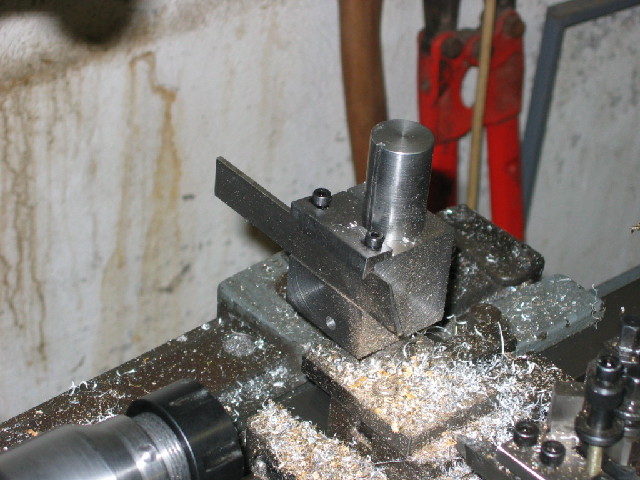
This makes parting off a breeze!
Regards, Arnold
My father bought a box of "junk" at an auction a while ago. At the bottom of the box was a case with lots of very rusted calipers - he handed these to me while visiting:

I took a couple of the smaller ones and gave them a good soak (2 days) in citric acid, followed with some steel wool & oil, and in the case of the left odd-leg caliper, a new scribing pin and tightener:

All are good quality tools; mostly Moore & Wright - I needed that!
One of the items on my To-Do list was a rear tool post for the Myford - primarily for parting, but a multi-use post was better.
So I started off by turning a piece of mild steel rod down to 25 mm, made a base from some 10mm mild steel flat bar, and welded the two together. A block of mild steel square would become the parting tool holder - just faced off in the 4-jaw chuck:

Next up, I cut a keyway down the post using a boring bar and the post mounted in a vice on the cross-slide:

I milled a recess in the block for the parting blade, and then used a slightly unorthodox way to cut a "dovetail" in the bottom of it.

Just for the record, the "parting" blade is a HSS blade from a wood planing machine; I just ground off the original cutting edge on the bench grinder and was left with a nice piece of HSS 2mm thick, 20mm high and ~200mm long; I split it in 2 on the length - so LOTS of parting tool left ;D
A shot of the rear parting tool after it was used a couple of times - the tool block is not finished yet, as it needs a height adjustment screw for quick-changes, but I have to finish something else first...:

This makes parting off a breeze!
Regards, Arnold


![MeshMagic 3D Free 3D Modeling Software [Download]](https://m.media-amazon.com/images/I/B1U+p8ewjGS._SL500_.png)




![DreamPlan Home Design and Landscaping Software Free for Windows [PC Download]](https://m.media-amazon.com/images/I/51kvZH2dVLL._SL500_.jpg)


![TurboCAD 2020 Designer [PC Download]](https://m.media-amazon.com/images/I/51UKfAHH1LL._SL500_.jpg)


