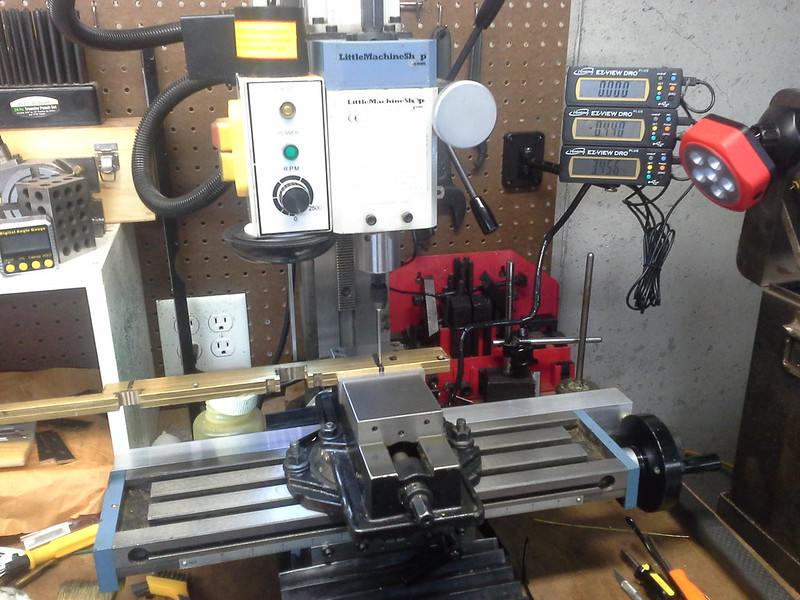
My son gave me a set of iGaging EZ-View DRO Plus for my birthday. I've been using the LMS 3900 Mini-Mill for almost five years on dials alone. Well, that's enough of that. 
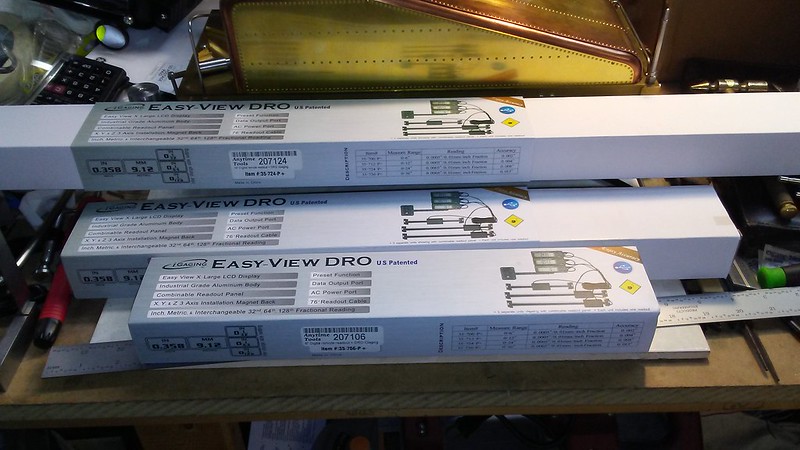
Here is how the set is delivered.
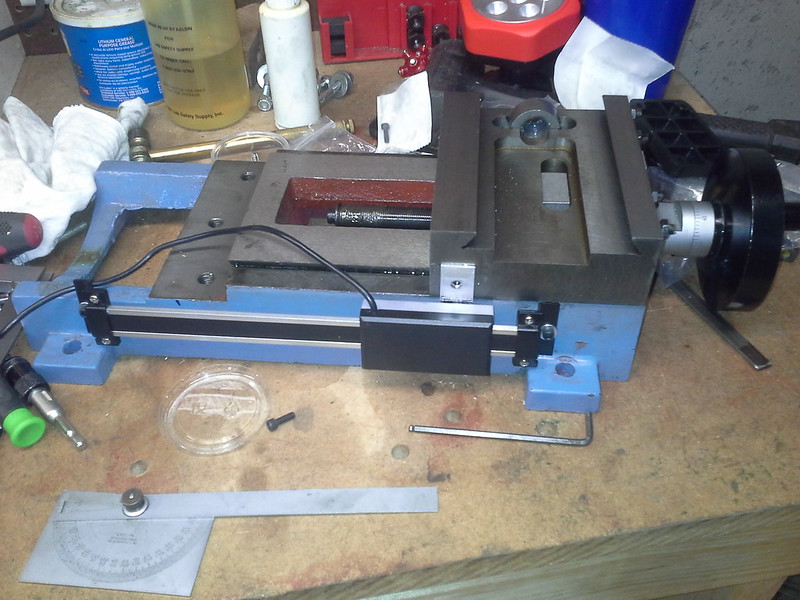
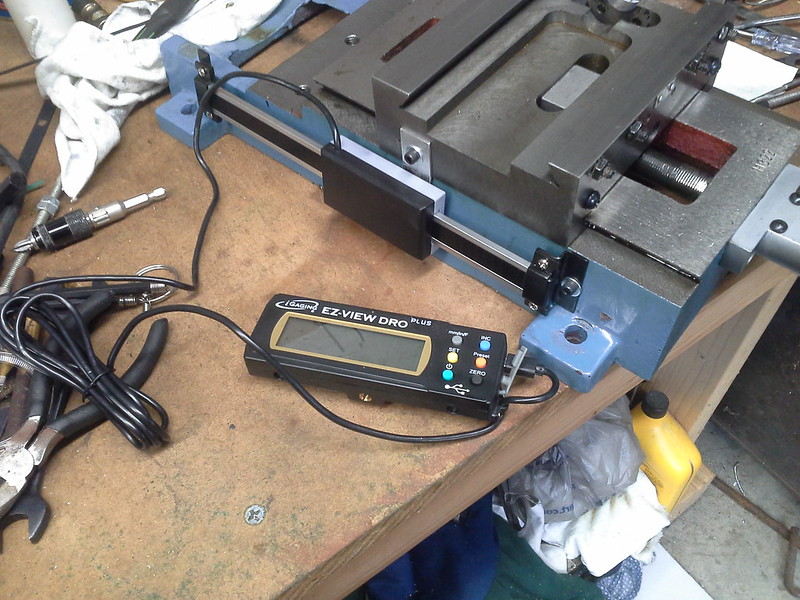
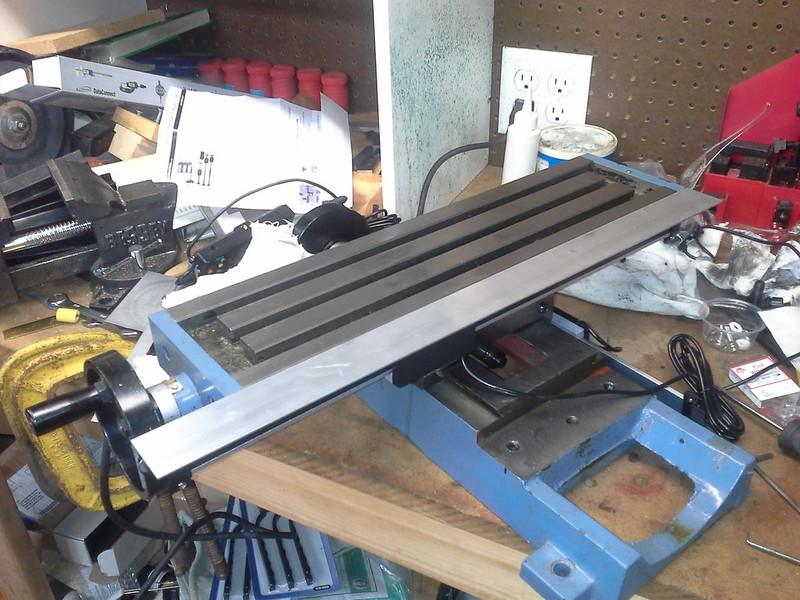
Since I needed to remove the table and column to install the scales, I took the opportunity to strip down the mill for cleaning and servicing. The next two pictures show the Y-axis installation.
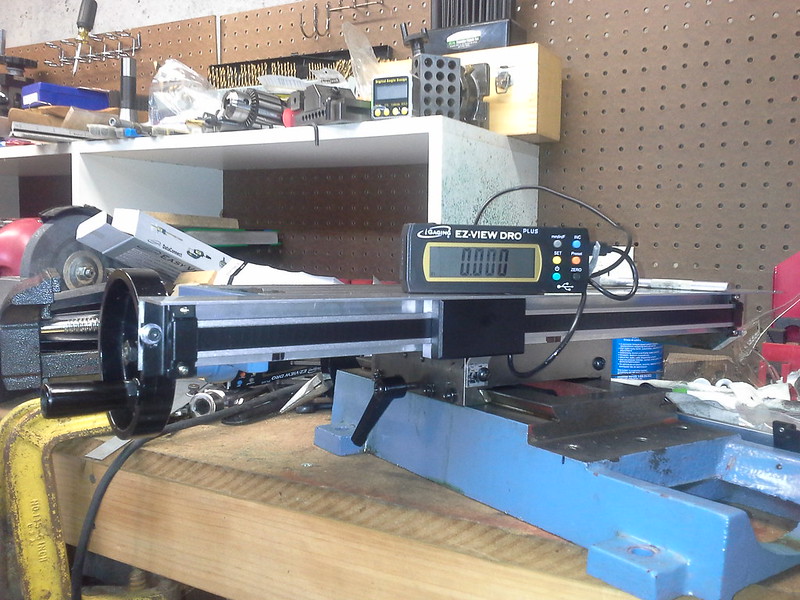
I've installed the X-axis on the back of the table. It is mounted under a 1.25" aluminum angle to protect it from swarf. Also, I needed to extend the scale to the right so that I could mount the reader offset to clear the mill's column base. The LMS 3900 has a tilting column and the pivot protrudes forward. If I mounted the reader in the center of the table it would hit the pivot bracket and reduce my Y-axis travel. The X-axis extension ensures that I have full X-axis travel as well. I see that most folks put this extension on the left side. I chose the right because it will be behind the handwheel and not interfere with benchtop space.
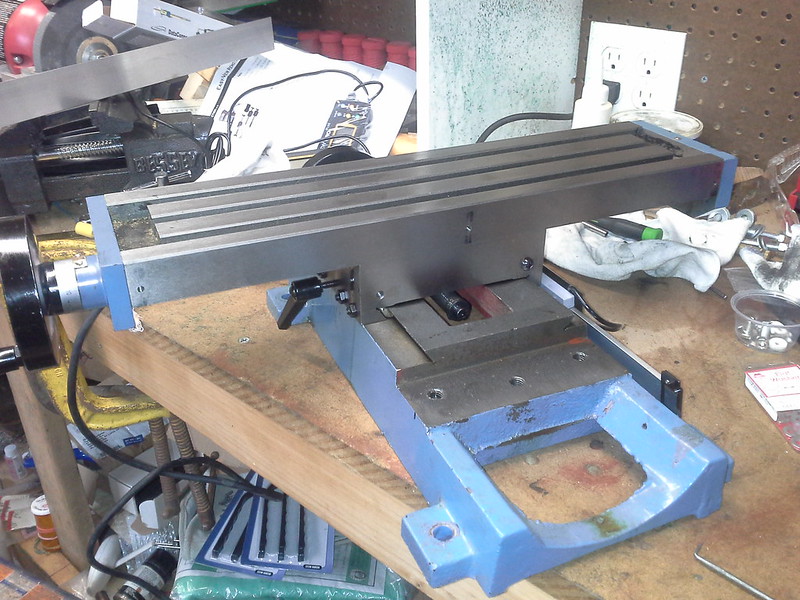
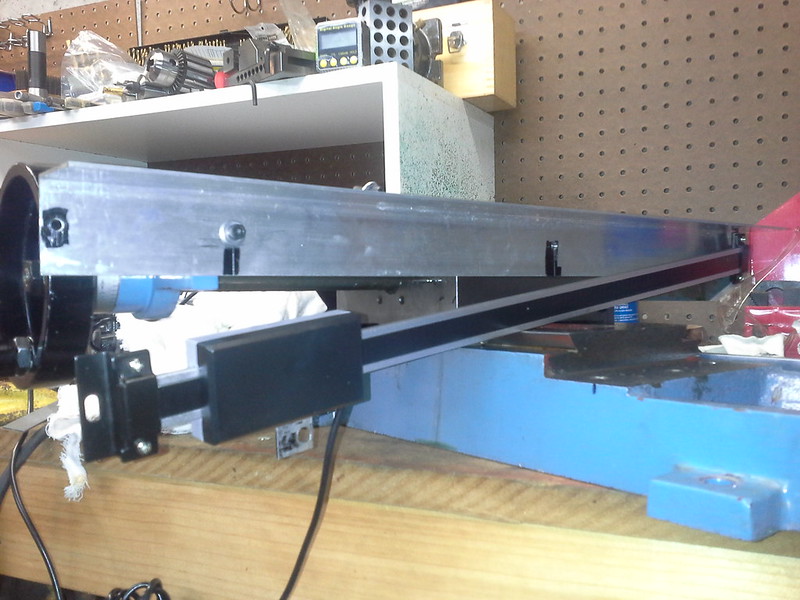
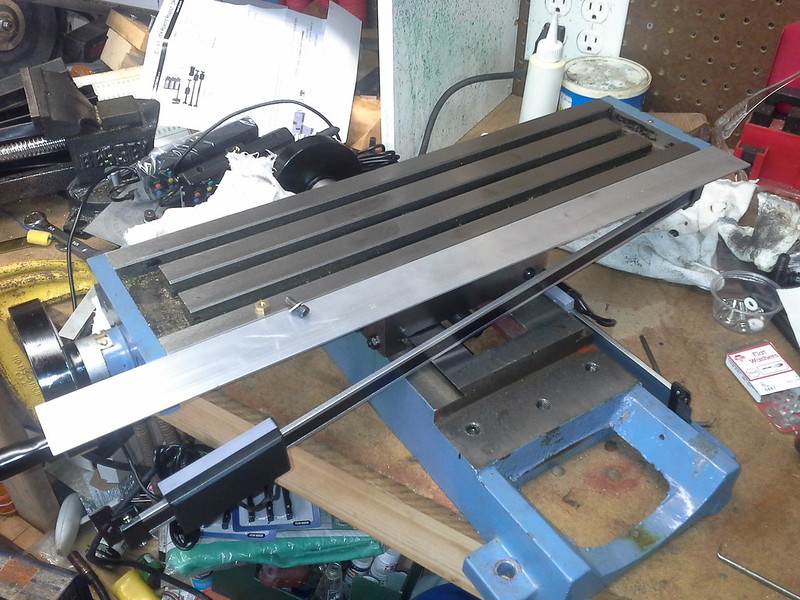
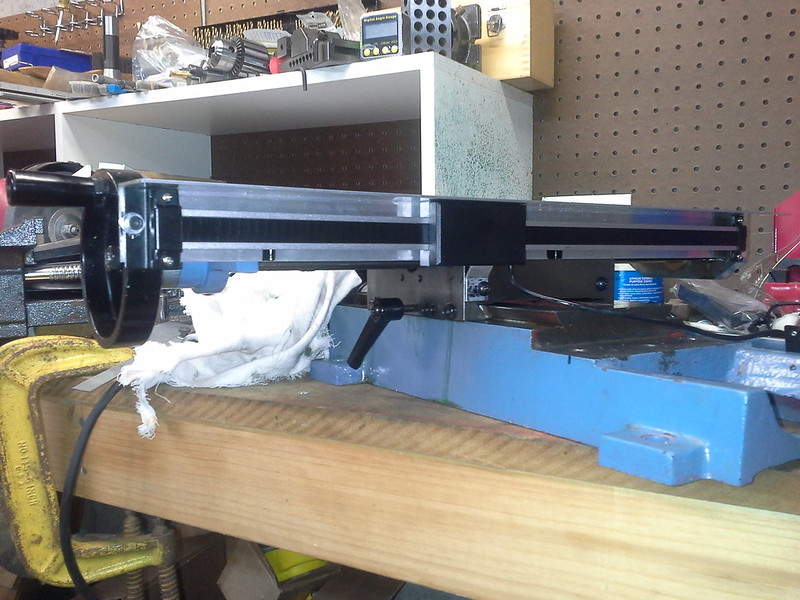
X-axis complete.
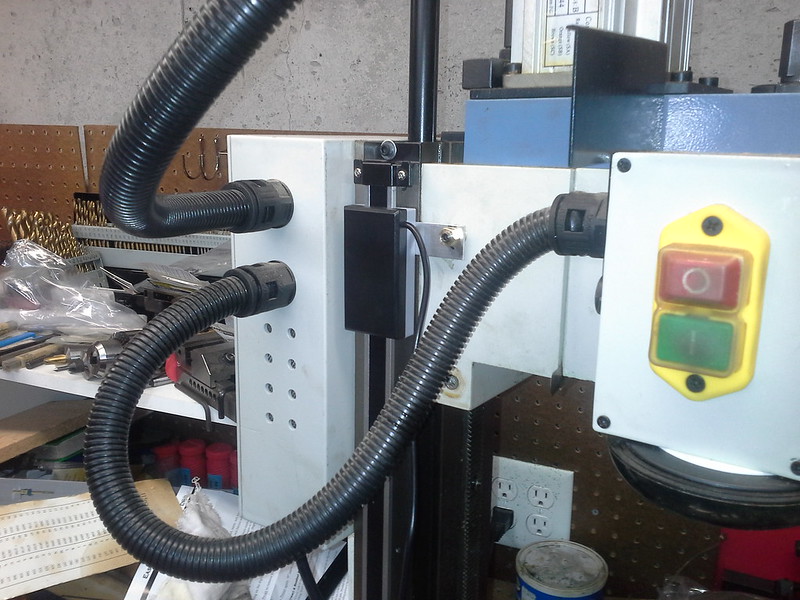
The Z-axis was the easiest. I've installed mine on the left side. I removed the 9" ruler and angle that was on the column. The scale was then installed. And, the reader bracket was attached to the long 6mm set screw that held the ruler's pointer. I didn't have any 6mm nuts, so I made one from 7/16" brass hex.
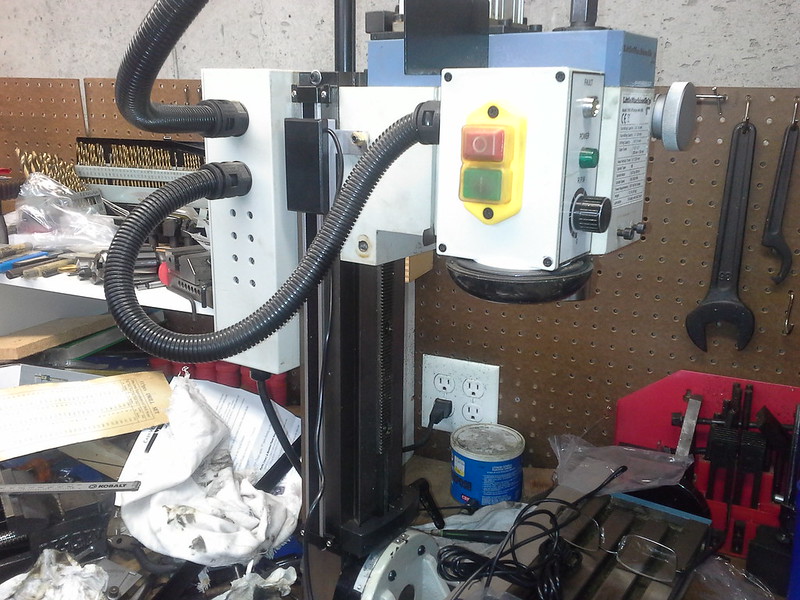
It was a fun project and it took me four evenings to get it all installed. Tonight I will tram the mill column and tidy up the cables to the displays. I do plan on purchasing a TouchDRO bluetooth board for them. I've already installed the app on my tablet and it will make a great display. I'll update that here when I get it.
For now it will be back to my Kozo A3 project.
Here is how the set is delivered.

Since I needed to remove the table and column to install the scales, I took the opportunity to strip down the mill for cleaning and servicing. The next two pictures show the Y-axis installation.


I've installed the X-axis on the back of the table. It is mounted under a 1.25" aluminum angle to protect it from swarf. Also, I needed to extend the scale to the right so that I could mount the reader offset to clear the mill's column base. The LMS 3900 has a tilting column and the pivot protrudes forward. If I mounted the reader in the center of the table it would hit the pivot bracket and reduce my Y-axis travel. The X-axis extension ensures that I have full X-axis travel as well. I see that most folks put this extension on the left side. I chose the right because it will be behind the handwheel and not interfere with benchtop space.


X-axis complete.

The Z-axis was the easiest. I've installed mine on the left side. I removed the 9" ruler and angle that was on the column. The scale was then installed. And, the reader bracket was attached to the long 6mm set screw that held the ruler's pointer. I didn't have any 6mm nuts, so I made one from 7/16" brass hex.


It was a fun project and it took me four evenings to get it all installed. Tonight I will tram the mill column and tidy up the cables to the displays. I do plan on purchasing a TouchDRO bluetooth board for them. I've already installed the app on my tablet and it will make a great display. I'll update that here when I get it.
For now it will be back to my Kozo A3 project.


