Hit me - Miss me?

Home Model Engine Machinist Forum

Help Support Home Model Engine Machinist Forum:

This site may earn a commission from merchant affiliate links, including eBay, Amazon, and others.

Maryak

Well-Known Member
Joined
Sep 12, 2008
Messages
4,990
Reaction score
77
Hi Guys,

Well it's been a week since M10 burst into life. Thanks for all of your remarks in that thread. :bow:

I cleaned and oiled the lathe, stripped the mill down and was pleasantly surprised by the minimal amount of grundge under the tables and on the feed screws. Oiled and greased it up and put it back together. The floor under the benches and machine tables was another matter, I retrieved 10 kg of metal muck and mess from these areas. ::)

So what's next - the Hit and Miss Engine my daughter gave me the plans for.
wow.gif


After a week without taking photos and thinking how to caption them.... I was bored so here we go yet again.

The Idiots Guide to Hitting and Missing.
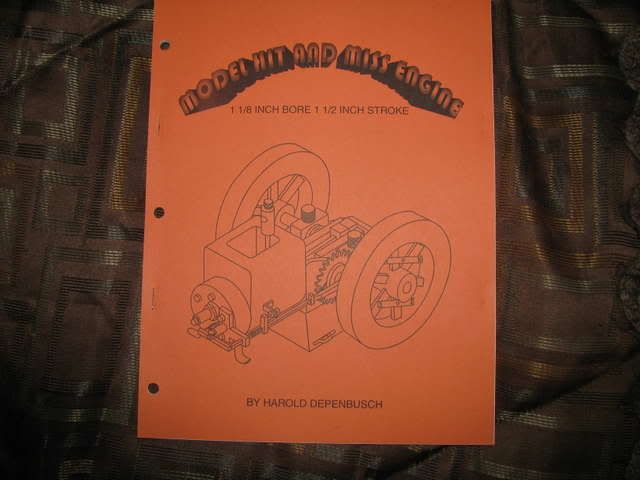
IMG_0291.jpg


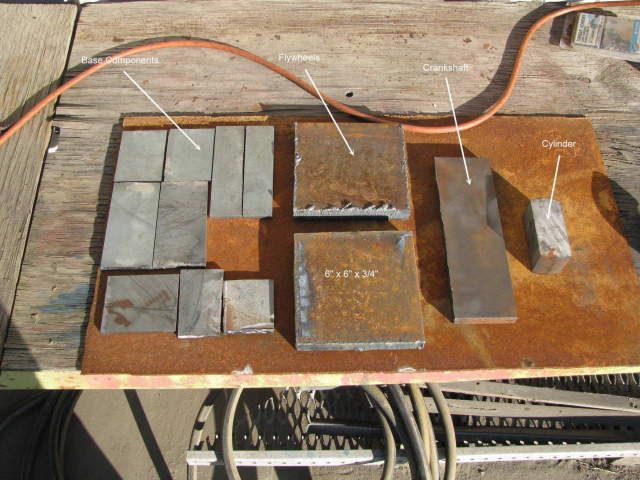
A hunt around revealed a lack of suitable sized material for major components such as flywheels and crankshafts. Up to this point I hadn't fully appreciated how big this model is.
wow.gif


This resulted in some serious grovelling at my mates shipyard to obtain some 3/4" and 5/8" plate for the flywheels and crankshaft. Plate no problem but more grovelling to get it flame cut to manageable sizes. ;D ;D

The major lumps.
IMG_0577.jpg


I decided to make a start on the base components.


And now photobucket is down so I will finish this later.

Photobucket is back up so on with the show. ::)

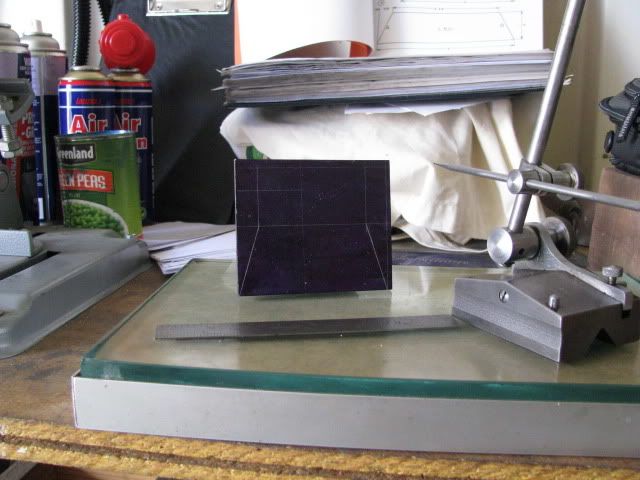
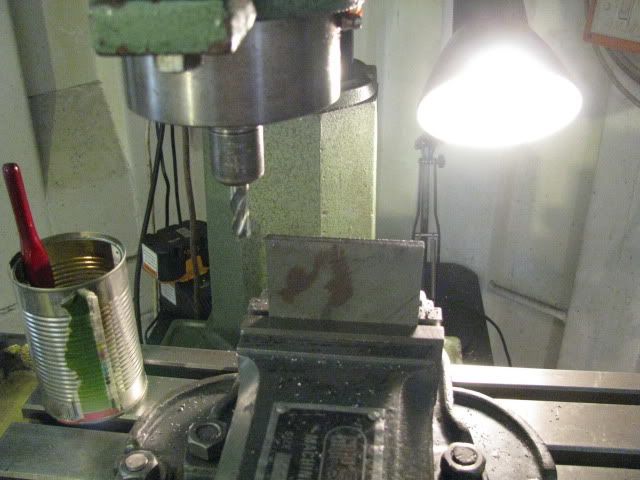
Making a right angle datum on base piece 1 for marking out/off.
IMG_0578.jpg


Base1 ready for shaping.

IMG_0579.jpg


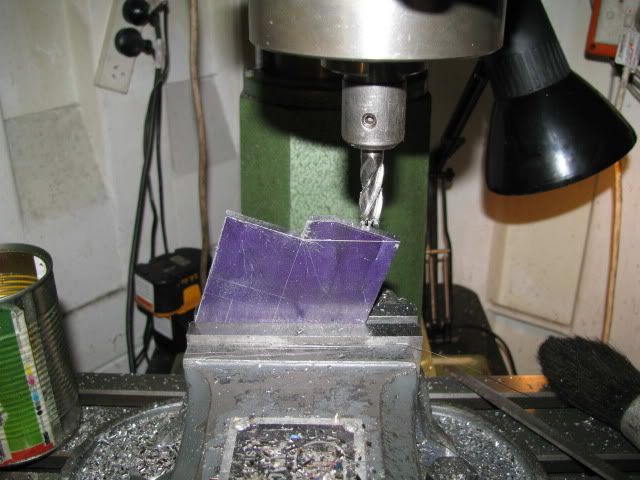
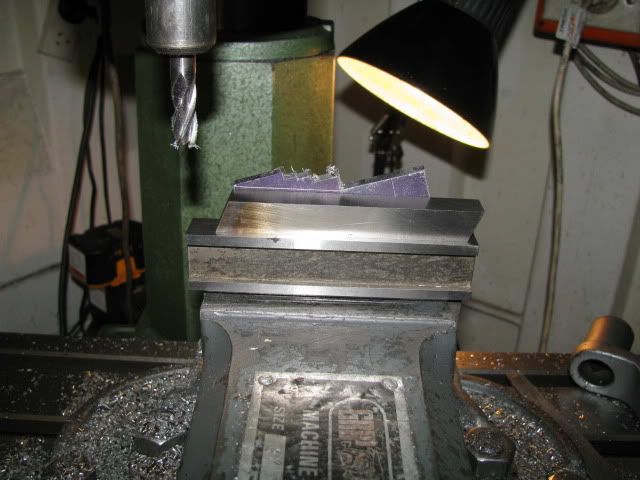
Shaping base1.

IMG_0580.jpg


Best Regards
Bob


Bob,

Really looking forward to this one. It is my favourite type of i.c. engine without a doubt. I had been known to stand at the ropes watching these things for hours at shows from about the age of 10! They are mesmorising.

I will definitely build 1 at some point!

Nick
 
I too am looking forward to watching this one come together Bob!

Rick
 
That's an impressive pile of "lumps" :eek:. Can't wait to see this one develop!
 
Nick, Rick and Jeff,

Thanks guys for the "kick off" :bow:

Best Regards
Bob
 
Looking forward to another machining tutorial goldmine. :big:

Ron
 
All is right with the world once more! woohoo1 There is a Maryak build to tune into everyday. Excellent! th_wav
 
OK Bob,
Now I can tune in too, Same Bat time Same Bat channel Rof} Did you clean up under the benches? You know you'll drop a small part and it will dive into the muk under there stickpoke

Tony
 
ozzie46 said:
Looking forward to another machining tutorial goldmine. :big:
Ron

Ron, Thanks for you kind words and support. :bow:

90LX_Notch said:
All is right with the world once more! woohoo1 There is a Maryak build to tune into everyday. Excellent! th_wav

Thanks 90LX_N, You've just "Made my Day".

cobra428 said:
OK Bob,
Now I can tune in too, Same Bat time Same Bat channel Rof} Did you clean up under the benches? You know you'll drop a small part and it will dive into the muk under there stickpoke

Tony

Thanks Tony, Yep I managed to crawl under everything. I hate 6BA nuts disappearing into the mud, blood and beer. I am amazed at the speed they become invisible. :eek: :eek:

Got a little more done today.

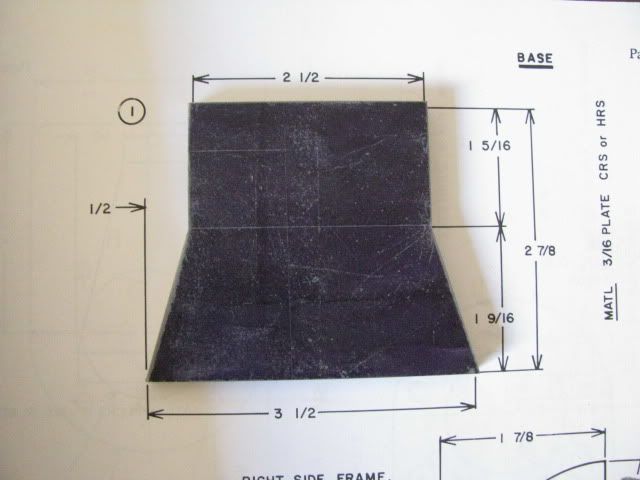
As the base is a fabricate and weld item, I put away mikes and verniers and settled for good old split the line. ;)

Final Cut Base 1.

IMG_0581.jpg


Completed Base 1.

IMG_0582.jpg


Base 2 x 2 Ready for marking off.

IMG_0583.jpg


Best Regards
Bob
 
Well well :bow: Bob's little engine factory :bow: ...look'n good already. I'm putting in an rental suite in the basement. Been working in fits and starts as energy permits. I need some cash flow...disability cheques not enough....dam-it. :rant:

Regards

Philly
 
Philly,

Thanks :bow:

Yep, those of us on government benefits have to find ways to keep our heads above water - I hope it works well for you.

Best Regards
Bob
 
Hi Bob,that looks a big engine ;D is the base a welded or bolted construction ?
Rob
 
Rob,

The base is an all welded construction. You've just reminded me I need to buy some more disks for my angle grinder. :eek:

I once heard it said that the only difference between a bad welder and a good welder is a good angle grinder - need I say more. ::)

I have been pondering how best to get a decent profile on Base pieces #2. ??? ???

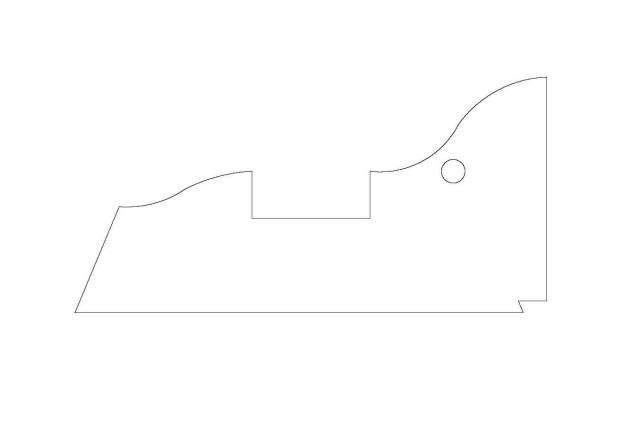
My solution was to draw them in CAD and using all those wonderful snaps and curves and things profile it out.

I ended up with this.

B2Template.jpg


The idea is to glue this to some sheet metal, carefully cut it out and scribe around the curves onto the base pieces.

Best Regards
Bob
 
sounds like a plan Bob, just out of interest how long are the sides your going to profile?
Rob
 
Maryak said:
I once heard it said that the only difference between a bad welder and a good welder is a good angle grinder - need I say more. ::)

Yes, and that a welders best friend is the painter :big:
 
Rob,

The wrecked tangle is 5" x 2 1/2" - for our EASL friends rectangle. Aussie humour ??? ???

jthulin,

Bugger, you've found another thing I'm hopeless at. :eek:

Best Regards
Bob
 
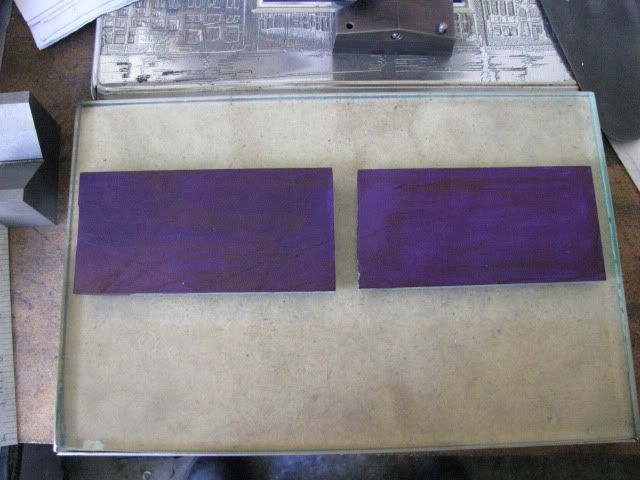
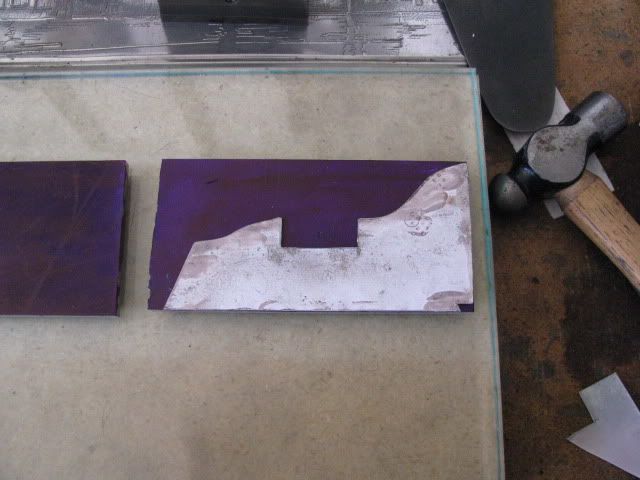
Not much to report, got my template made and alas my bandsaw won't cut that thick. :eek:

Ah well, angle grinder, mill and hand filing. :'(

The profile template.

IMG_0590.jpg


Best Regards
Bob
 
Had a story about hand filing related to me just the other day. Something to the effect that the fellow recalled his first day in vocational school when he was instructed to square up a block of steel about 3" x 4" x 5" with nothing but a file. After a few hours the instructor inspected each students work and tossed each piece in the scrap bin as he went. When asked why he was discarding such an investment in time and effort, he said that the only reason for the exercise was to evaluate the students work ethic. As you can imagine, a large percent of them kicked, screamed and complained the whole way through. Spoke volumes...
 
jthulin,

Same thing happened to me in my final year...Instructor says here I'll show you something and then runs my gauge through the rolls with my saw and boom...he says ooooops...I say well that's a pass...he says fix it. stickpoke There ya go another day in trade school. had it fixed in an hour only because I had made three gauges and had a spare.

Oh don't want to steal the thread.

Keep up the good work :bow: Bob. :bow:

Regards

Philly
 
hi had this same engine on my bench for some months fellow that made it couldnt get compression enough to fire
made new piston and bored the cly round and straight great fun when its all one complete block assy
but good news ran for six hours a day at an engine show
now i cant play with it its gone home to its owner :'(
it takes about 30mins or longer to bring the water to boiling point
i ran it on a model aircraft carb sure run good as a throttler
good luck on the build
 

Latest posts

Back
Top