First, I want to say, this forum is an impressive collective of practical experience and the noteworthy generosity to share with the inexperienced. The moderators do an outstanding job of keeping the signal to noise ratio in the desirable range. Mark Twain once said he wouldn't want to be a part of any gathering that would tolerate him. I'm glad to be a part of this community even though I spend most of the time in sponge mode.
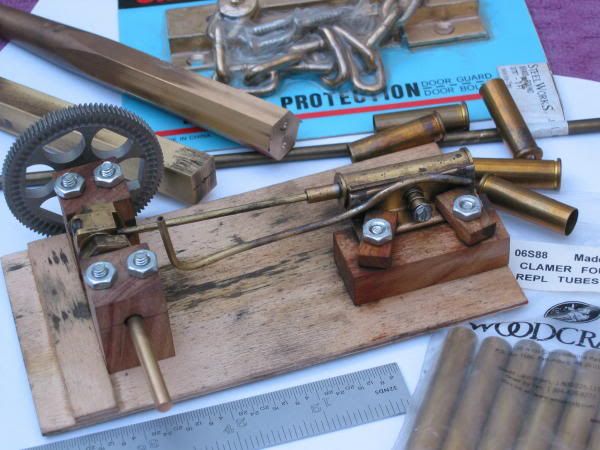
I found plans for the Fizz Whizz engine on the john-tom site and had raw materials on hand to build a reasonable approximation within the spirit of the original design criteria. It looked like a good winter project and a nice challenge for me with a reasonable probability of success. A quick google search showed the source as Popular Science, March 1947 and I found a blog where a guy made his version from used Mamod parts. He documented his troubles soldering the steam manifold and that's the part of the construction that gave me the most trouble too. I figured I'd build and test the engine (Phase one), and if that was successful, I'd see about constructing a vehicle for it to power (Phase two). I didn't care at all for the style of the Fizz Whizz car.
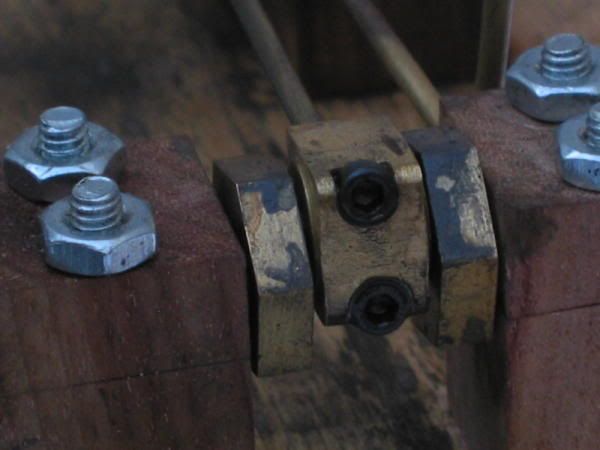
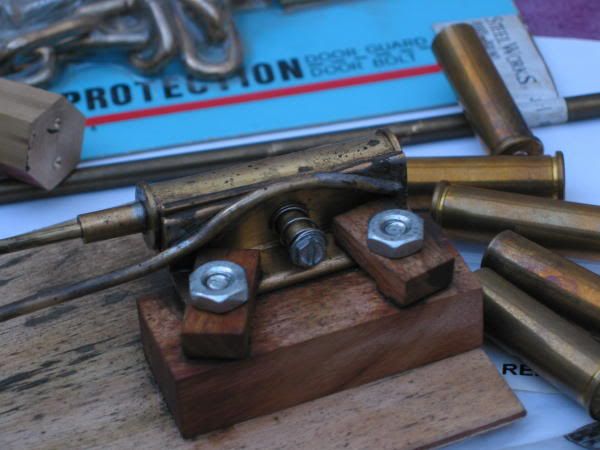
I suppose the Fizz Whizz engine is fabricated in more of a craftsman style than a machinist style, but I saw several merits of the design and a few opportunities for improvement. I didn't like that the cylinder pivoted on bolt threads, that was easy to redesign. The original crank shaft was bent wire and I've never had good luck with precision bends, so I soldered up a proper crank and machined a nice big end for the connecting rod (fastened with 4-40 socket head cap screws). I wanted forward and reverse capability but the steam manifold proved to be too difficult for me to align and solder. After several failed attempts, I settled on forward only and that was still a fun challenge to assemble. The repeated "working on the ports" enlarged a couple of the holes more than intended. If I were to build this engine again, I think I'd drill steam passages in a solid block of brass. It's funny how I first thought soldering an octopus would be easier than drilling a few deep holes.
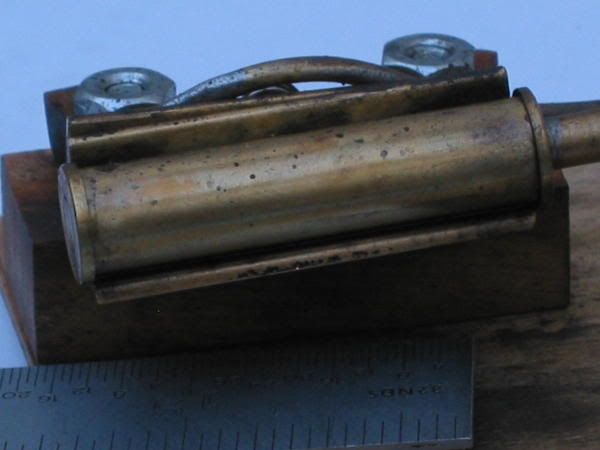
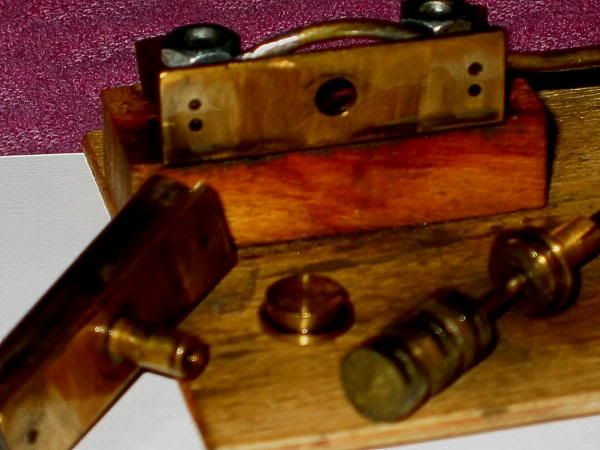
For raw materials, I had some thin wall brass tubing from some pen kits, 3/16" brass rod from Home Depot, some .357 cal cartridge brass, some used brass door hardware, some bits of 1/16" ID brass tubing, and a brass punch from Harbor Freight. I have some silver solder from a kit to join bandsaw blades, but I never could get the solder to stick to the brass, so all soldered joints are made with electrical solder. I sawed angle stock from the door latch to make the cylinder plate and valve plate. The piston is an assembly of three cartridge heads soldered to the 3/16" rod and lapped with tooth paste to match the cylinder. The 3/16" rod filled the primer pocket in the cartridge nicely and I used that to make the cylinder heads too, they are a nice finger-press into the cylinder ends and I can loctite them later if I need to (they seem to hold well at just a friction fit).
I like the way the piston turned out and I think I will likely use this method again for future piston designs. It seemed easy to keep the piston centered and I get no visible eccentricity in the stuffing box.
Once the engine and crank were complete, I assembled a test stand from plywood and some hardwood scraps - reasonably decent pillow blocks and clamps for the valve plate. An air-brush compressor powers the engine at near ludicrous speed on about 18 psig. I can restrict the air flow to throttle the engine down to a friendly little idle at about 5 psig.
I'm mostly happy with this engine and I'm unsure about building a vehicle for it to power. I think I'll practice my engine building and leave this one on the stained wood for now. I think engine building is a good way for me to improve my machining capability. I came to realize the significance of sequence of events in the fabrication process - I destroyed the lapping results on the first cylinder when I soldered it to the angle (it wasn't round anymore). In the same way a picture is worth a thousand words, a model engine is worth a thousand scrapped parts (and perhaps a thousand smiles when it finally runs).
I think my next engine will be based on the EZ design implemented in plexiglass.
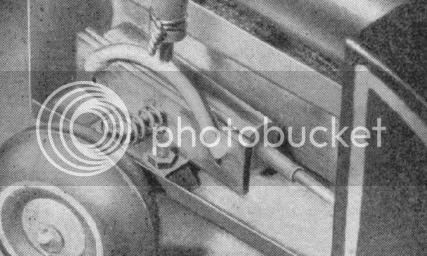
Original
Big end
Cylinder
Manifold
Disassembled
Phase one
