Finally--Used my mill again

Home Model Engine Machinist Forum

Help Support Home Model Engine Machinist Forum:

This site may earn a commission from merchant affiliate links, including eBay, Amazon, and others.

Brian Rupnow

Design Engineer
Project of the Month Winner
Joined
May 23, 2008
Messages
15,249
Reaction score
8,525
Location
Barrie, Ontario, Canada
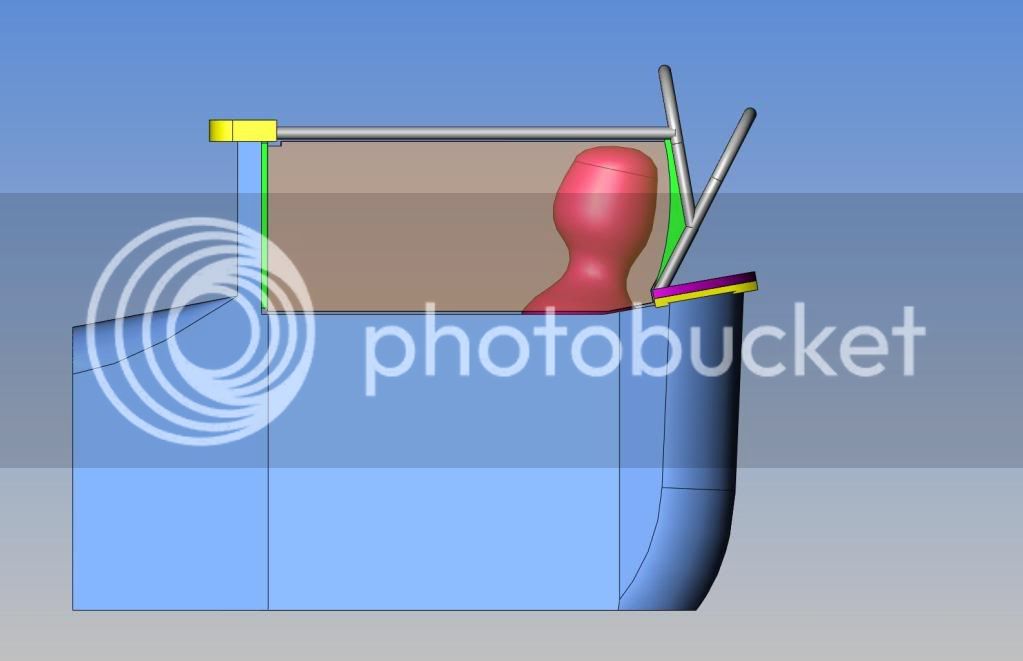
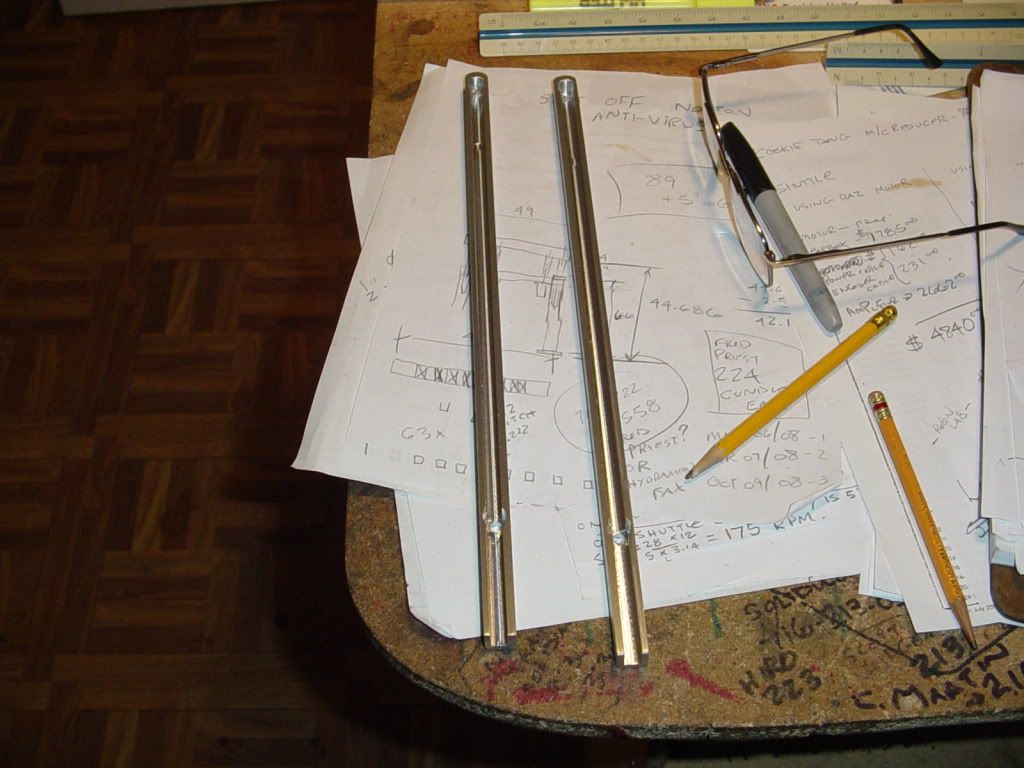
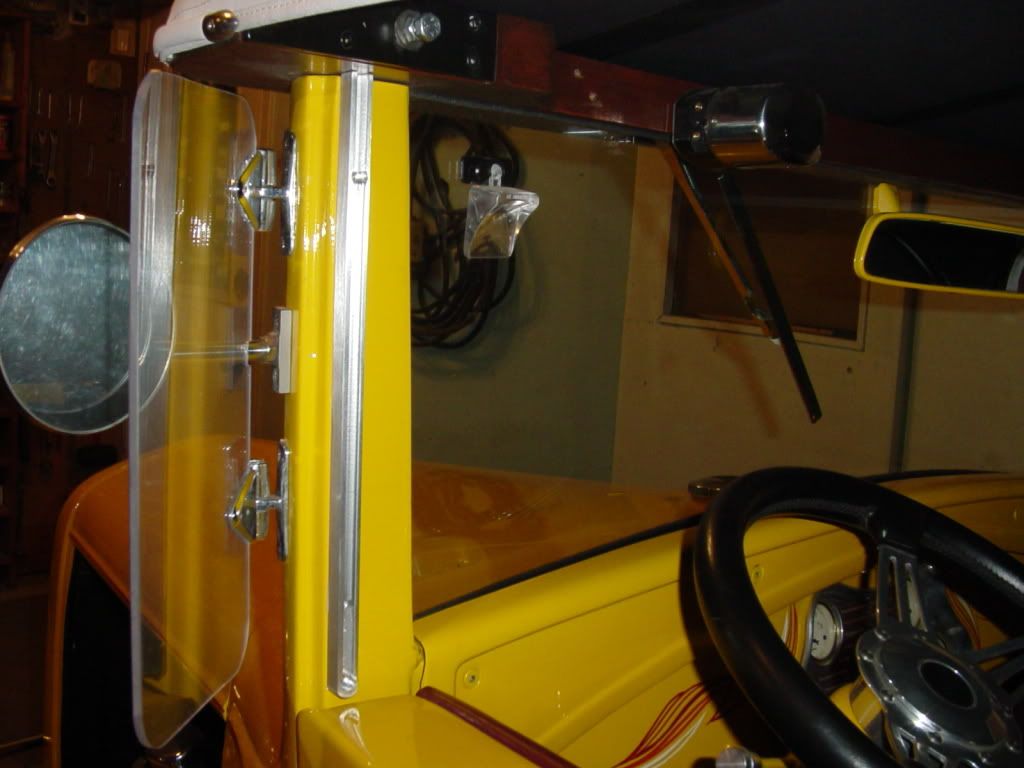
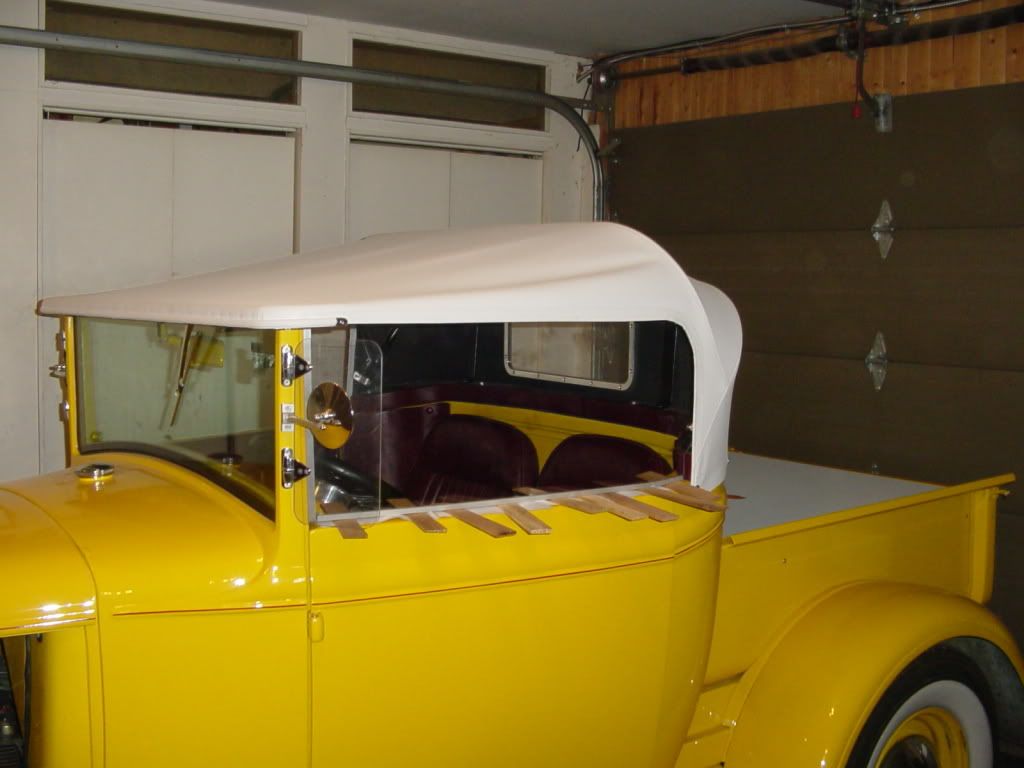
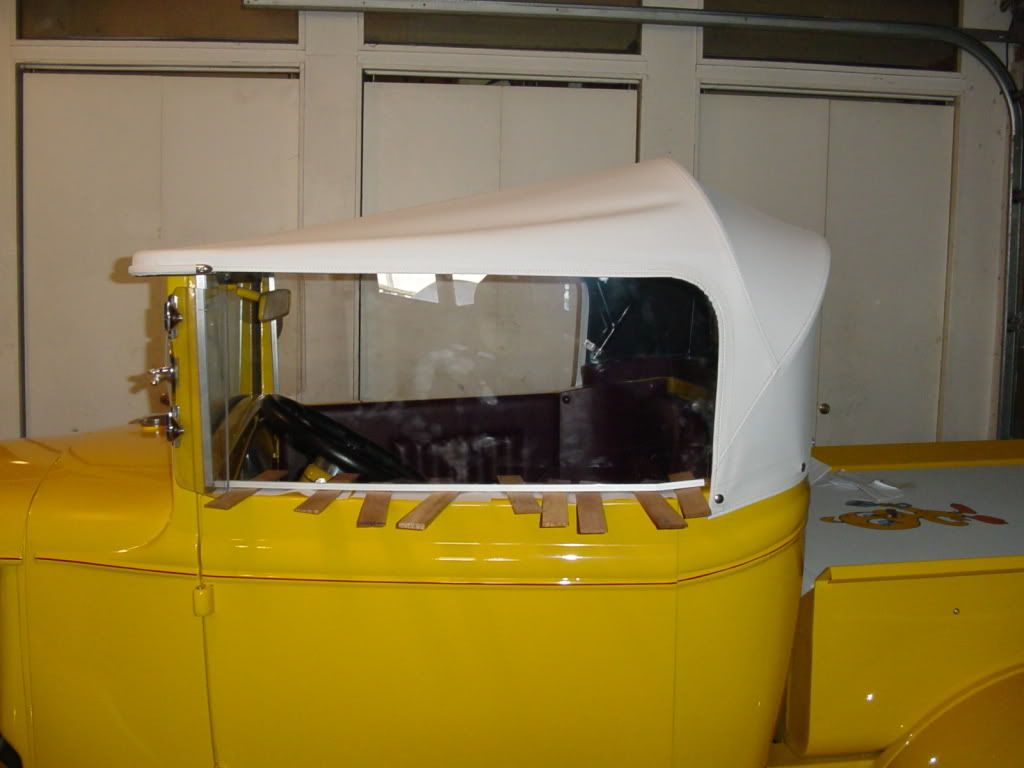
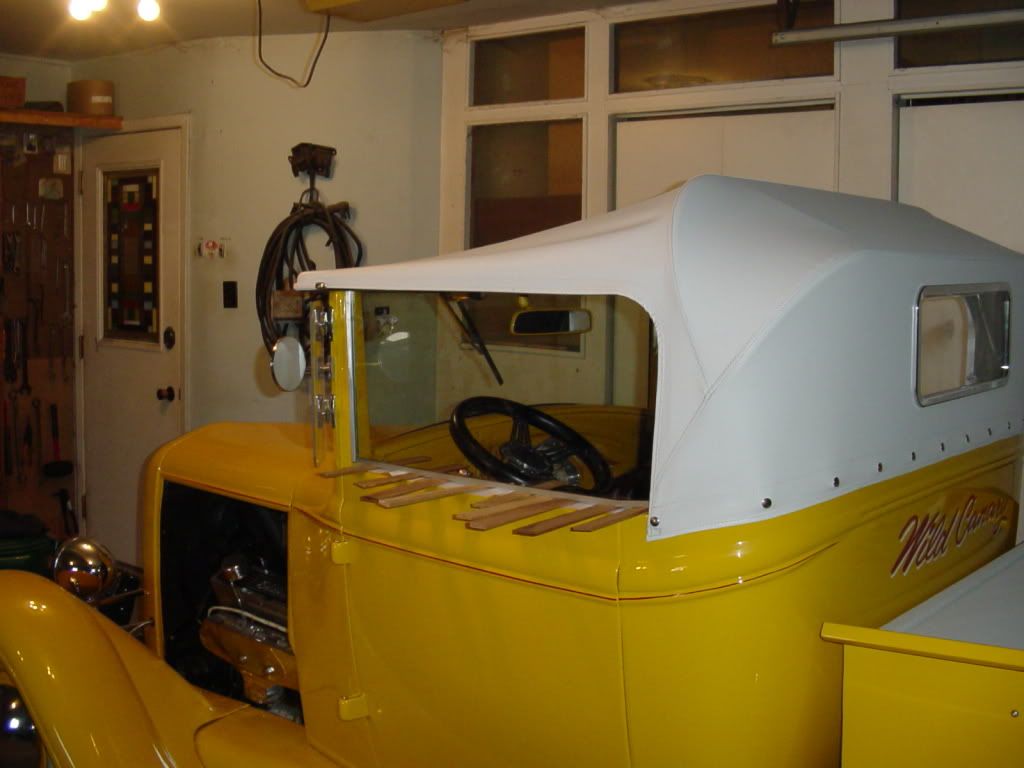
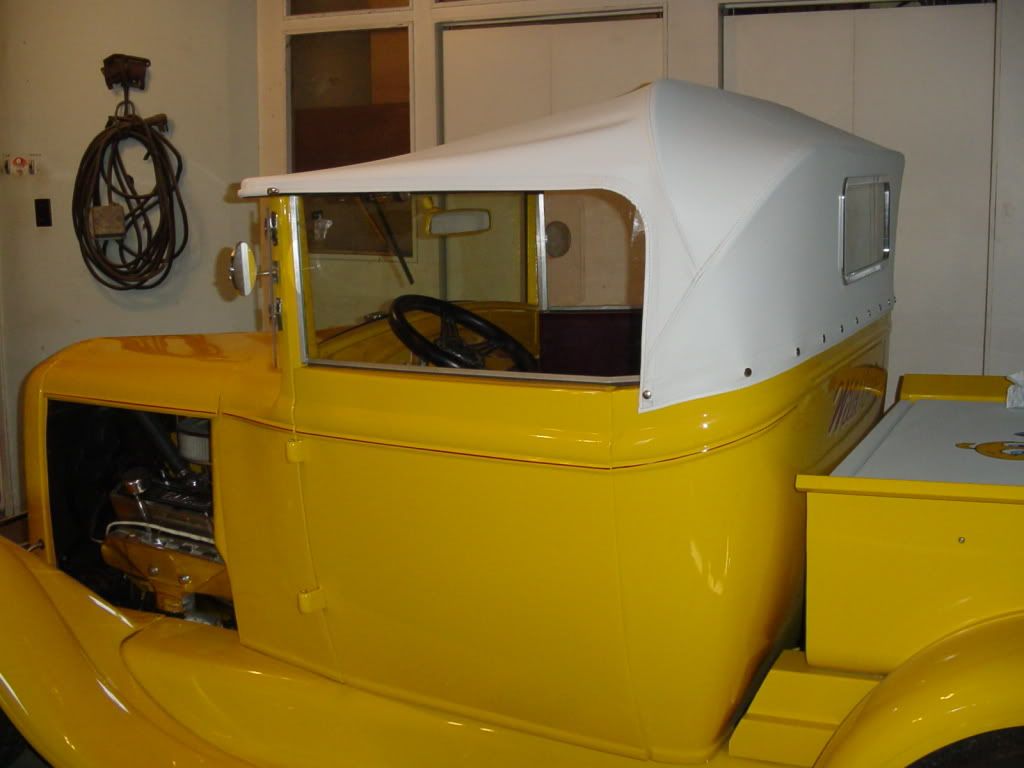
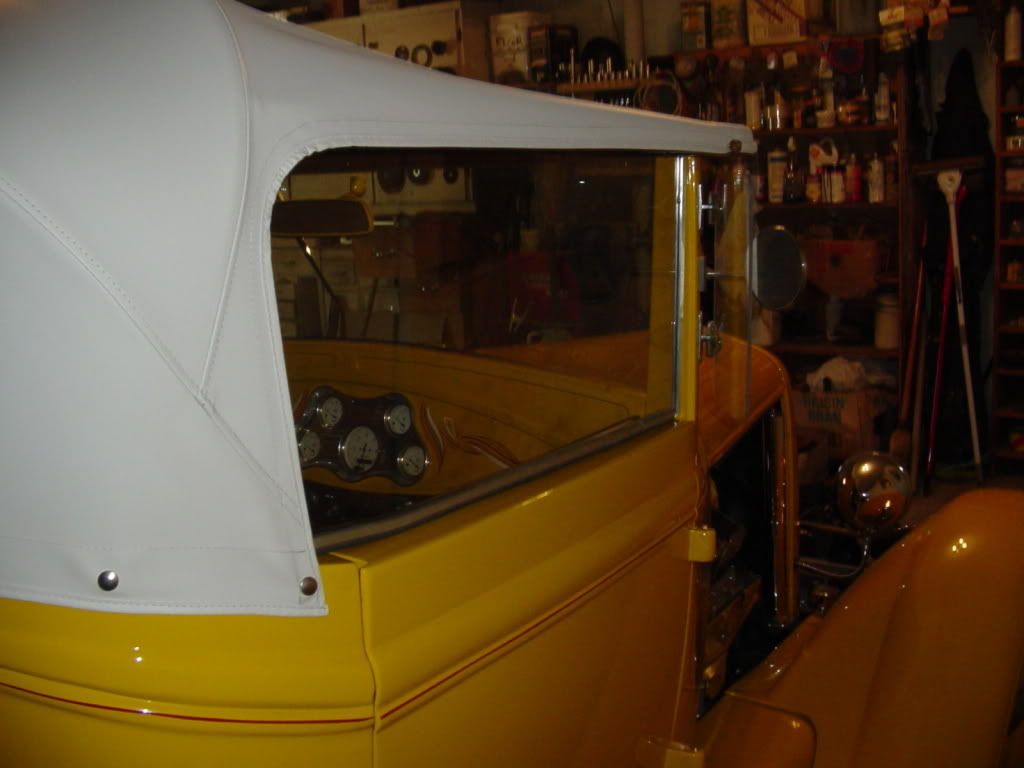
After a 4 month hiatus, I went back into my machine shop and built something with my milling machine today. I have signed up for "The Canadian Hotrod Tour-2009"--This is a tour of hotrods from across Canada that will drive to Moncton, New Brunswick in July, and visit the Canadian Eastern Hotrod Nationals. It will also drive across the confederation Bridge to P.E.I. and will also go across the Canso Causeway and tour the Cabot trail. My 1931 Model A roadster pickup that I built 5 years ago is a great little car, but when I designed it and built the top, I never made any provision for sidewindows. This is not a big deal for local cruising, but the thought of a 2500 mile trip without sidewindows is a bit much. So---I have designed "clip in" Lexan sidewindows that I will use for the trip down and back. They are not a permanent installation, and are definitly not Hi-Tech--They will slide into a channel fitted to the windshield post, and slip over 2 studs welded to the inside of my convertible top frame. To be held in place by a couple of wing nuts on the studs.--This is the kind of thing where you set the Lexan in the car, then set yourself in the car, then slide the Lexan into the front channel and over the 2 studs and screw the wing nuts in place. --Not terribly convenient, but will be fine for each 300 to 400 mile day. When I'm not using them they will fit into a cloth bag and ride in the back of the truck. (I have built a locking tonneau cover since the picture was taken 2 years ago. So---for $3.00 and an afternoon on the mill, I have the front channels made up---all they lack is a good polishing.---Brian

frontviewoffinishedrpu-1.jpg

LEXANINPLACE.jpg

FRONTLEXANTRACKS003.jpg

 
..... except the steering wheel is on the wrong side of it! ;)
 
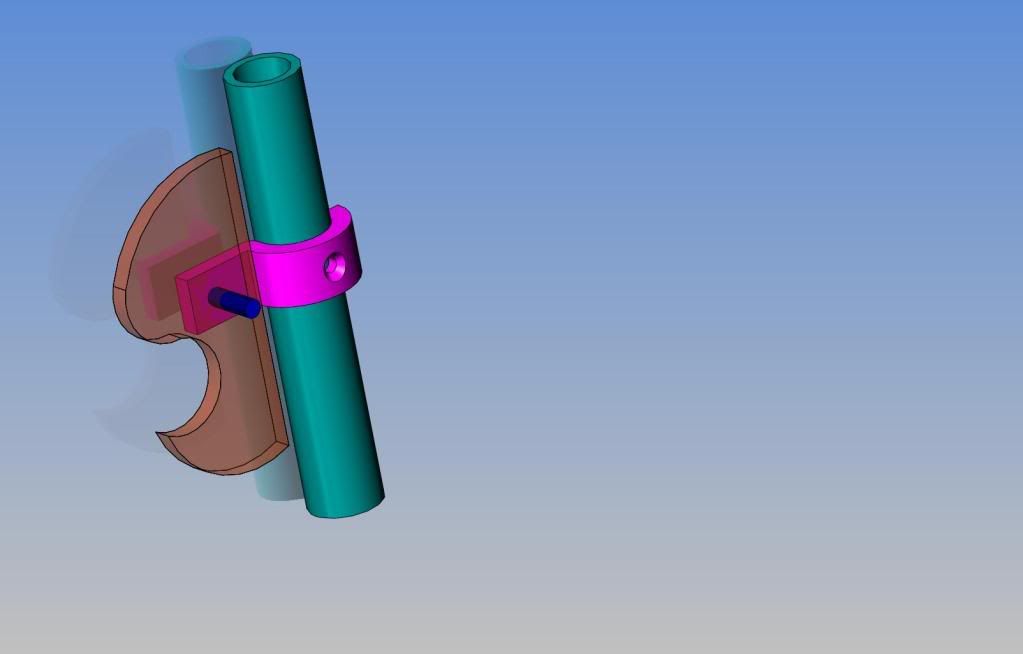
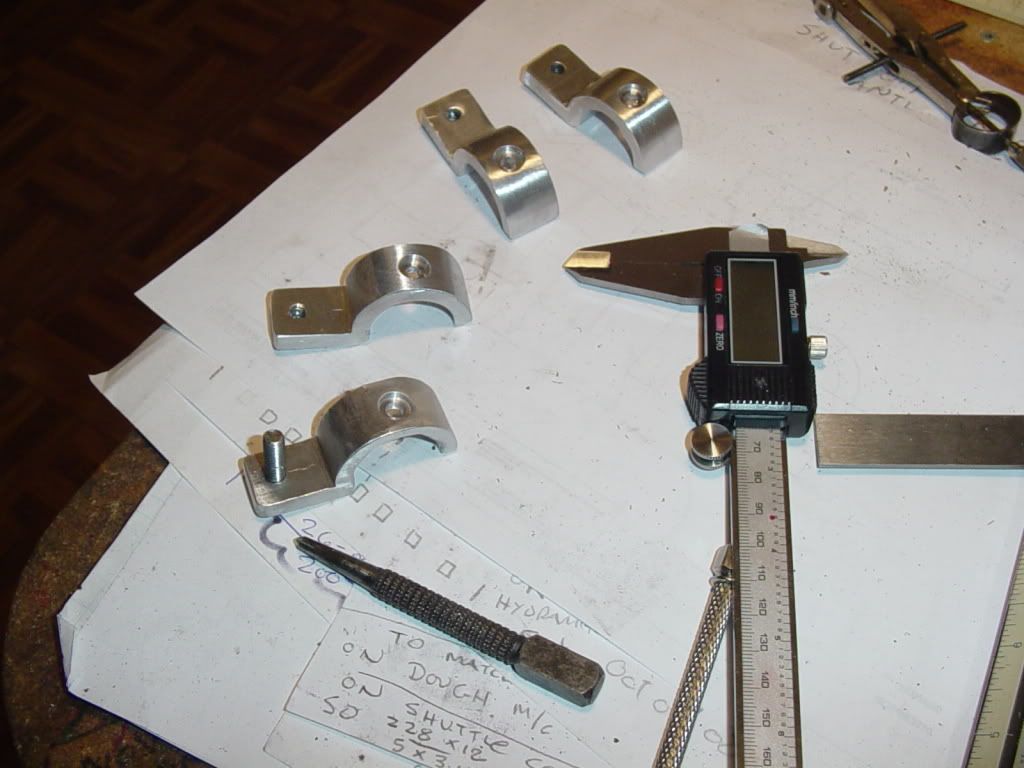
Jeez--Now that I have started this project, one idea keeps flooding in on top of another. I like the milled aluminum front mounts that I made yesterday. Now, as I think about the rear mounts----The cloth top is on the outside of the 1" diameter frame tubes. I could attach the Lexan to the inside of the frame tubes, but then from outside the car you can see the 1" gap between the lexan and the convertible top material. BUT---If I was able to mount the inside of the lexan flush with the centerline of the frame tube, then there would only be a 1/4" gap---much more visually appealing and marginally more room inside the car. I can make the purple brackets out of 3/4" aluminum, and attach them to the frame tube with one self tapping screw---and the shape of the bracket will keep it ftom rotating on the screw. Then drill and tap it for a 1/4"-20 x 1" stud and add a little Loctite 648 to the stud---
clamponframetube.jpg
 
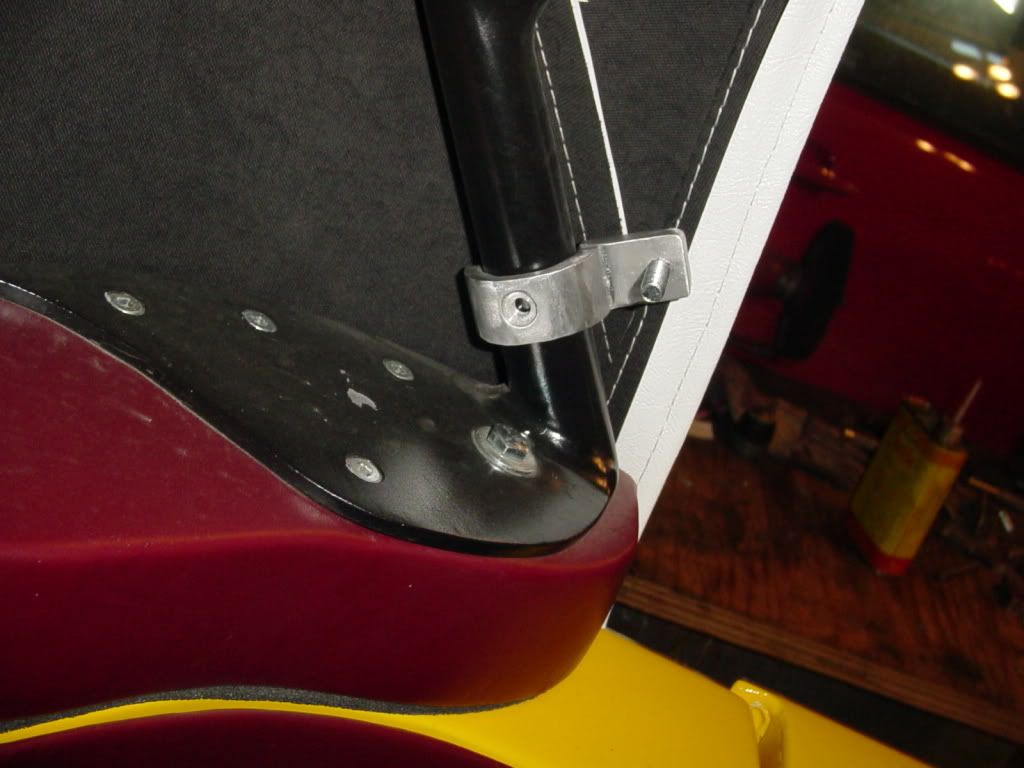
Wow!!! I think this is going to work out great. Now if I can just find enough peices of scrap 3/4" alum. plate to built 3 more of these. I don't know yet whether I will polish them or paint them the same colour as the frame tubes to make them "dissapear".---Probably paint them black and polish only the front channel mounts.
rearlexanmount-alum008.jpg
 
And Voila'--An afternoons work yields 4 finished brackets.--I hate to admit it by my old butt is draggin'. I'm not used to standing at a machine all afternoon. (I'm ashamed to admit that.) tomorrow I will make patterns for the lexan. I might need one more bracket on each side, but I will wait and install the lexan and then see what I think.
allrearlexanbrackets001.jpg
 
Great truck and nice job on the mounts. Thm: Just had the Street Rod Nationals here in Oklahoma City a week ago. Lots of nice rods in town. Working on a project with a close friend and getting near completion on a 1949 Chevy pickup hotrod. Can't quite make out the engine. What do you have?
 
A cheesy old 305 with turbo 350 Automatic. I bought it as a dummy engine to build the car around, planning on building a 350 eventually. I paid $200 for the whole darn car, an 85 Pontiac. The old engine ran so good I have never changed it out.
 
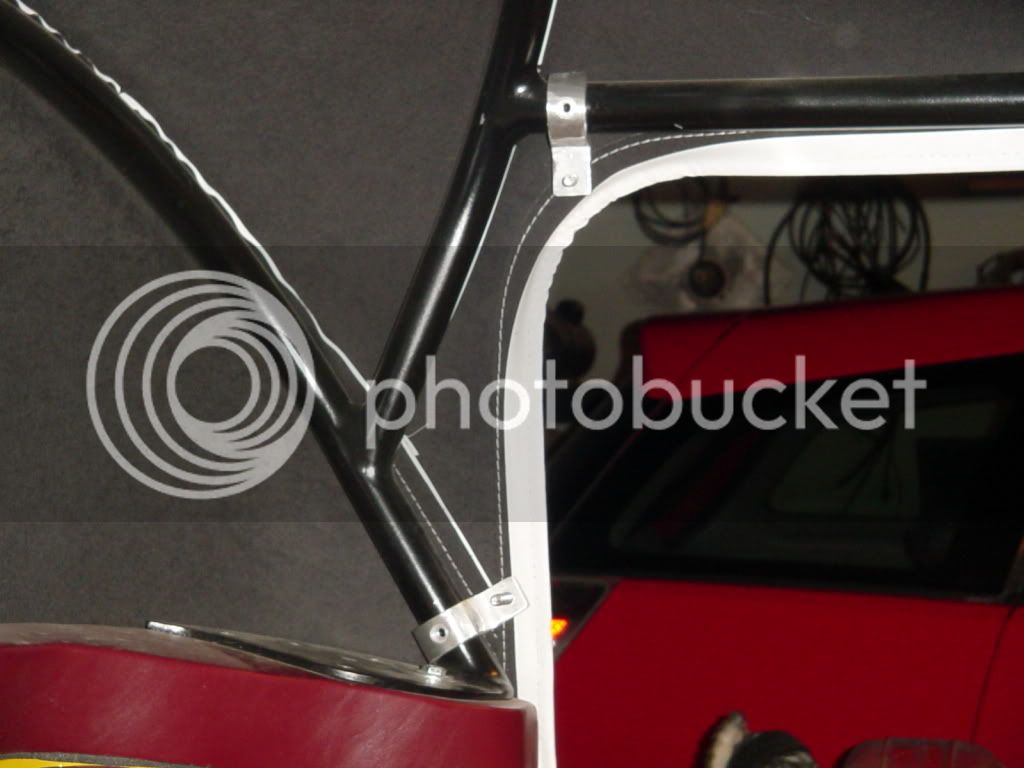
Looking real good in mock-up. The rear brackets are hidden by the top material when viewed from the outside, they don't interfere in any way with people getting in and out of the car, (I tried it), and they are wide enough apart vetically to give good support to the Lexan. The front support fits perfectly and will look great once polished.
mock-up001.jpg

mock-up002.jpg
 
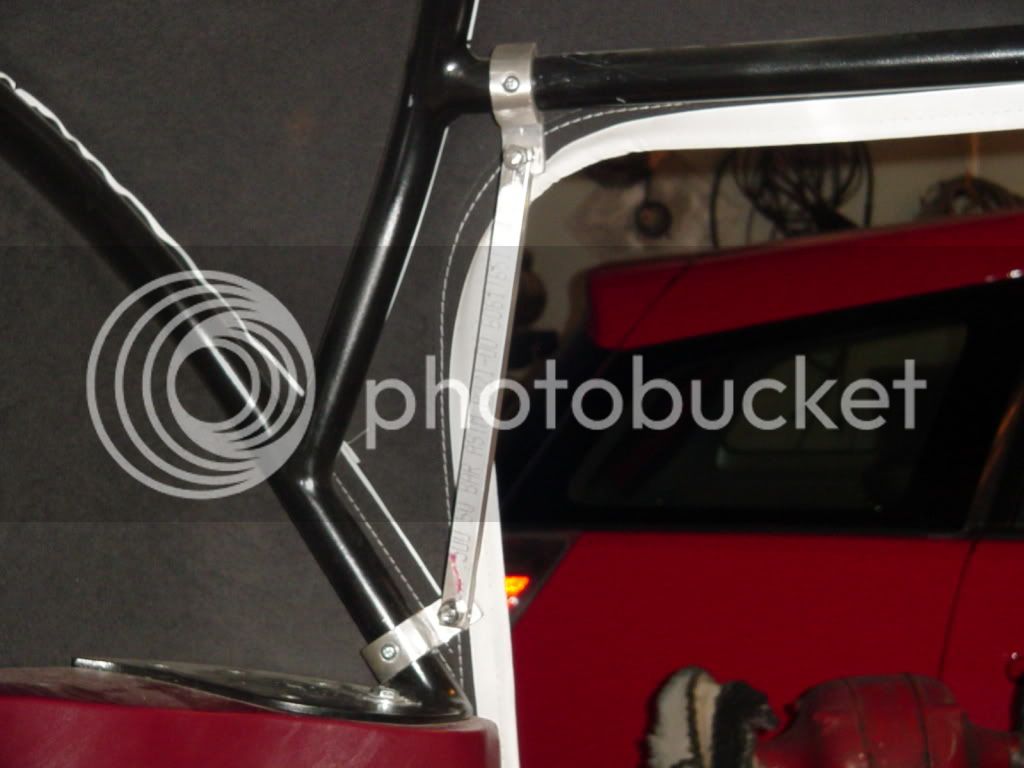
This morning I installed all the brackets on the car--this involved a total of four 1/8" holes drilled into my frame tubes at the rear, and two in each windshield post at the front. In the picture, that peice you see running between the upper and lower rear brackets is a temporary peice bolted tightly in place on the 1/4" studs to ensure that the upper and lower brackets are in perfect alignment when the frame tubes are drilled. It was removed after the holes were drilled and the anchor screws in place.
rearbracketsfinishedandinstalled002.jpg
 
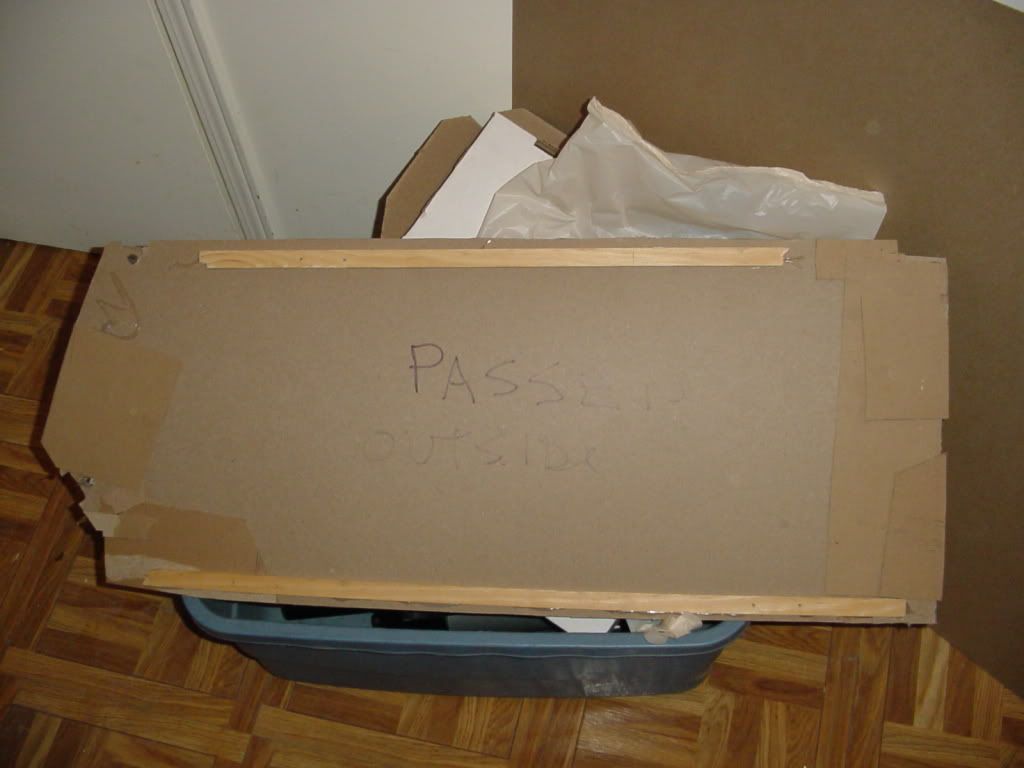
So--after a 2 hour interlude --vacuuming-(yes, even I get to help with the "Big Easter Housecleaning--relatives coming")--we move on to making templates for the side windows. I start with heavy layout cardboard, and my trusty glue gun. This means getting in and out of the car about 7000 times, gluing peices hereand there, untill the pattern is as perfect as I can get it. The wooden slats are glued in place to stiffen the carfddboard.
templates004.jpg
 
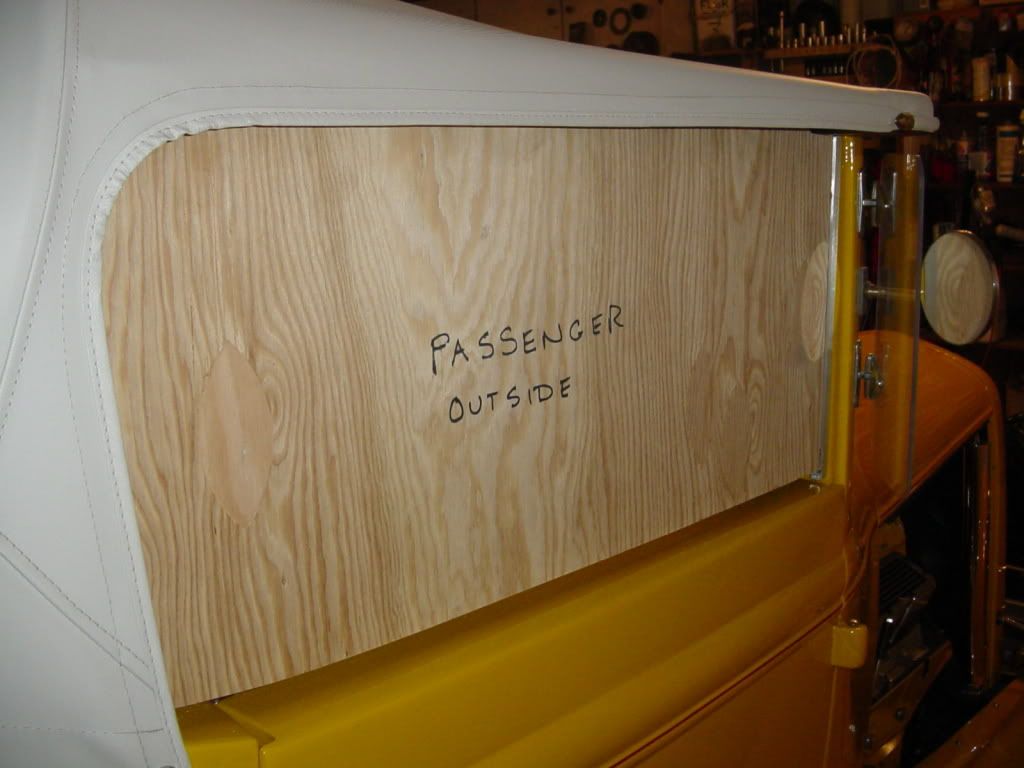
And then, just to be "Double damn sure" (Lexan is expensive), I transfer the cardboard pattern onto 1/4" plywood, and install it. I intentionally made the pattern to leave a 1/2" gap between the sidewindow and the top of the door, which I don't want marked up. I find that the plywood slips into place very easily---I have a couple of 1/4" hex nuts holding it onto the studs right now, but they will be swapped out for wing nuts in the final rendition. I still have to decide on how to seal the gap at the bottom. In a perfect world, I would glue some soft foam onto the bottom of the lexan and let it rest on the door top, but I don't think it would be very durable---I will think of something.
templates001.jpg

templates003.jpg
 
Well, I'm up to $19 in cost so far on my project. $3 for aluminum square bar and $8 each for two peices of 1/4" plywood. The patterns are made for both sides, and seem to fit quite well. I am going to try and find a source for Mar-Guard polycarbonate, because these side windows may spend most of their lives in a cloth bag in the back of the pickup with my lawn chairs. I don't want them all messed up from rubbing inside the cloth bag. I reduced the gap between the bottom of the sidewindow and the top of the doors to 1/4".--that way, in a "worst case" scenario. if I can't find a good premade seal material, I can glue a 1/4" square soft rubber strip to the bottom of the polycarbonate to close the gap and protect my paint. So far, this has been an easy project. I will post a couple of pics when I'm finished.
 
Isn't that gap going to whistle at highway speeds? Or have you already checked that?
 
mklotz said:
Isn't that gap going to whistle at highway speeds? Or have you already checked that?
Mklotz--I'm assuming you didn't read the rest of my posts--and if you didn't, I can't blame you. I know this is far outside the bounds of model engine building. I don't want to damage the paint on my door tops, so I will be attaching some kind of flexible rubber weather strip to the bottom of the lexan which will seal the gap but will be of a pliable nature that hopefully will not damage the paint on the door tops.
 
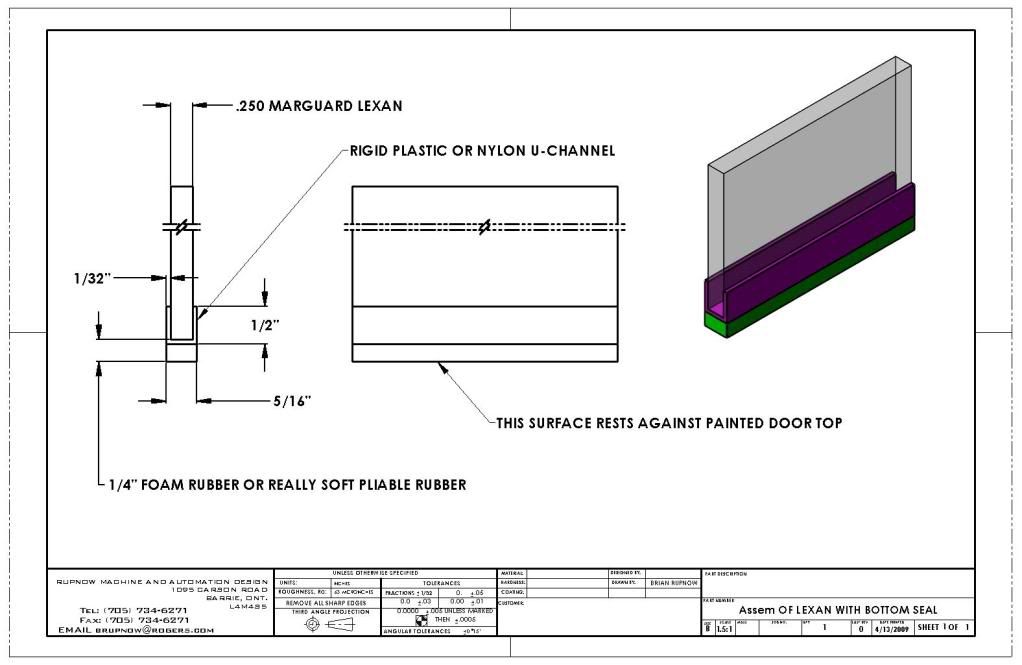
So---Today I found a glass shop right here in good old Barrie that will cut Marguard lexan to my templates, and they have 1/4" in stock. Spendy stuff though---$180 for what I need. This is about $60 more than I had initially thought of spending, but---I'm worth it!!! (especially if this stuff is as good as everyone says.) Now, in terms of the rubber seal that I require along the bottom of it, next to my door top.---I have looked at a number of auto glass shops, glass shops, and on-line, and can't find exactly what I want. Have a look at the attached drawing. It shows what I need. I can buy the rigid vinyl U profile, but not with the foam rubber strip on the bottom of it. I can probably buy some foam rubber or low durometer solid rubber and glue it onto the vinyl with rubber cement.---But---If anybody knows where I can buy a 6 or 10 foot length of material that is close to what I show in the drawing and is all in one contiguous peice, please let me know.---Brian
AssemOFLEXANWITHBOTTOMSEAL.jpg
 
So---Here we are--Greasy fingerprints and all!!! I picked up the Marguard windows today and picked up enough light aluminum channel to cover the bottom edge of each window. I put a bead of clear silicone in place in the bottom of the channel, stuck it on the Marguard, installed the marguard into my car, and then after protecting the top of the door with heavy paper, I wedged shim shingles between the door top and the aluminum to push it up tight against the bottom of the Marguard. After it sets up for 24 hours, I will glue 1/4" closed cell foam weatherstripping to the underside of the aluminum. That should get rid of 90% of the wind which would blow in through the crack.
firstwindowin002.jpg

firstwindowin003.jpg

firstwindowin001.jpg
 
Well, we have windows. The operation was a success. I left the furnace on in the garage overnite to cure the silicone, and this morning I glued the 3/8" wide x 1/4" thick closed cell foam weatherstripping onto the aluminum bottom channel. I had to make a few last minute adjustments to the Marguard with my trusty Dremel tool, but now the windows slide into place very easily, and the foam seals the gap at the bottom of the window very well. This has been a very good project, in that I didn't scratch any paint, didn't mark up the top material in any way, and didn't break anything.:D :D My total cost for the project, including taxes amounted to about $230 for everything. These windows are never going to be equivalent to roll up windows mounted in the doors, but they will be darn close. I think my 2500 mile round trip to the Atlantic nationals just got a lot more comfortable. I hope that all who followed this post enjoyed it.---Brian
WINDOWSFINISHED001.jpg

WINDOWSFINISHED002.jpg
 
Back
Top