Thanks Dean

- In stereotypical male fashion I went to the shop this afternoon to buy M&Ms and ground coffee, and returned with a whole lot of stuff except for those :big:. The rule will have to do for today's photos, and I'll have to drink instant coffee tomorrow morning :

Andrew, Thanks; And yes, I quite like doing maths ;D I doubt I'll be able to finish another during my leave; there are some other things that need attention, but I'll start on another project - though not in as much detail, as that one is pretty well documented here on HMEM. Yes, I will post one of my bad videos once it's running :big:
Thanks Bill

- The home stretch is longer than I thought though :big:
The last bits are always the hardest - and time consuming!
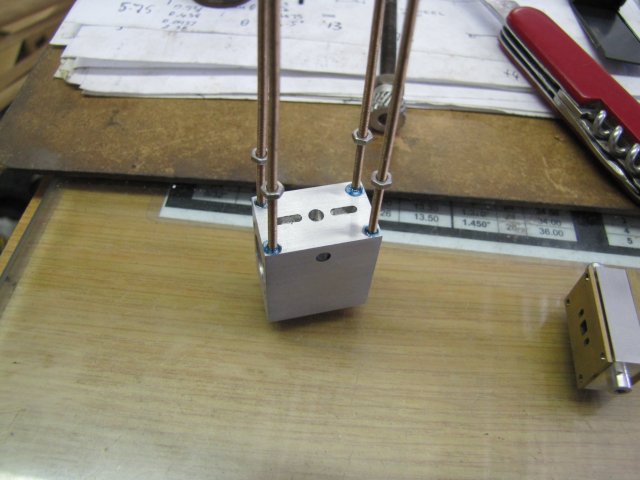
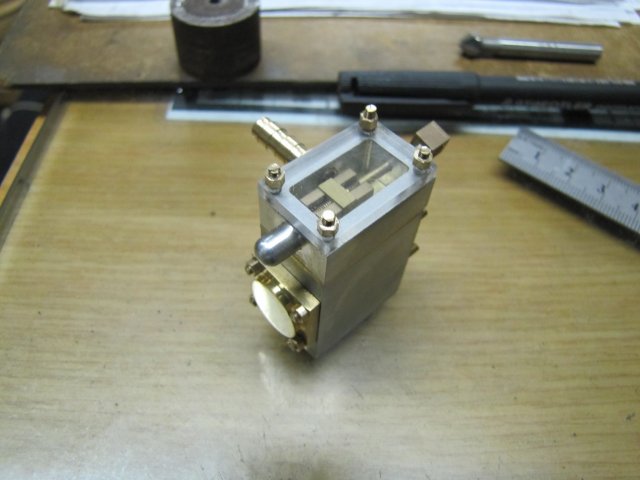
I gave the cylinder block the once-over with the set of M2 taps - which fortunately turned out well, then a final rub-down on emery in all the needed areas to get the finish I wanted and then started to add the studding - with a bit of thread retainer on each stud, and some stainless steel nuts to unscrew off the studs once cut to "clean" the threads:
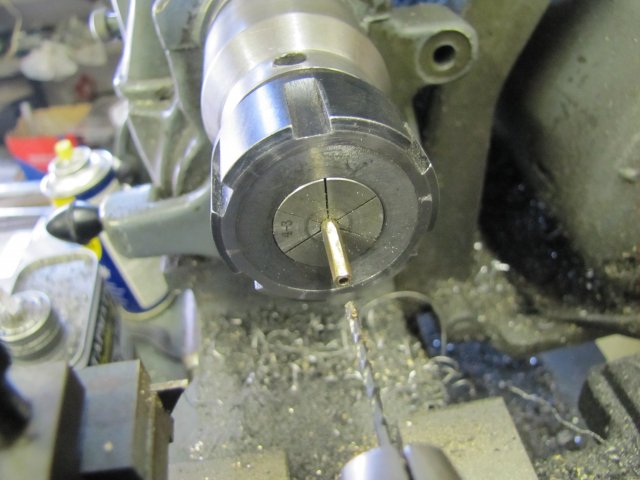
While waiting for that lot to set a bit, I started making nuts. The nuts in the previous photo are normal M2 stainless steel nuts, and while I could use those, they don't have pleasing proportions (at least to my taste). So I went about the business of filing a bit of hex on some 3.2mm brazing rod, center drilling, drilling it 1.6mm and tapping it M2, and then parting off 2 nuts at a time with the jig-saw-blade parting tool. :
As usual, some nuts went flying while parting off, so the shop monster ended up with a selection of small nuts called "Dammit", "Sheisse" and so on - I hope he enjoys their company :big: A simple process followed; make a couple of nuts, clip off studding on the block and add more to it and so on.
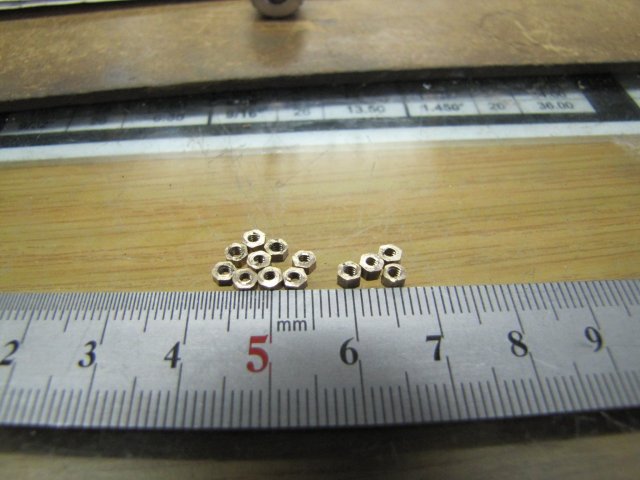
I eventually ended with a selection of nuts - four thicker ones for the cylinder cover, and eight thinner ones for the cylinder heads - with an extra one that was christened "Lucky" - all still needing some de-burring:
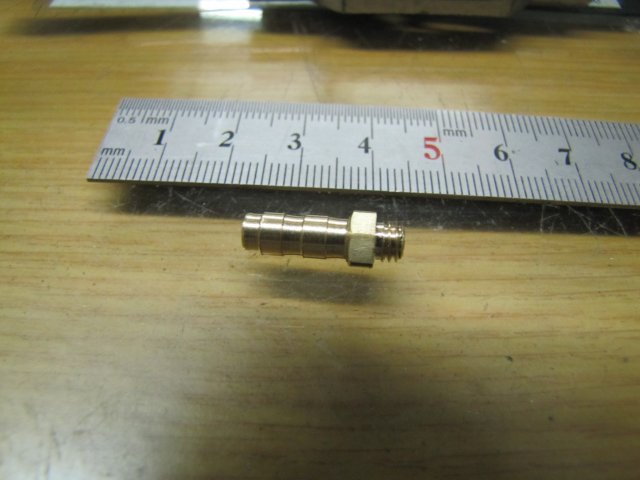
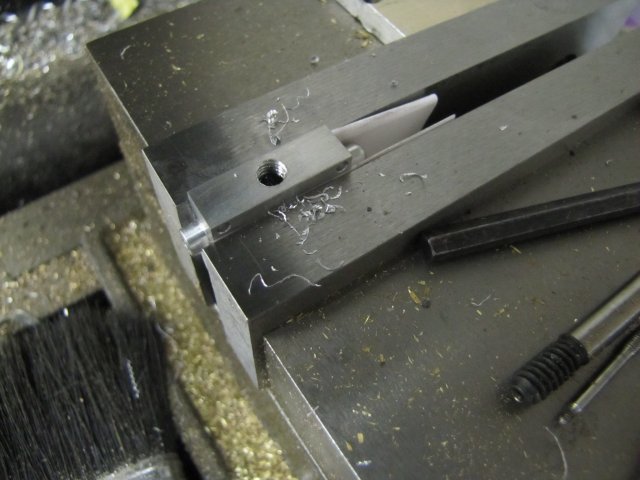
As I started putting bits together, something became obvious... Steam or air would run through the valve chest, push down the valve and go through the port faces and so on - except for ? - Where the heck would it come from ??? I'd not made a steam connector! And even worse, I never even made the hole in the valve chest to fit it to Rof} That was easily remedied with a quick bit of turning:
And a bit of drilling and tapping:
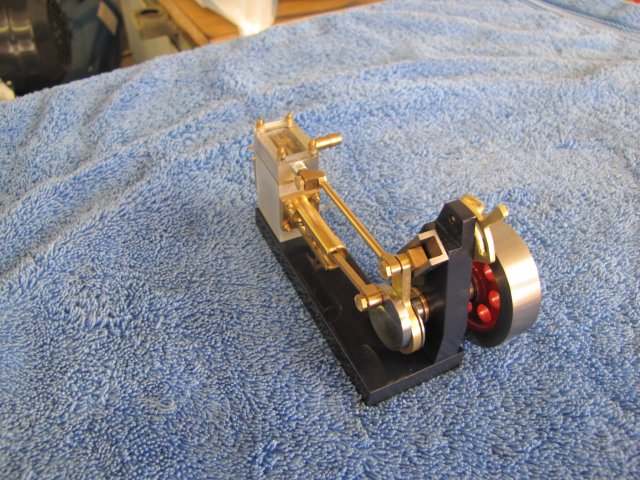
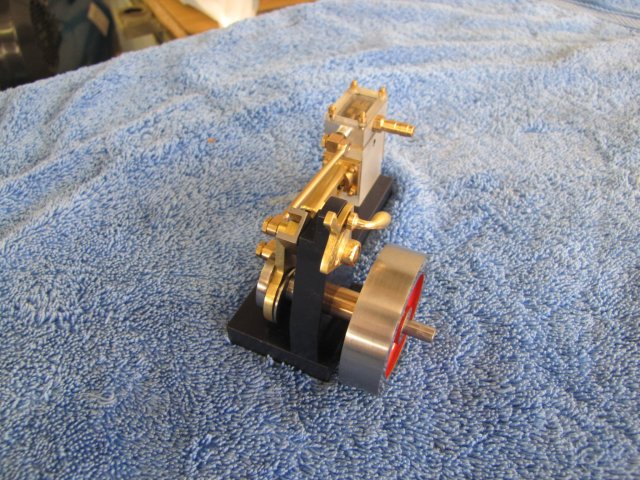
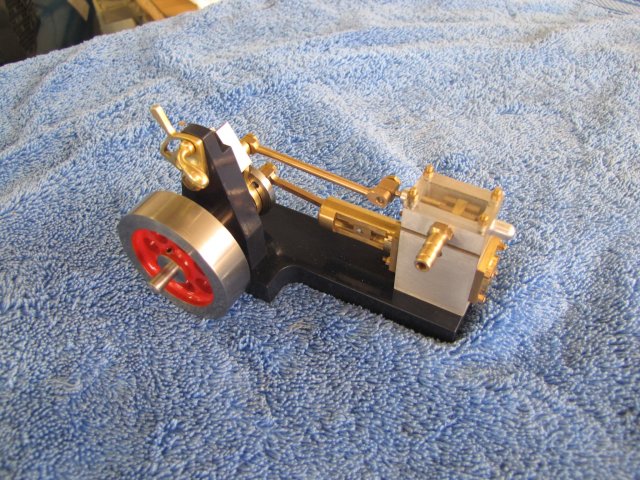
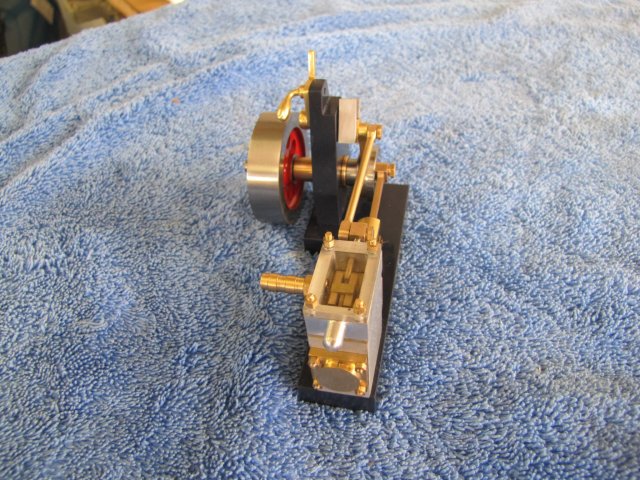
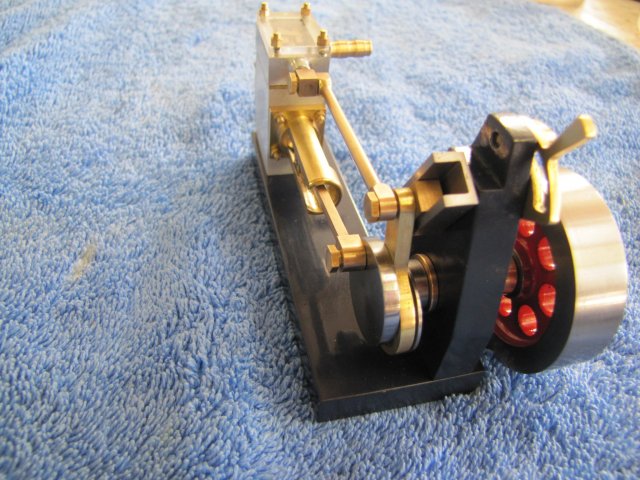
Now things are coming together:
Still quite a bit left to do though... Like watching paint dry... Again... :big:
Regards, Arnold


